Crafts with Claire
We are delighted to introduce this brand new series to the Bustle Blog: Crafts with Claire.
Claire Jackson is such a refreshing part of our Bustle family. When she isn’t wowing us with her endearing creativity, she is spending time with her sweet husband, Dan, and their two precious kiddos, Eleanor (2 yrs) and Henry (4 mo).
We all know someone who makes crafting look effortless. Claire is THAT person. Everything she touches turns into a Pinterest ad and we love her for it. While we can’t all be a “Claire", at Bustle we want to make creativity attainable for everyone. That’s why Claire has made it her personal goal to curate crafts that we can all partake in. Every season, she will lead us in a step-by-step guide through the latest diy trends. Whether you’re crafting with kiddos or by yourself with a glass of wine, we hope you enjoy this pretty piece of mindfulness.
SPRING 2022:
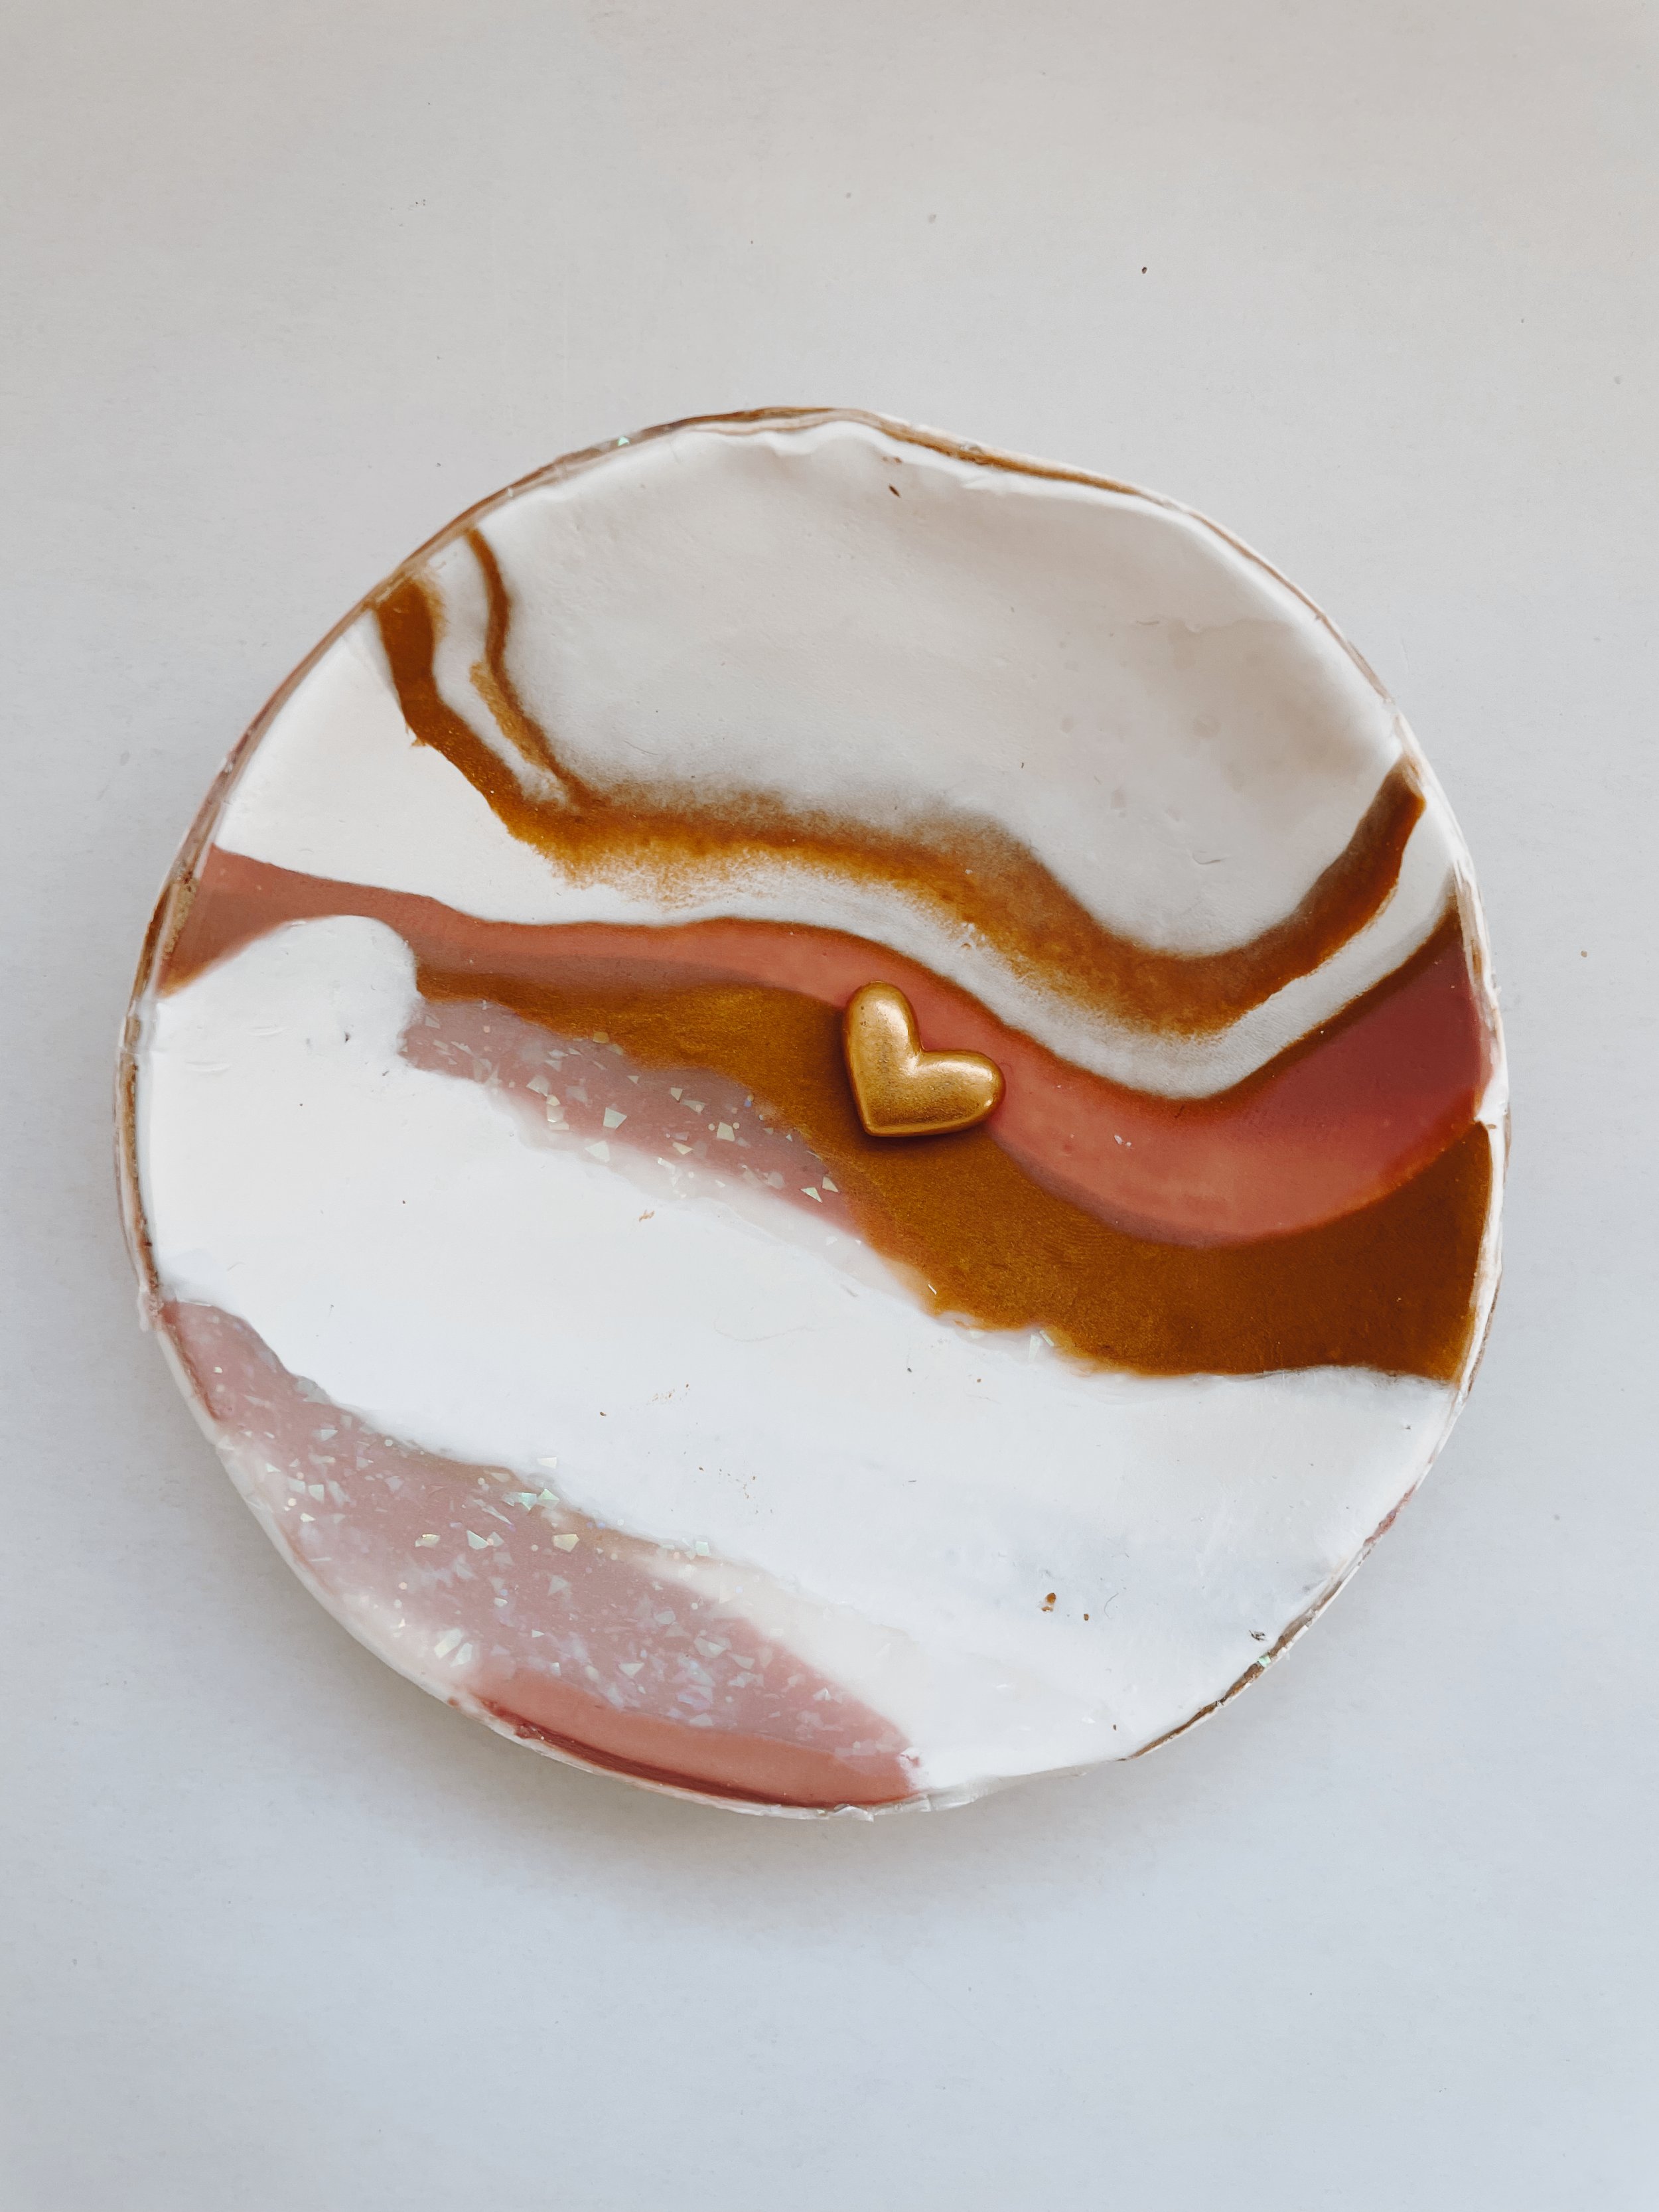
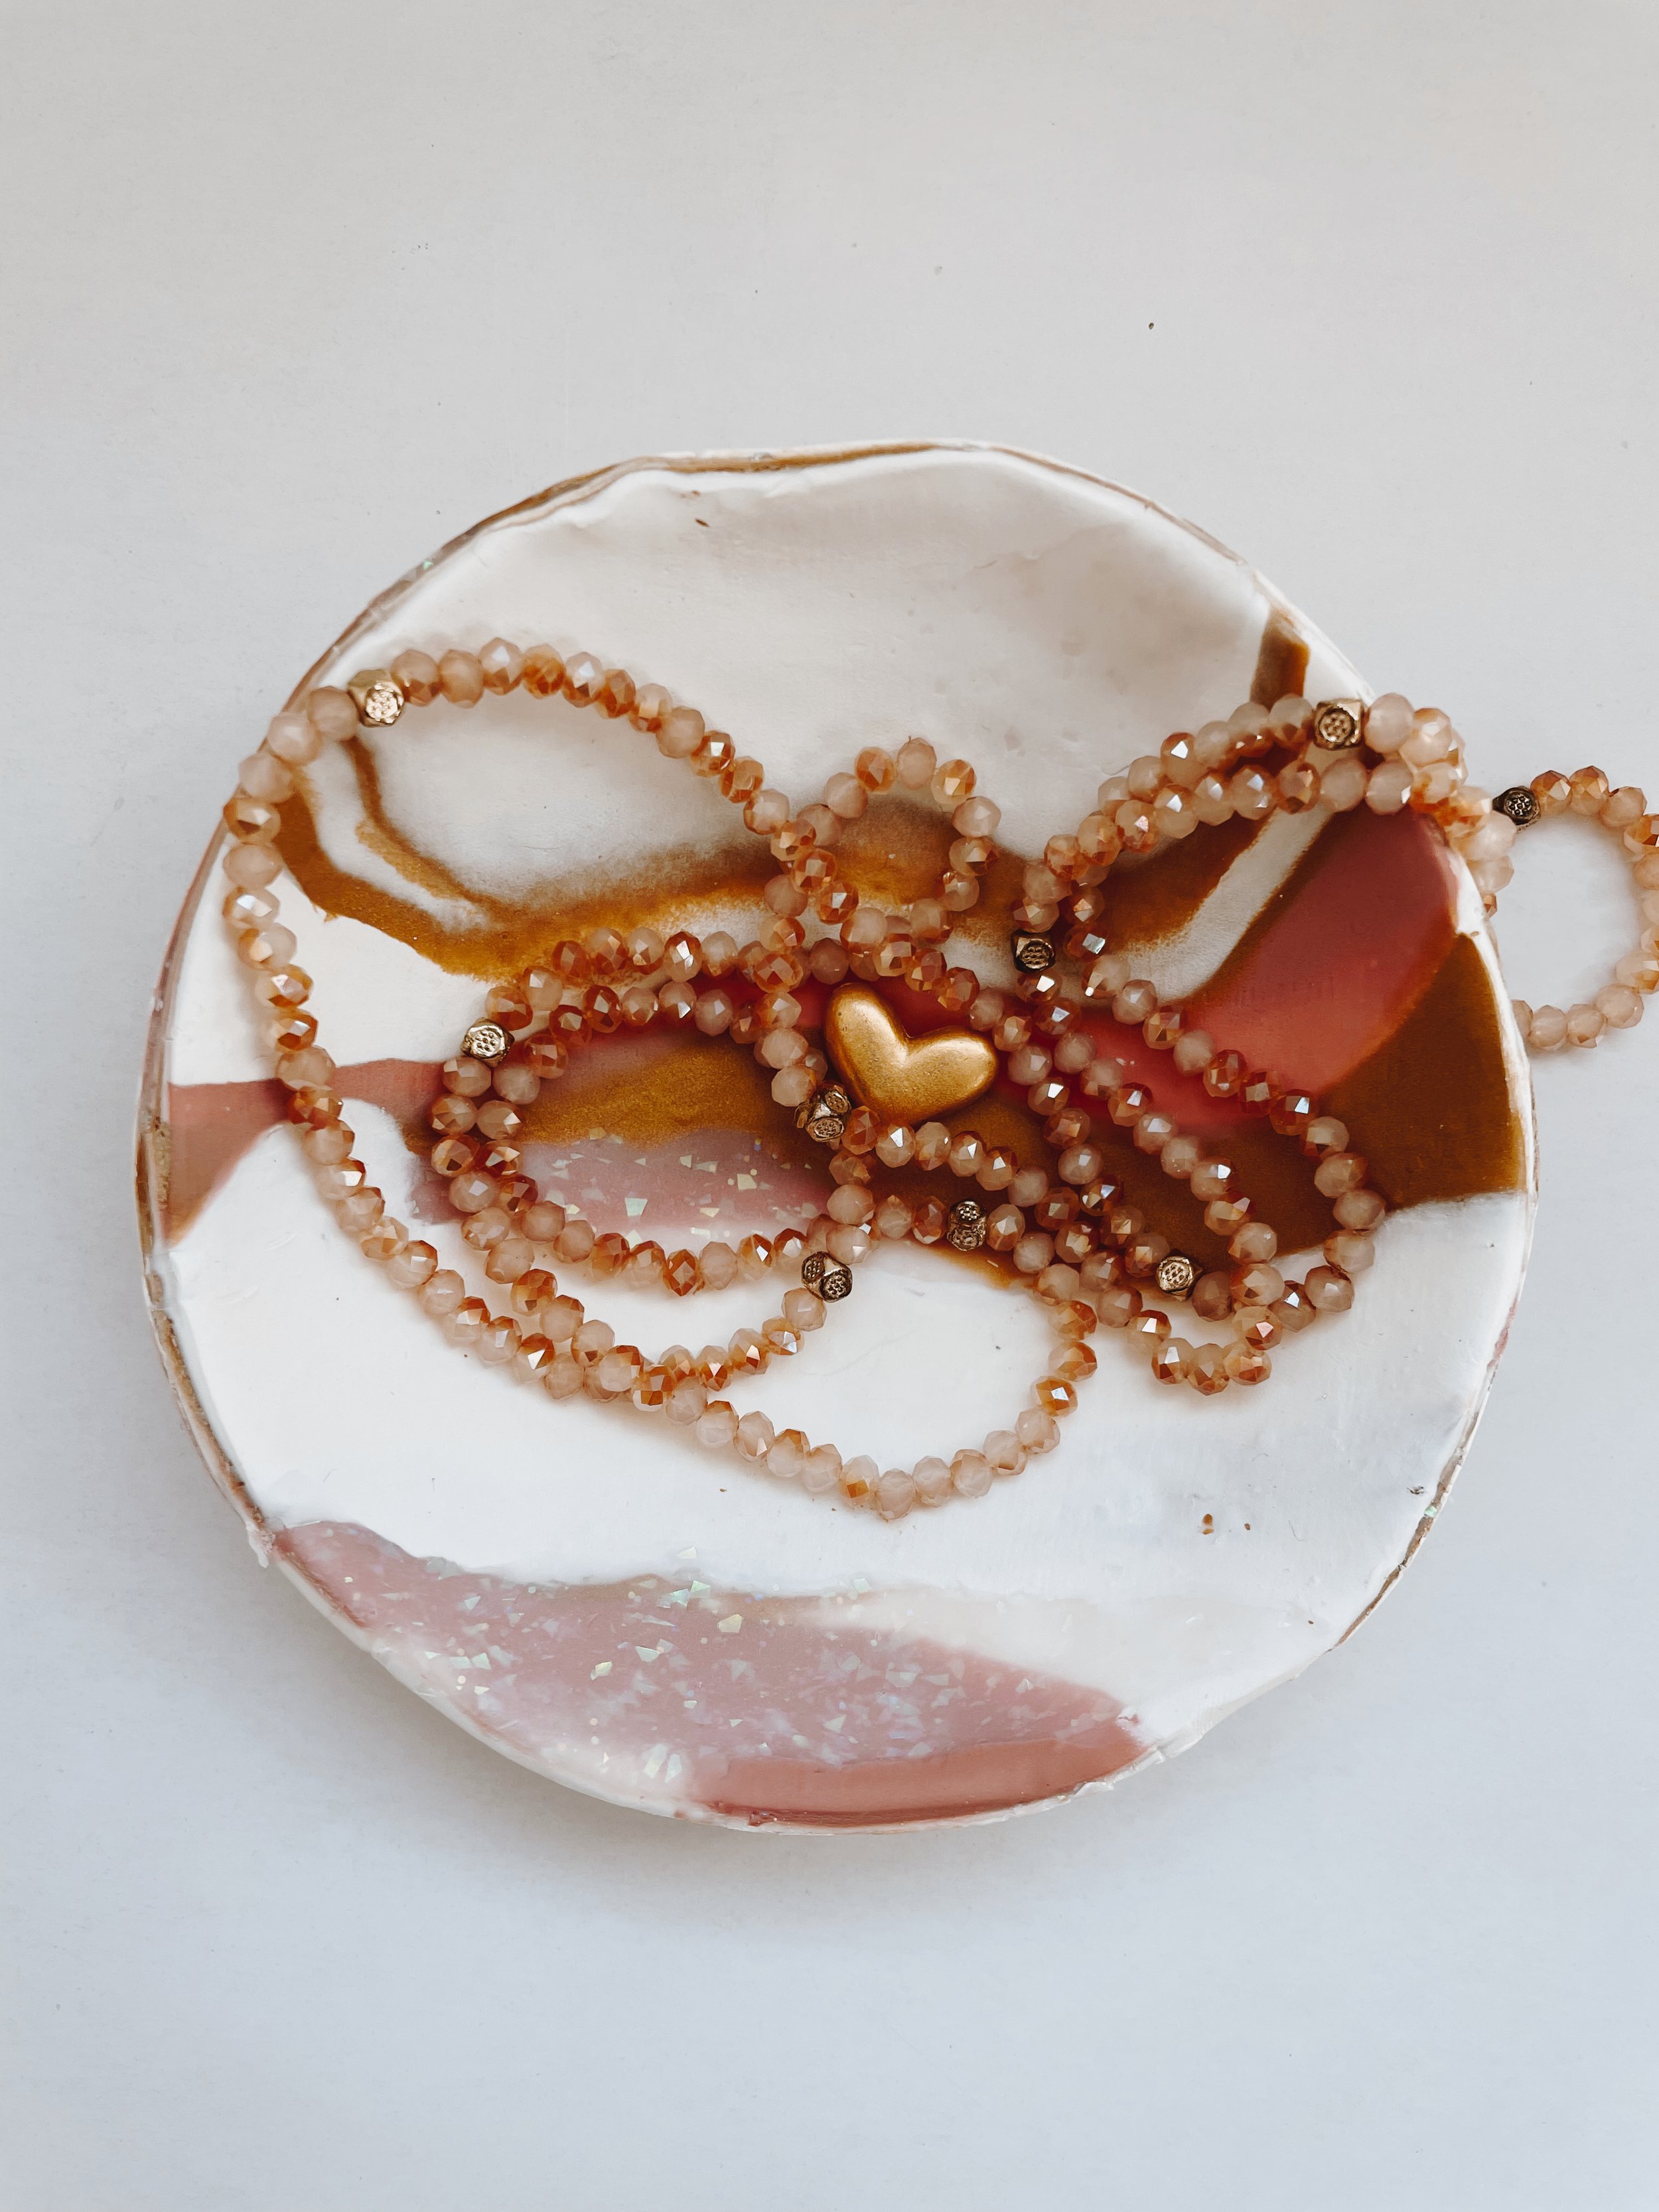
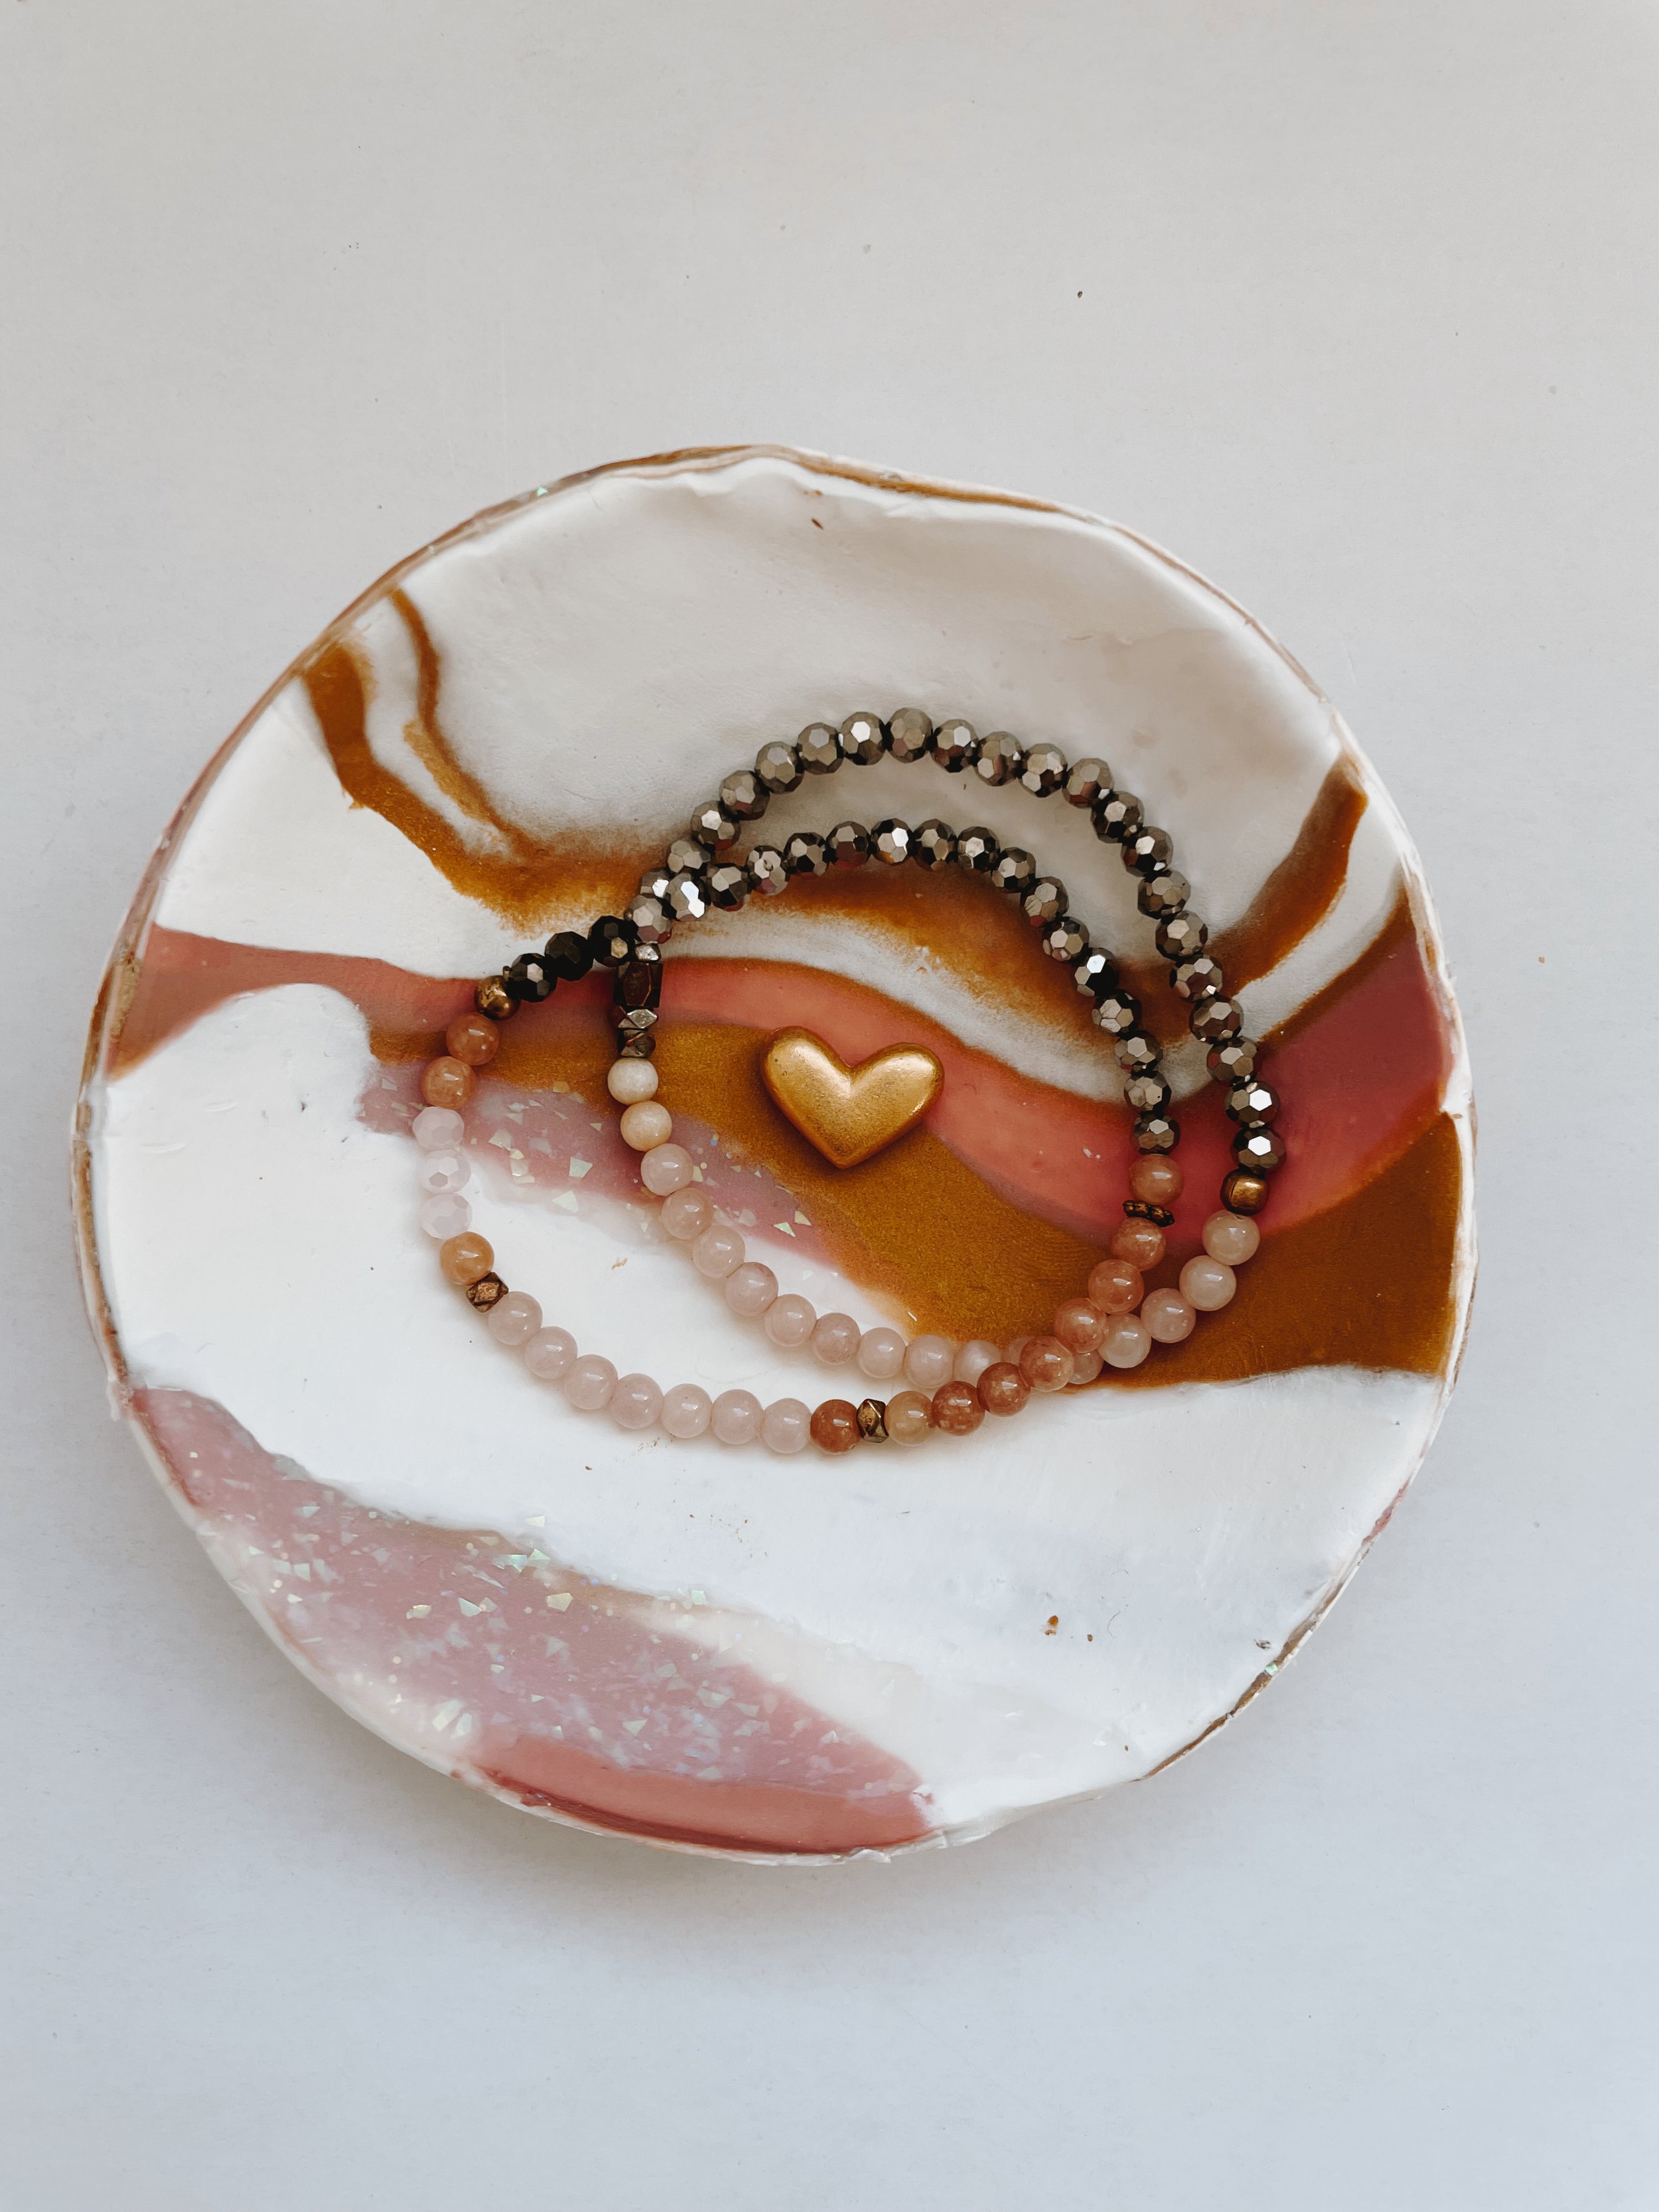
MARBLE RING DISH
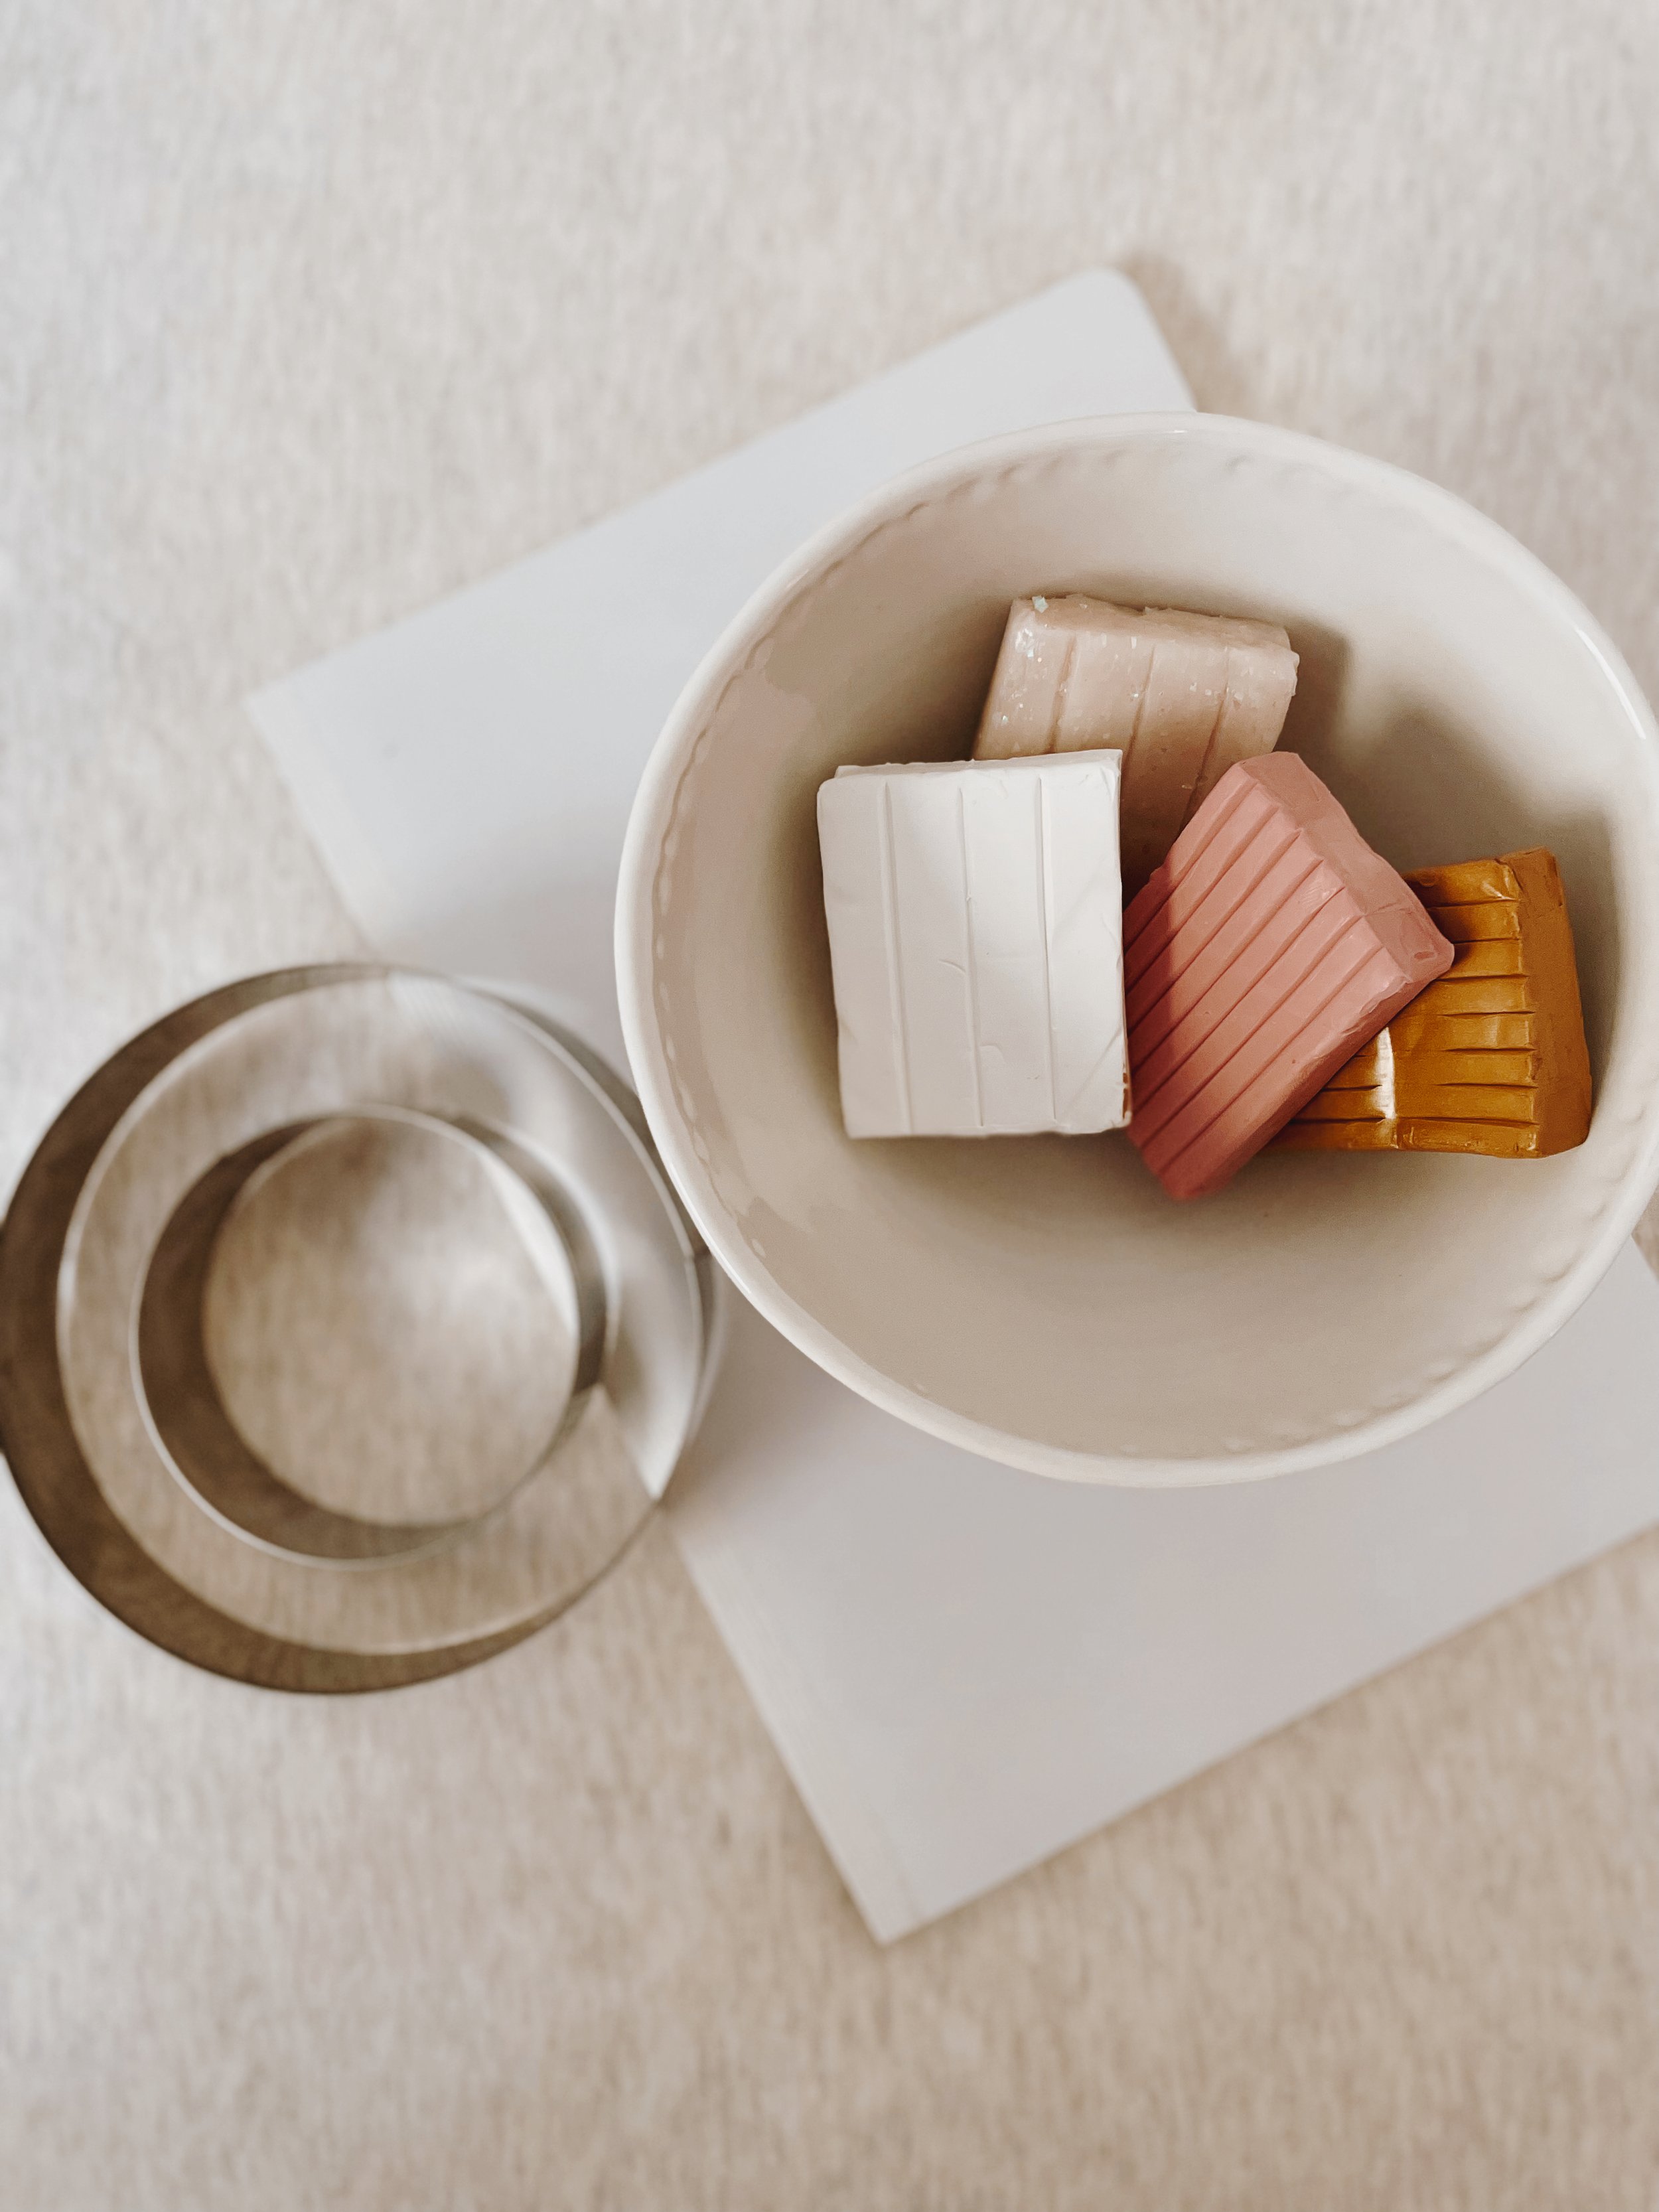
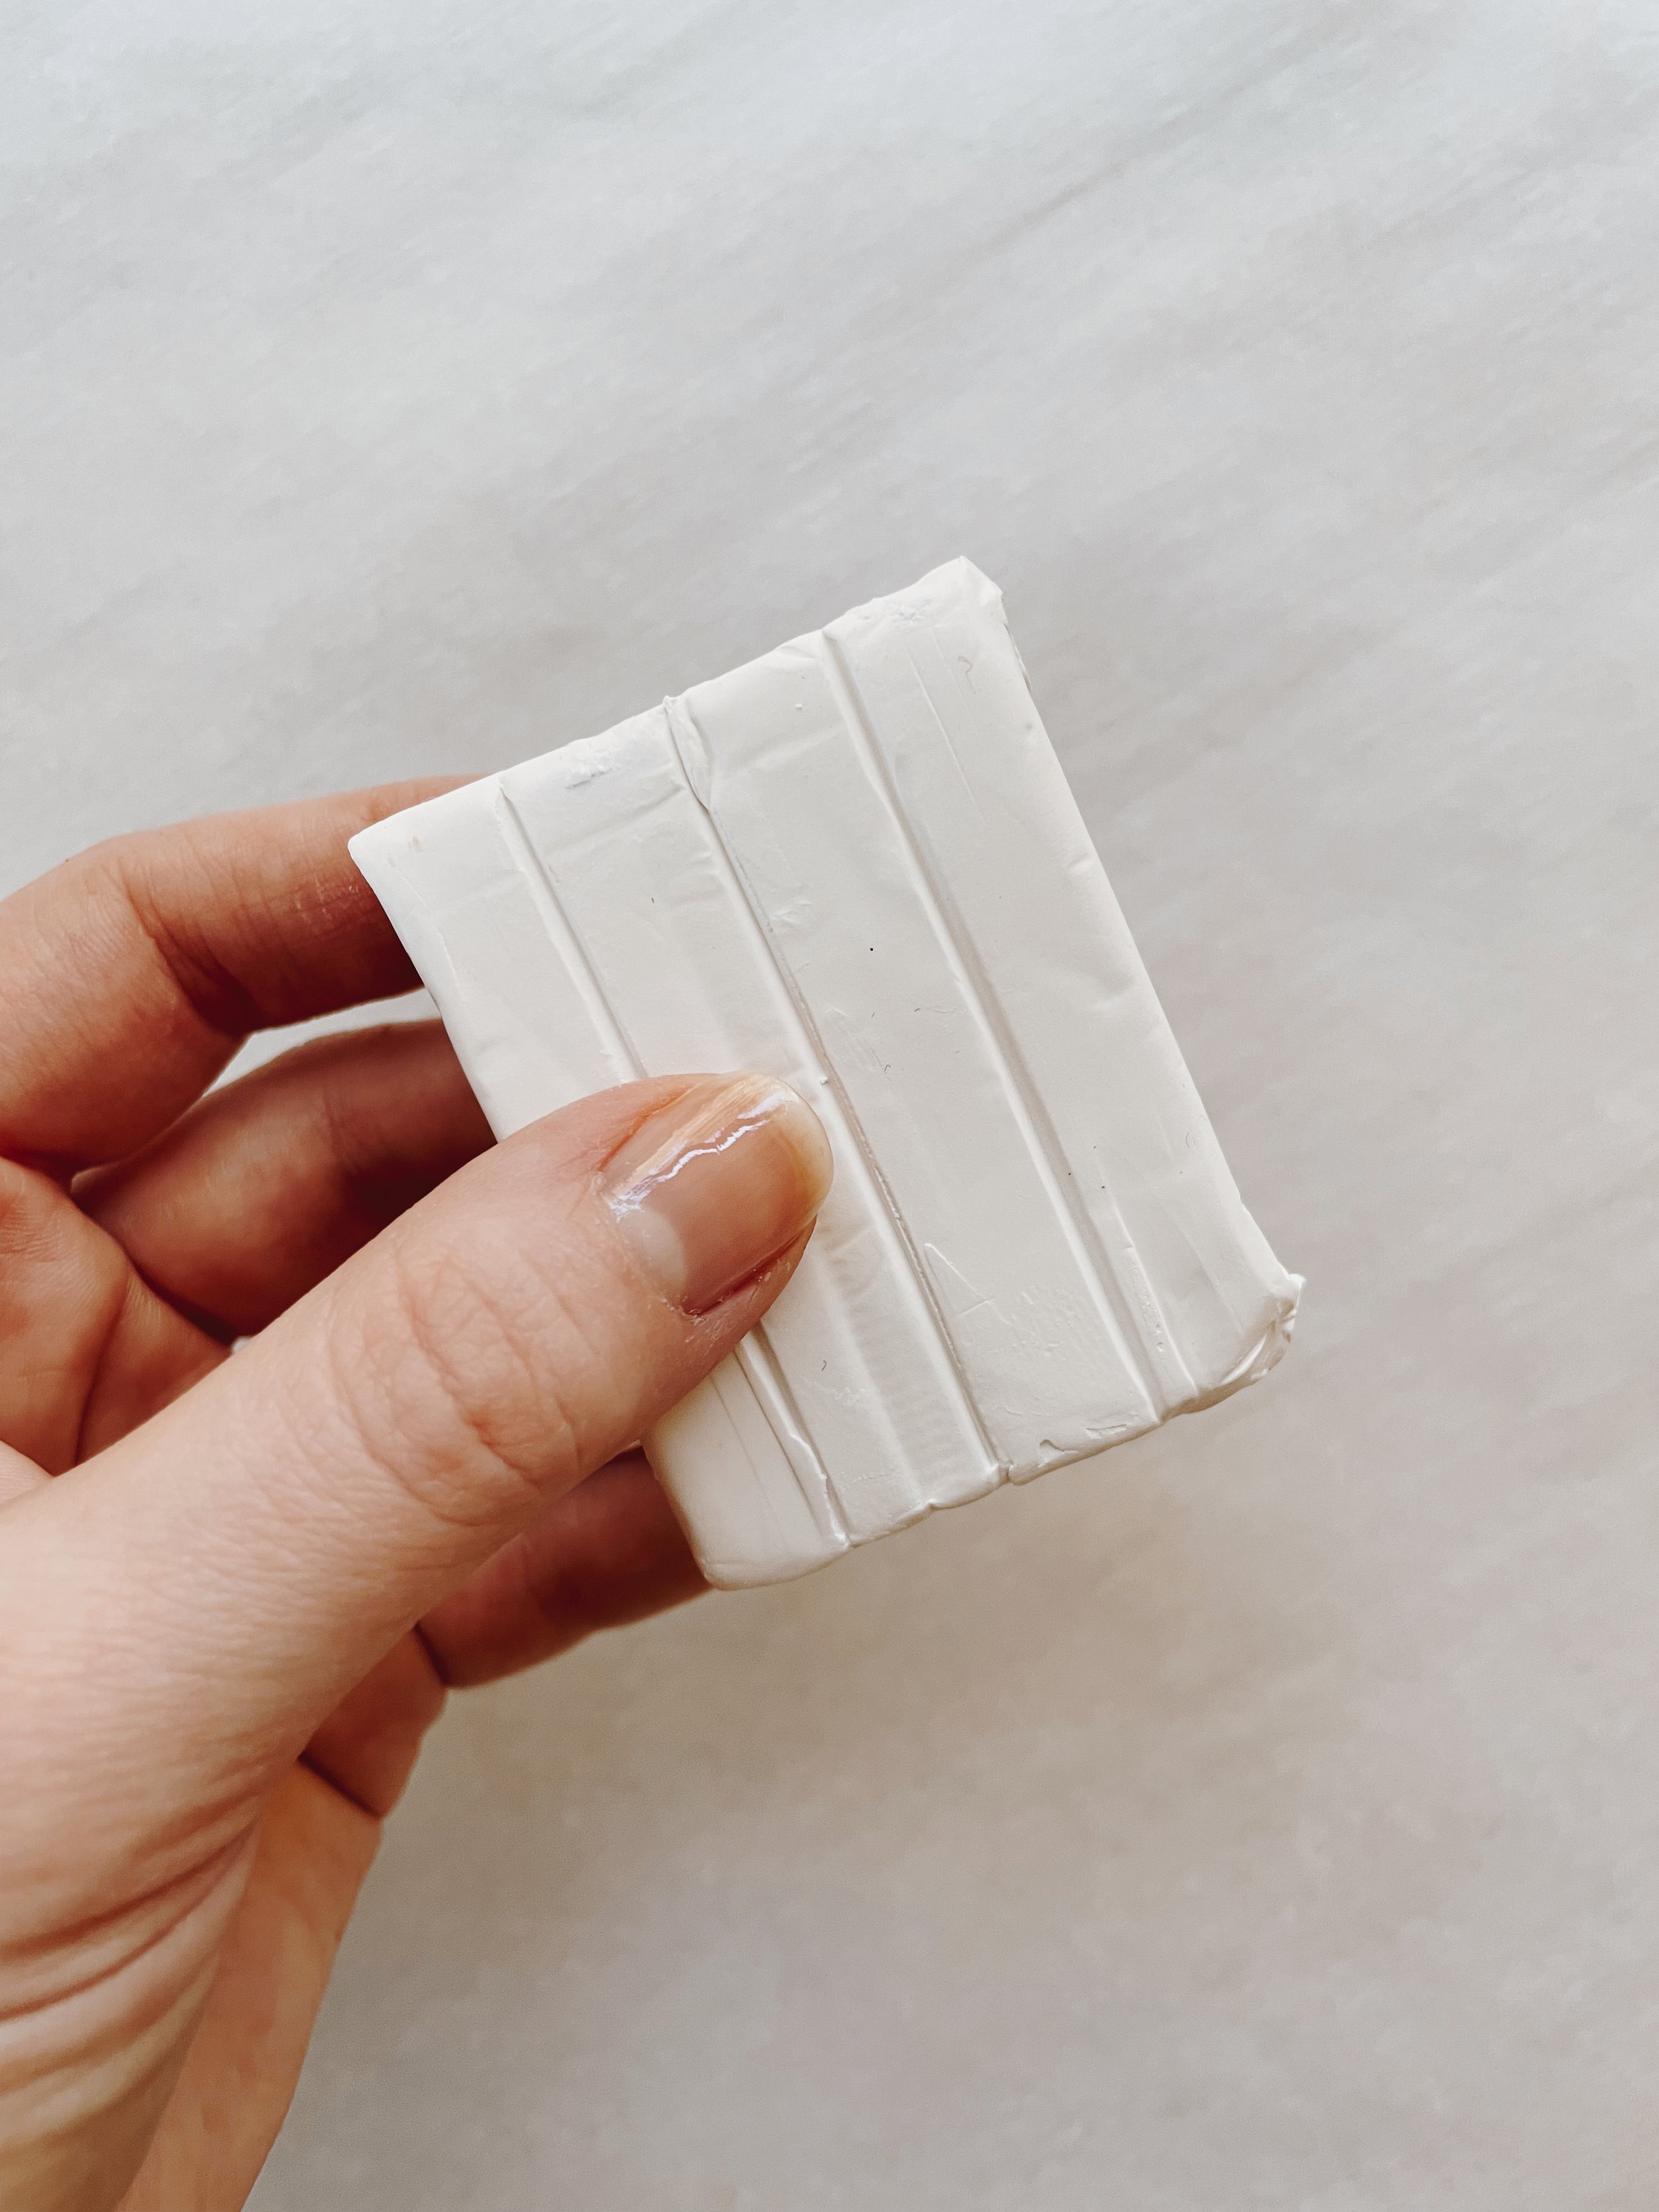
Step 1.) Choose 2-5 colors of clay for your marble dish.
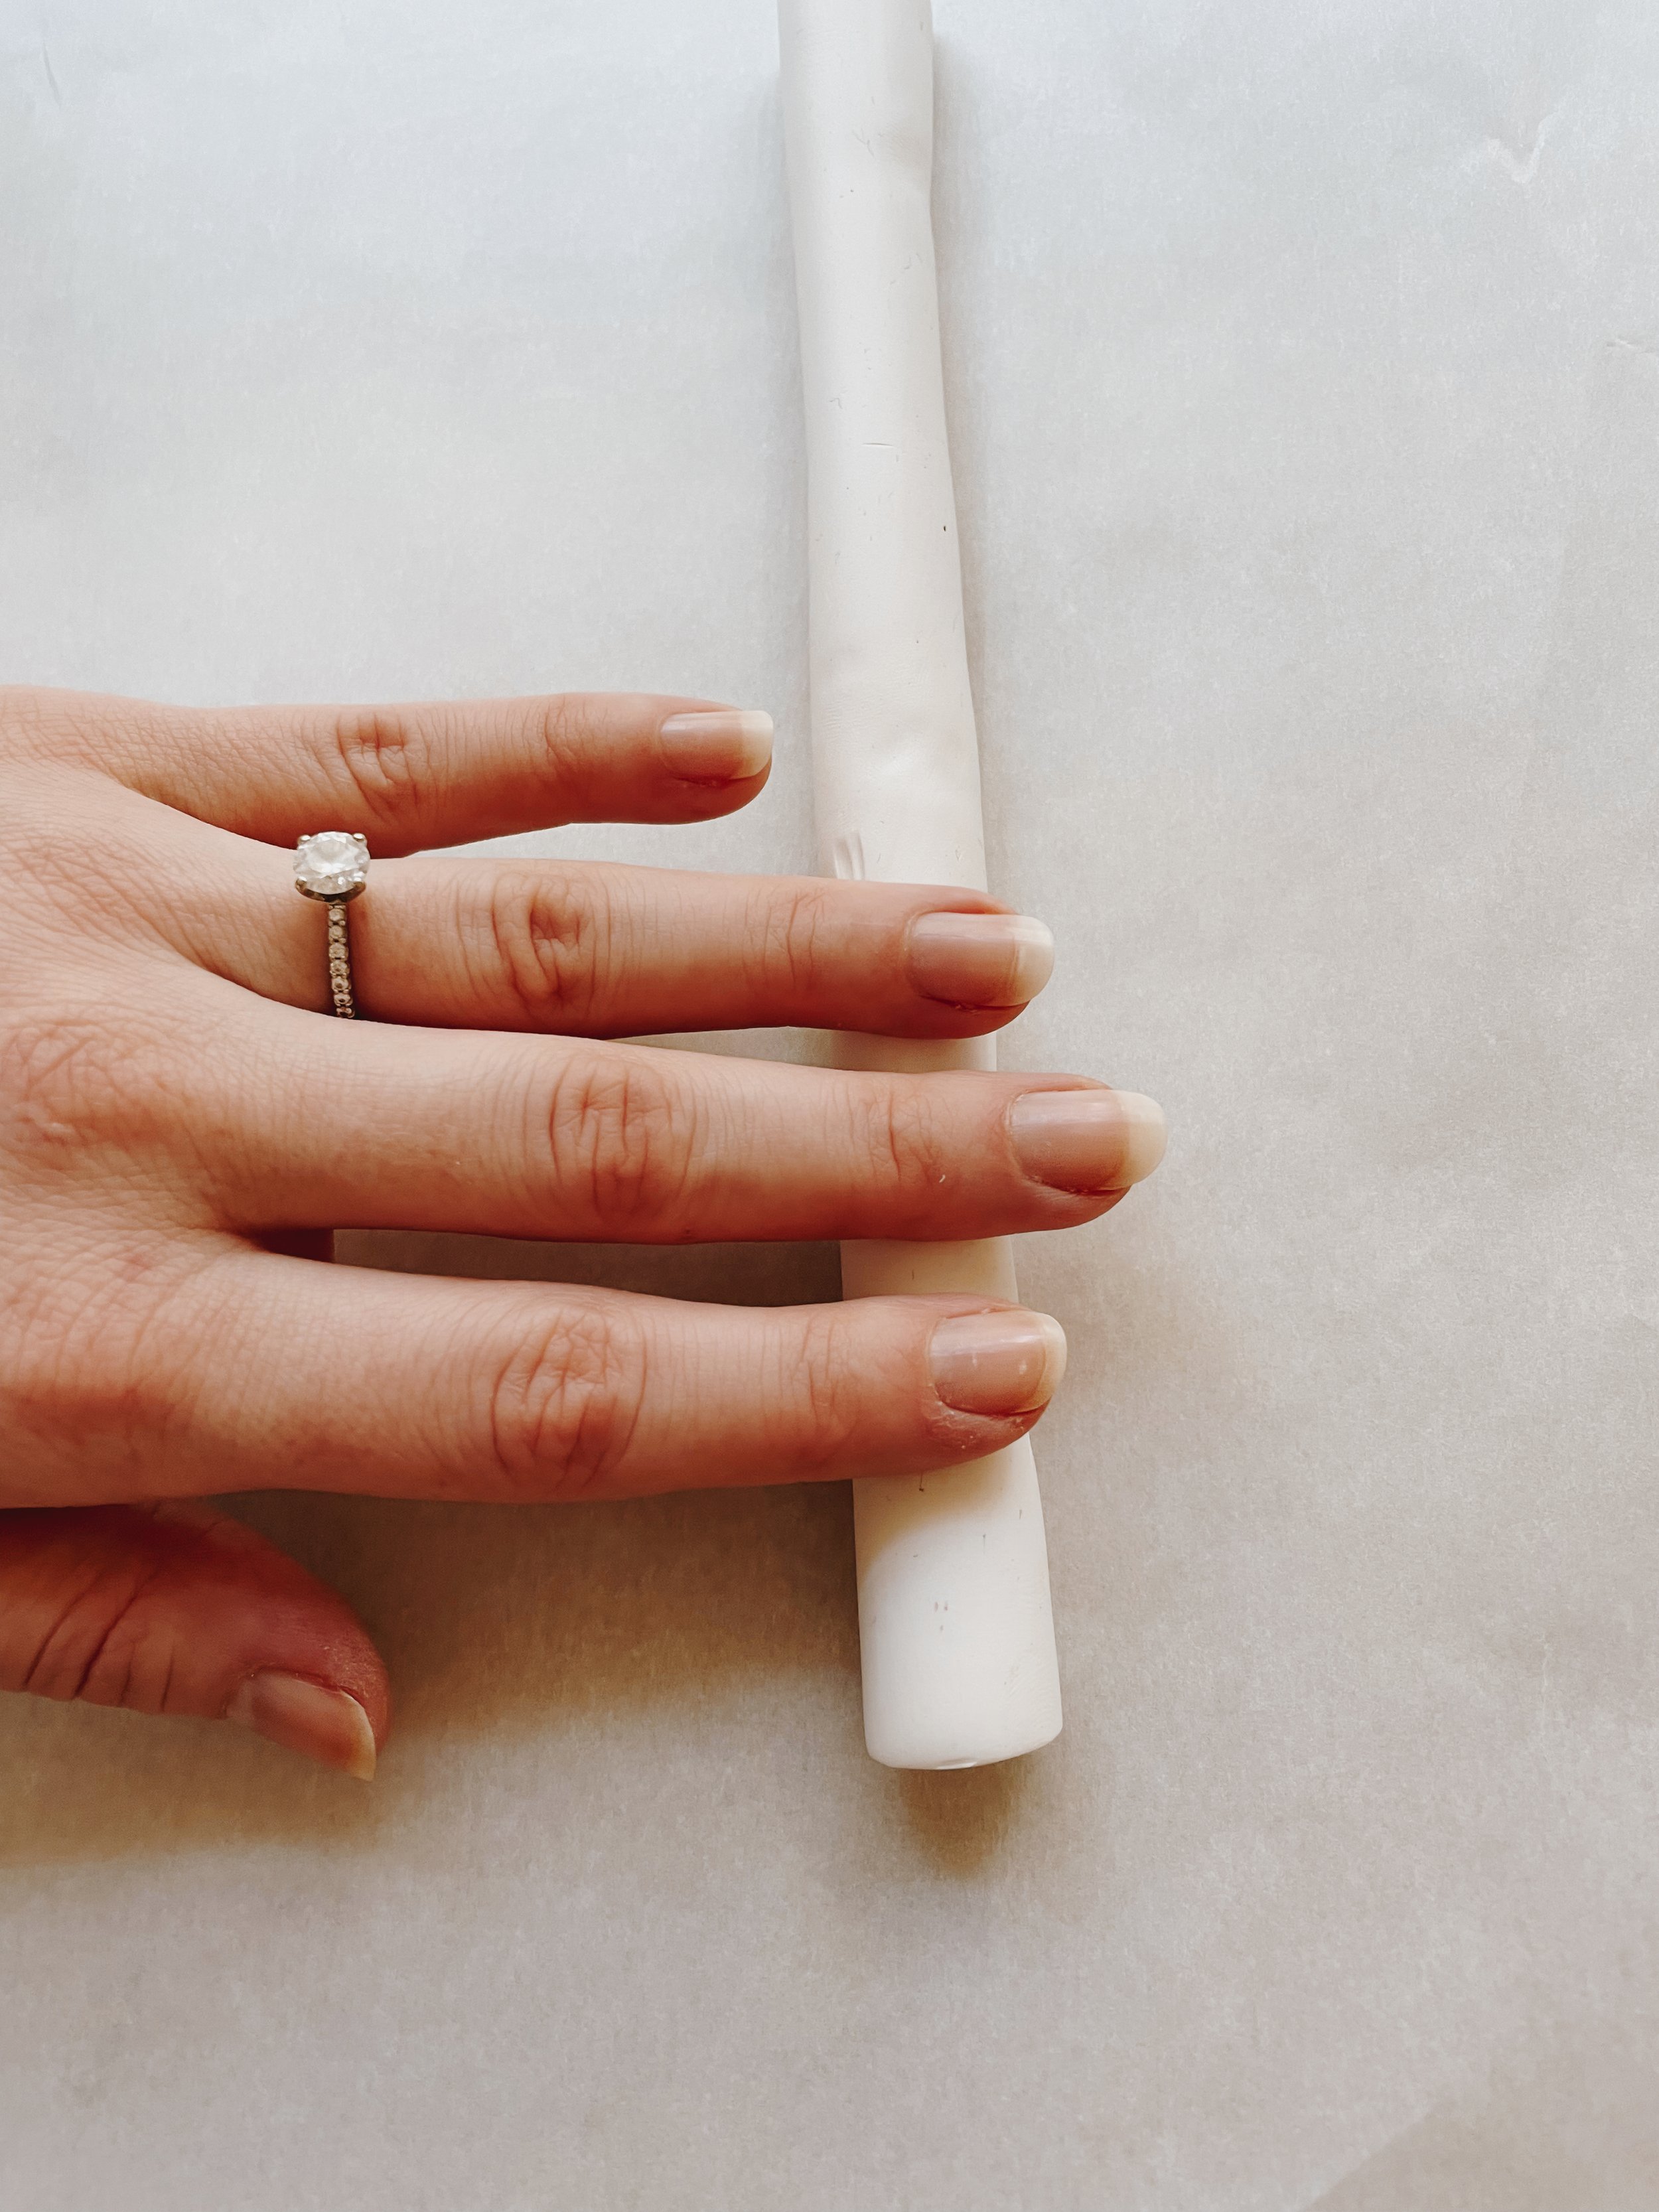
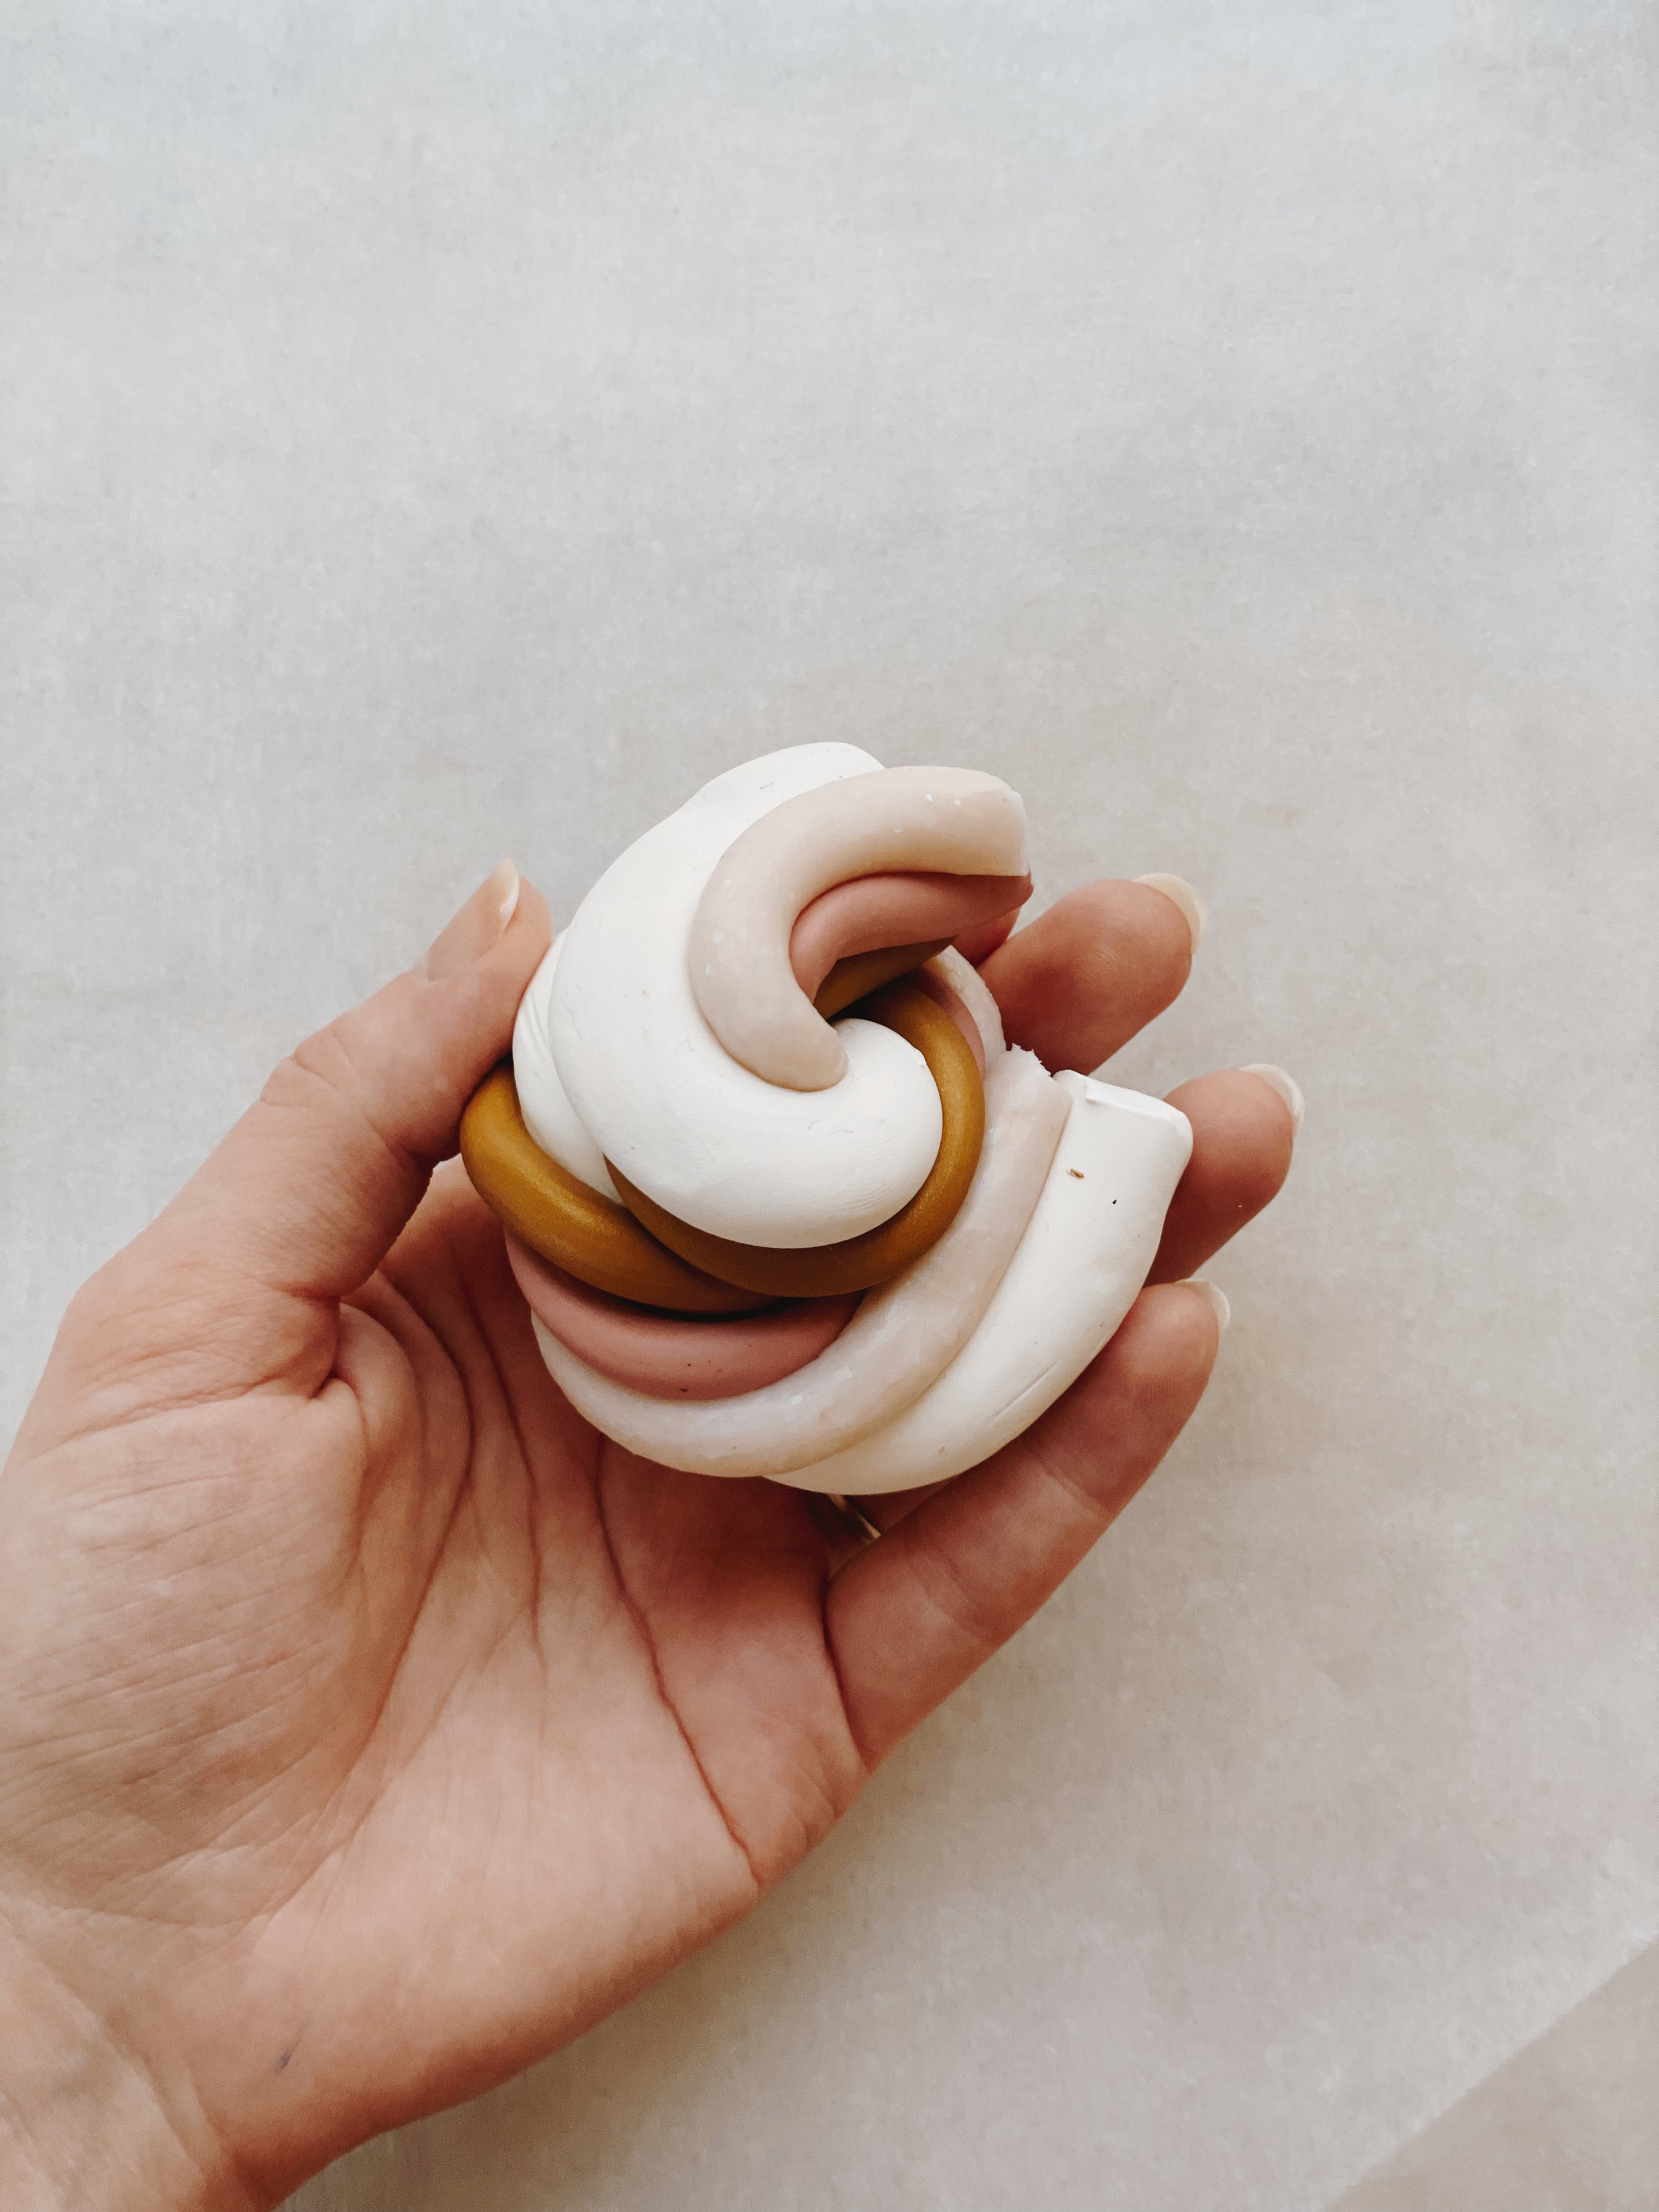
Step 2.) Roll each color into a smooth long line and twist all the colors together.
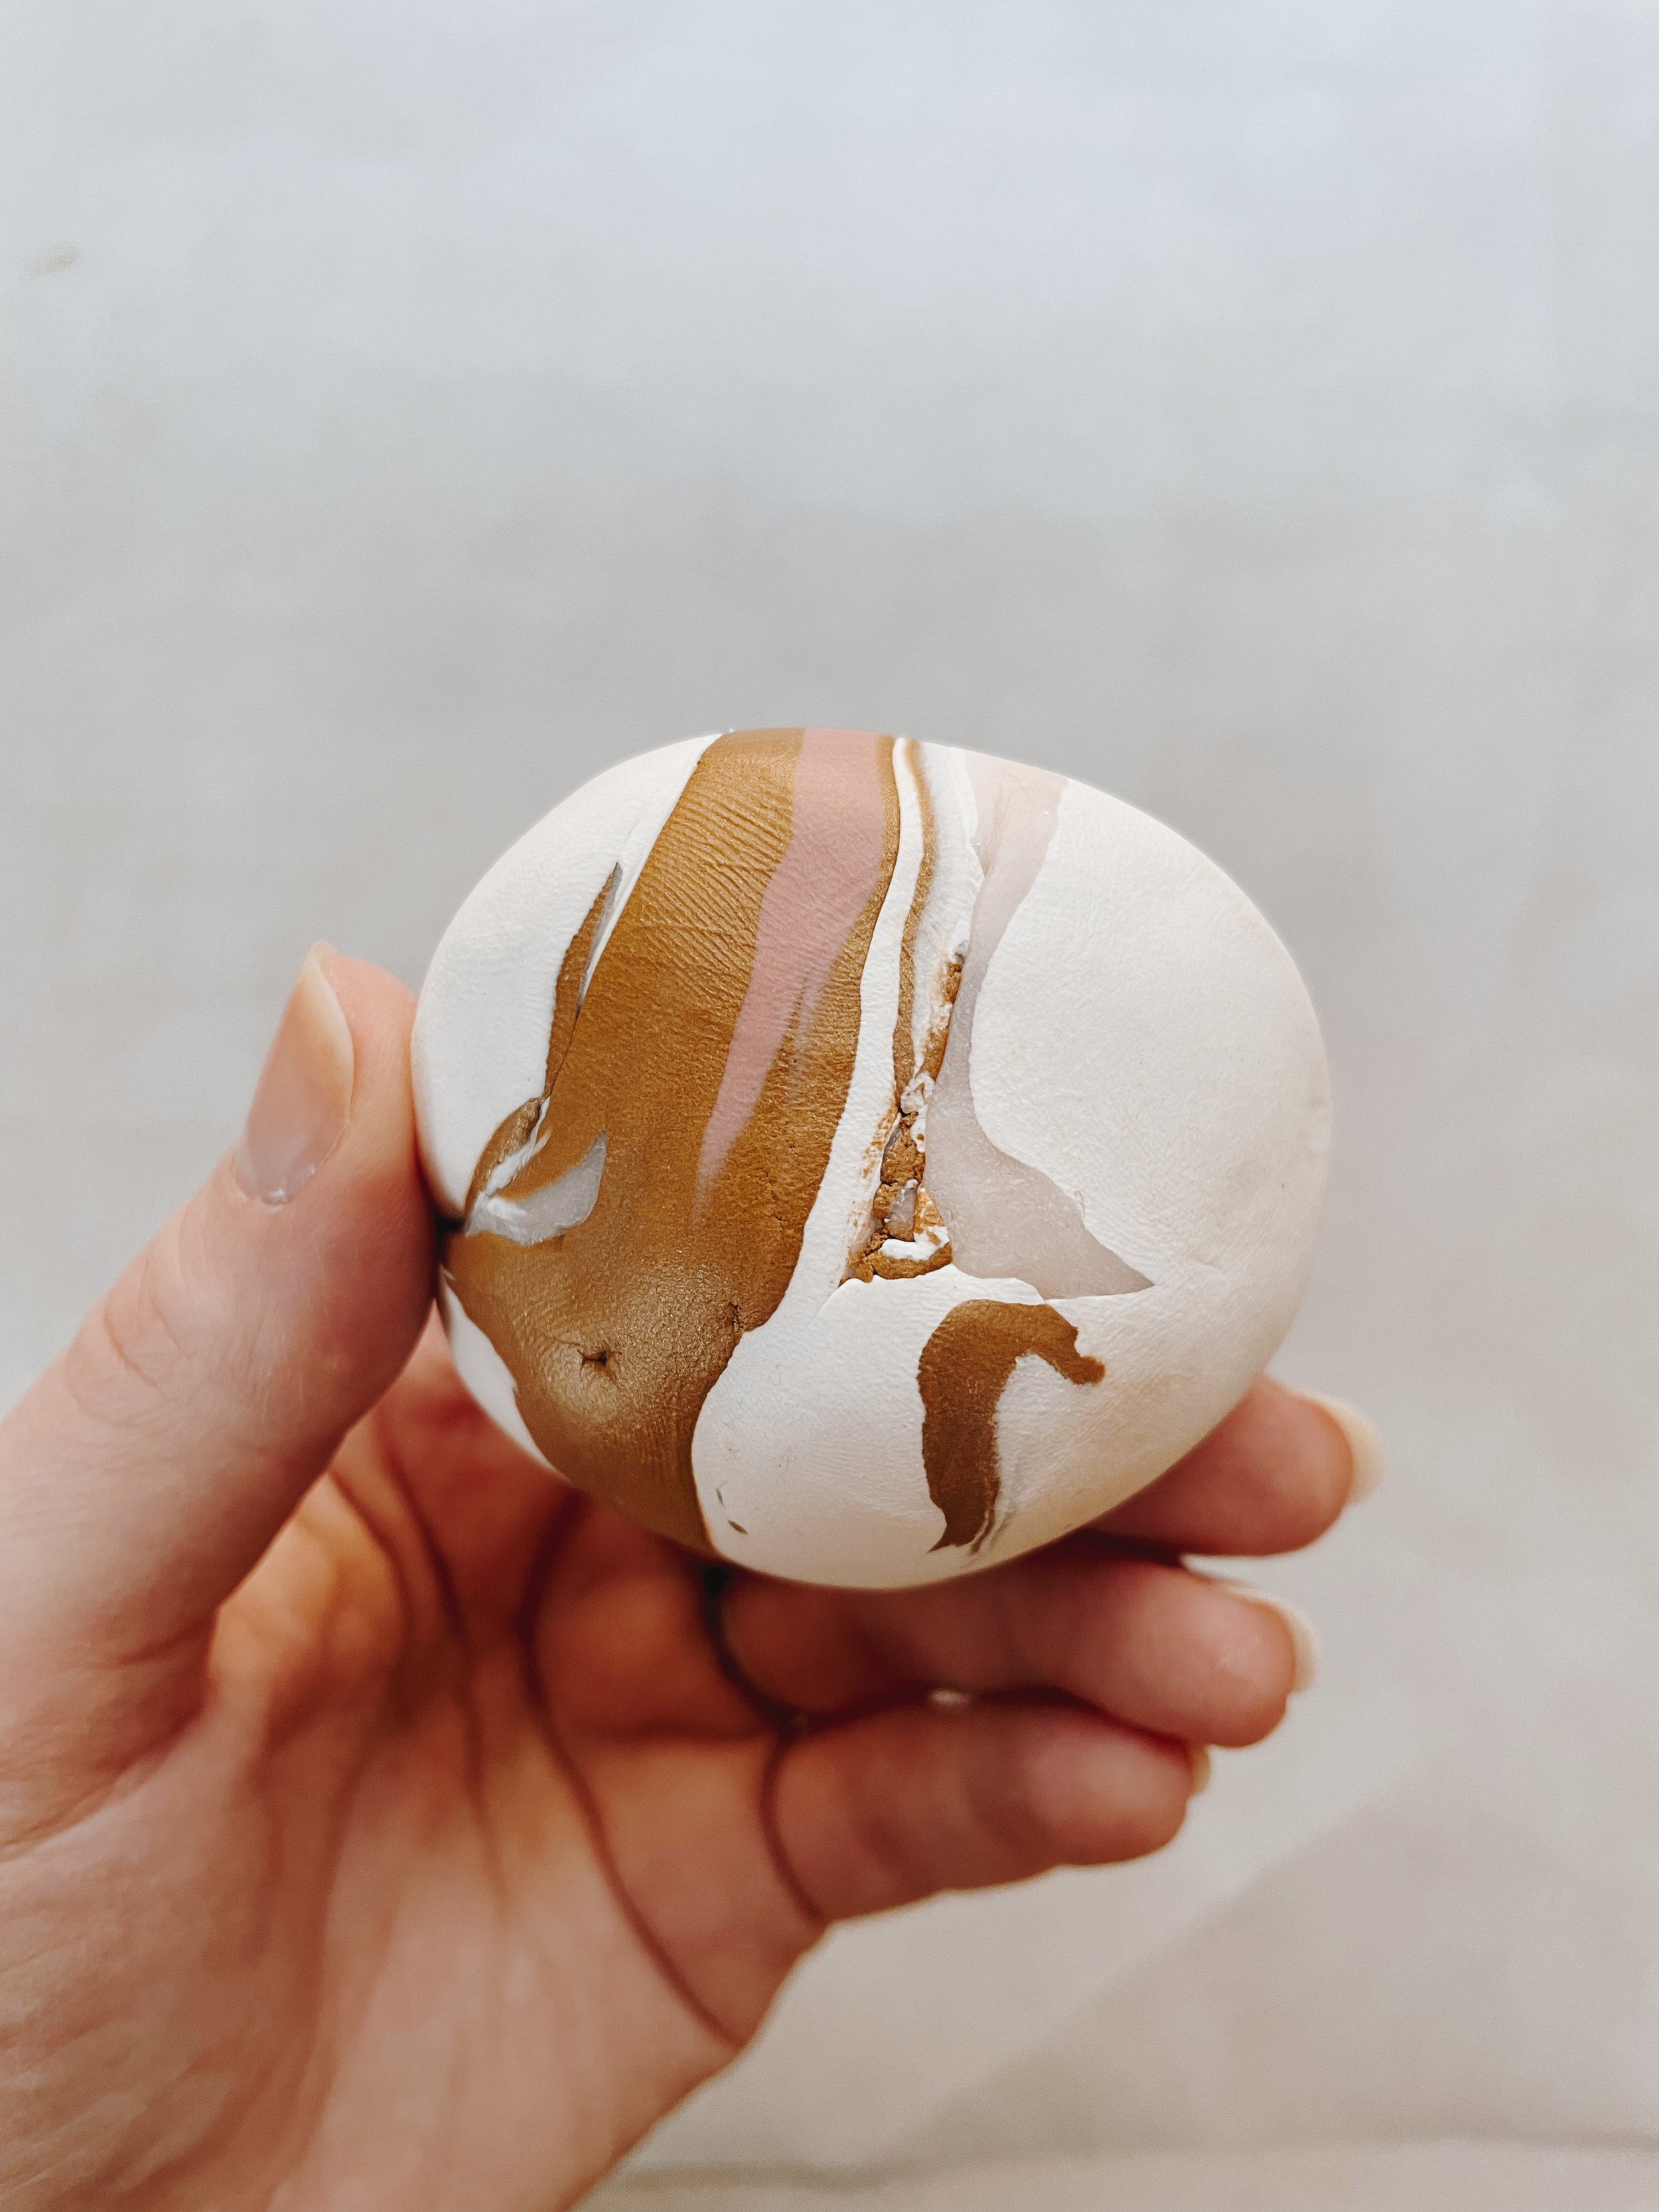
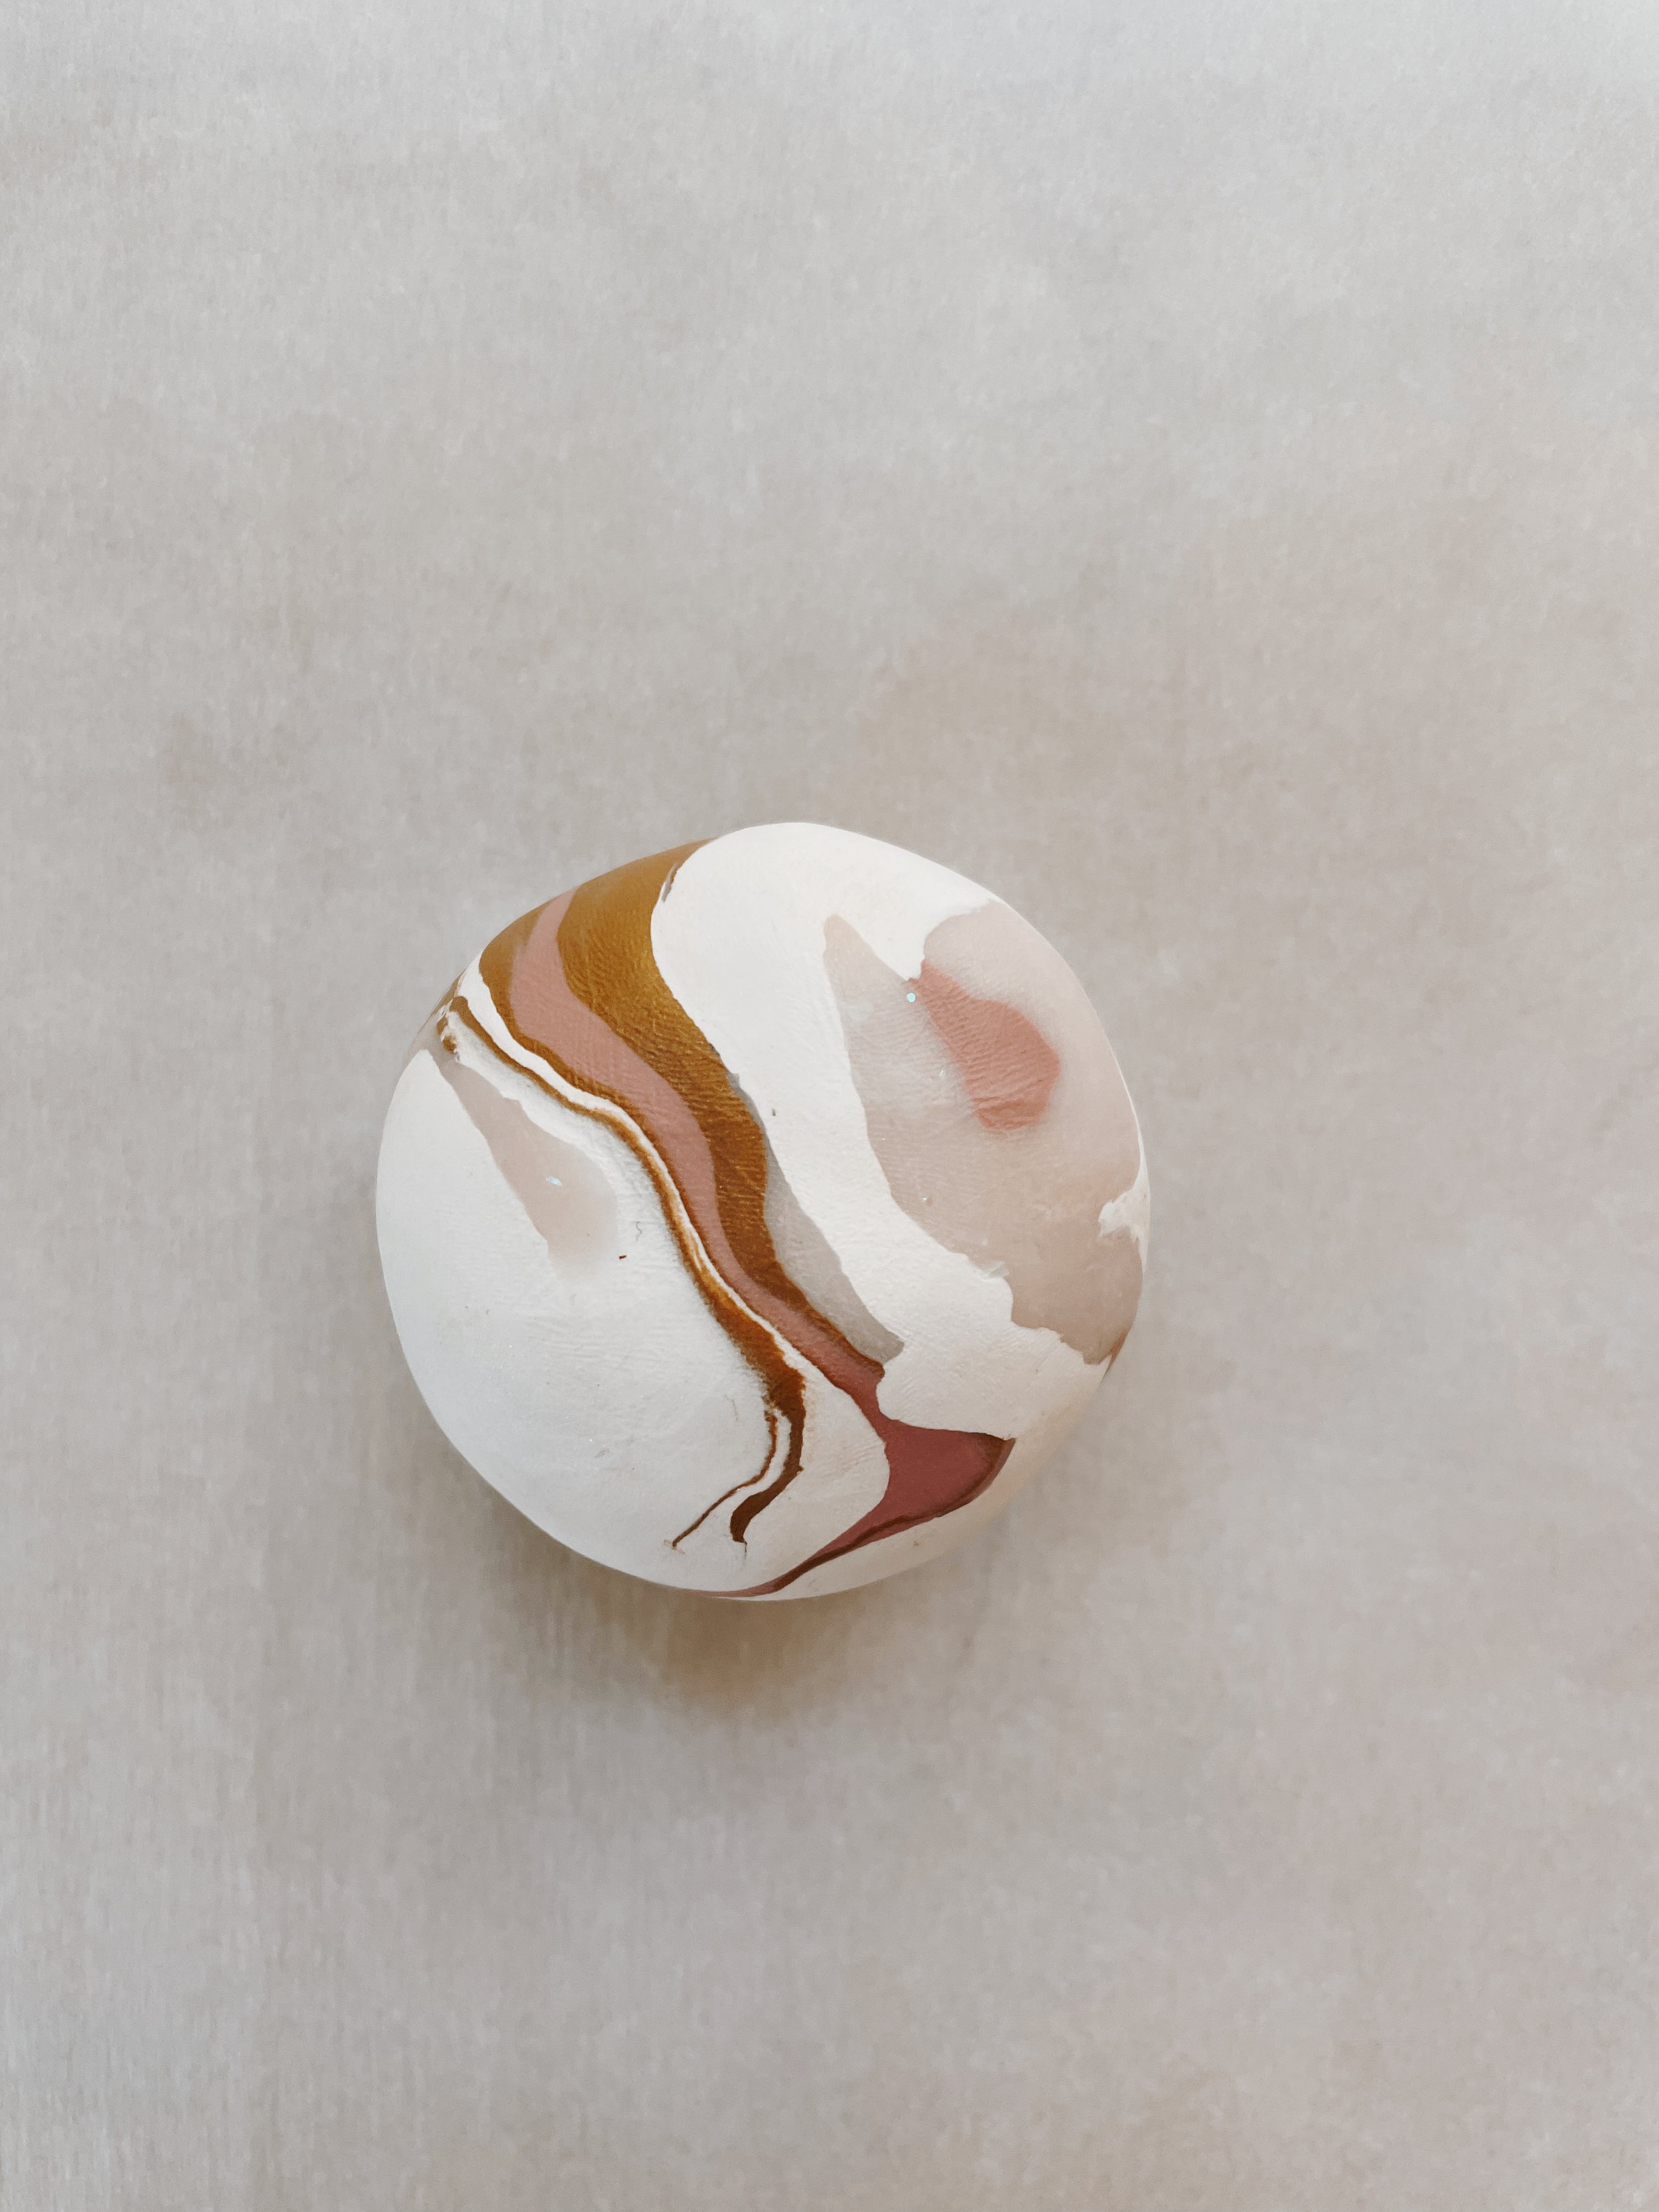
Step 3.) Roll into a ball and knead to achieve desired marble effect.
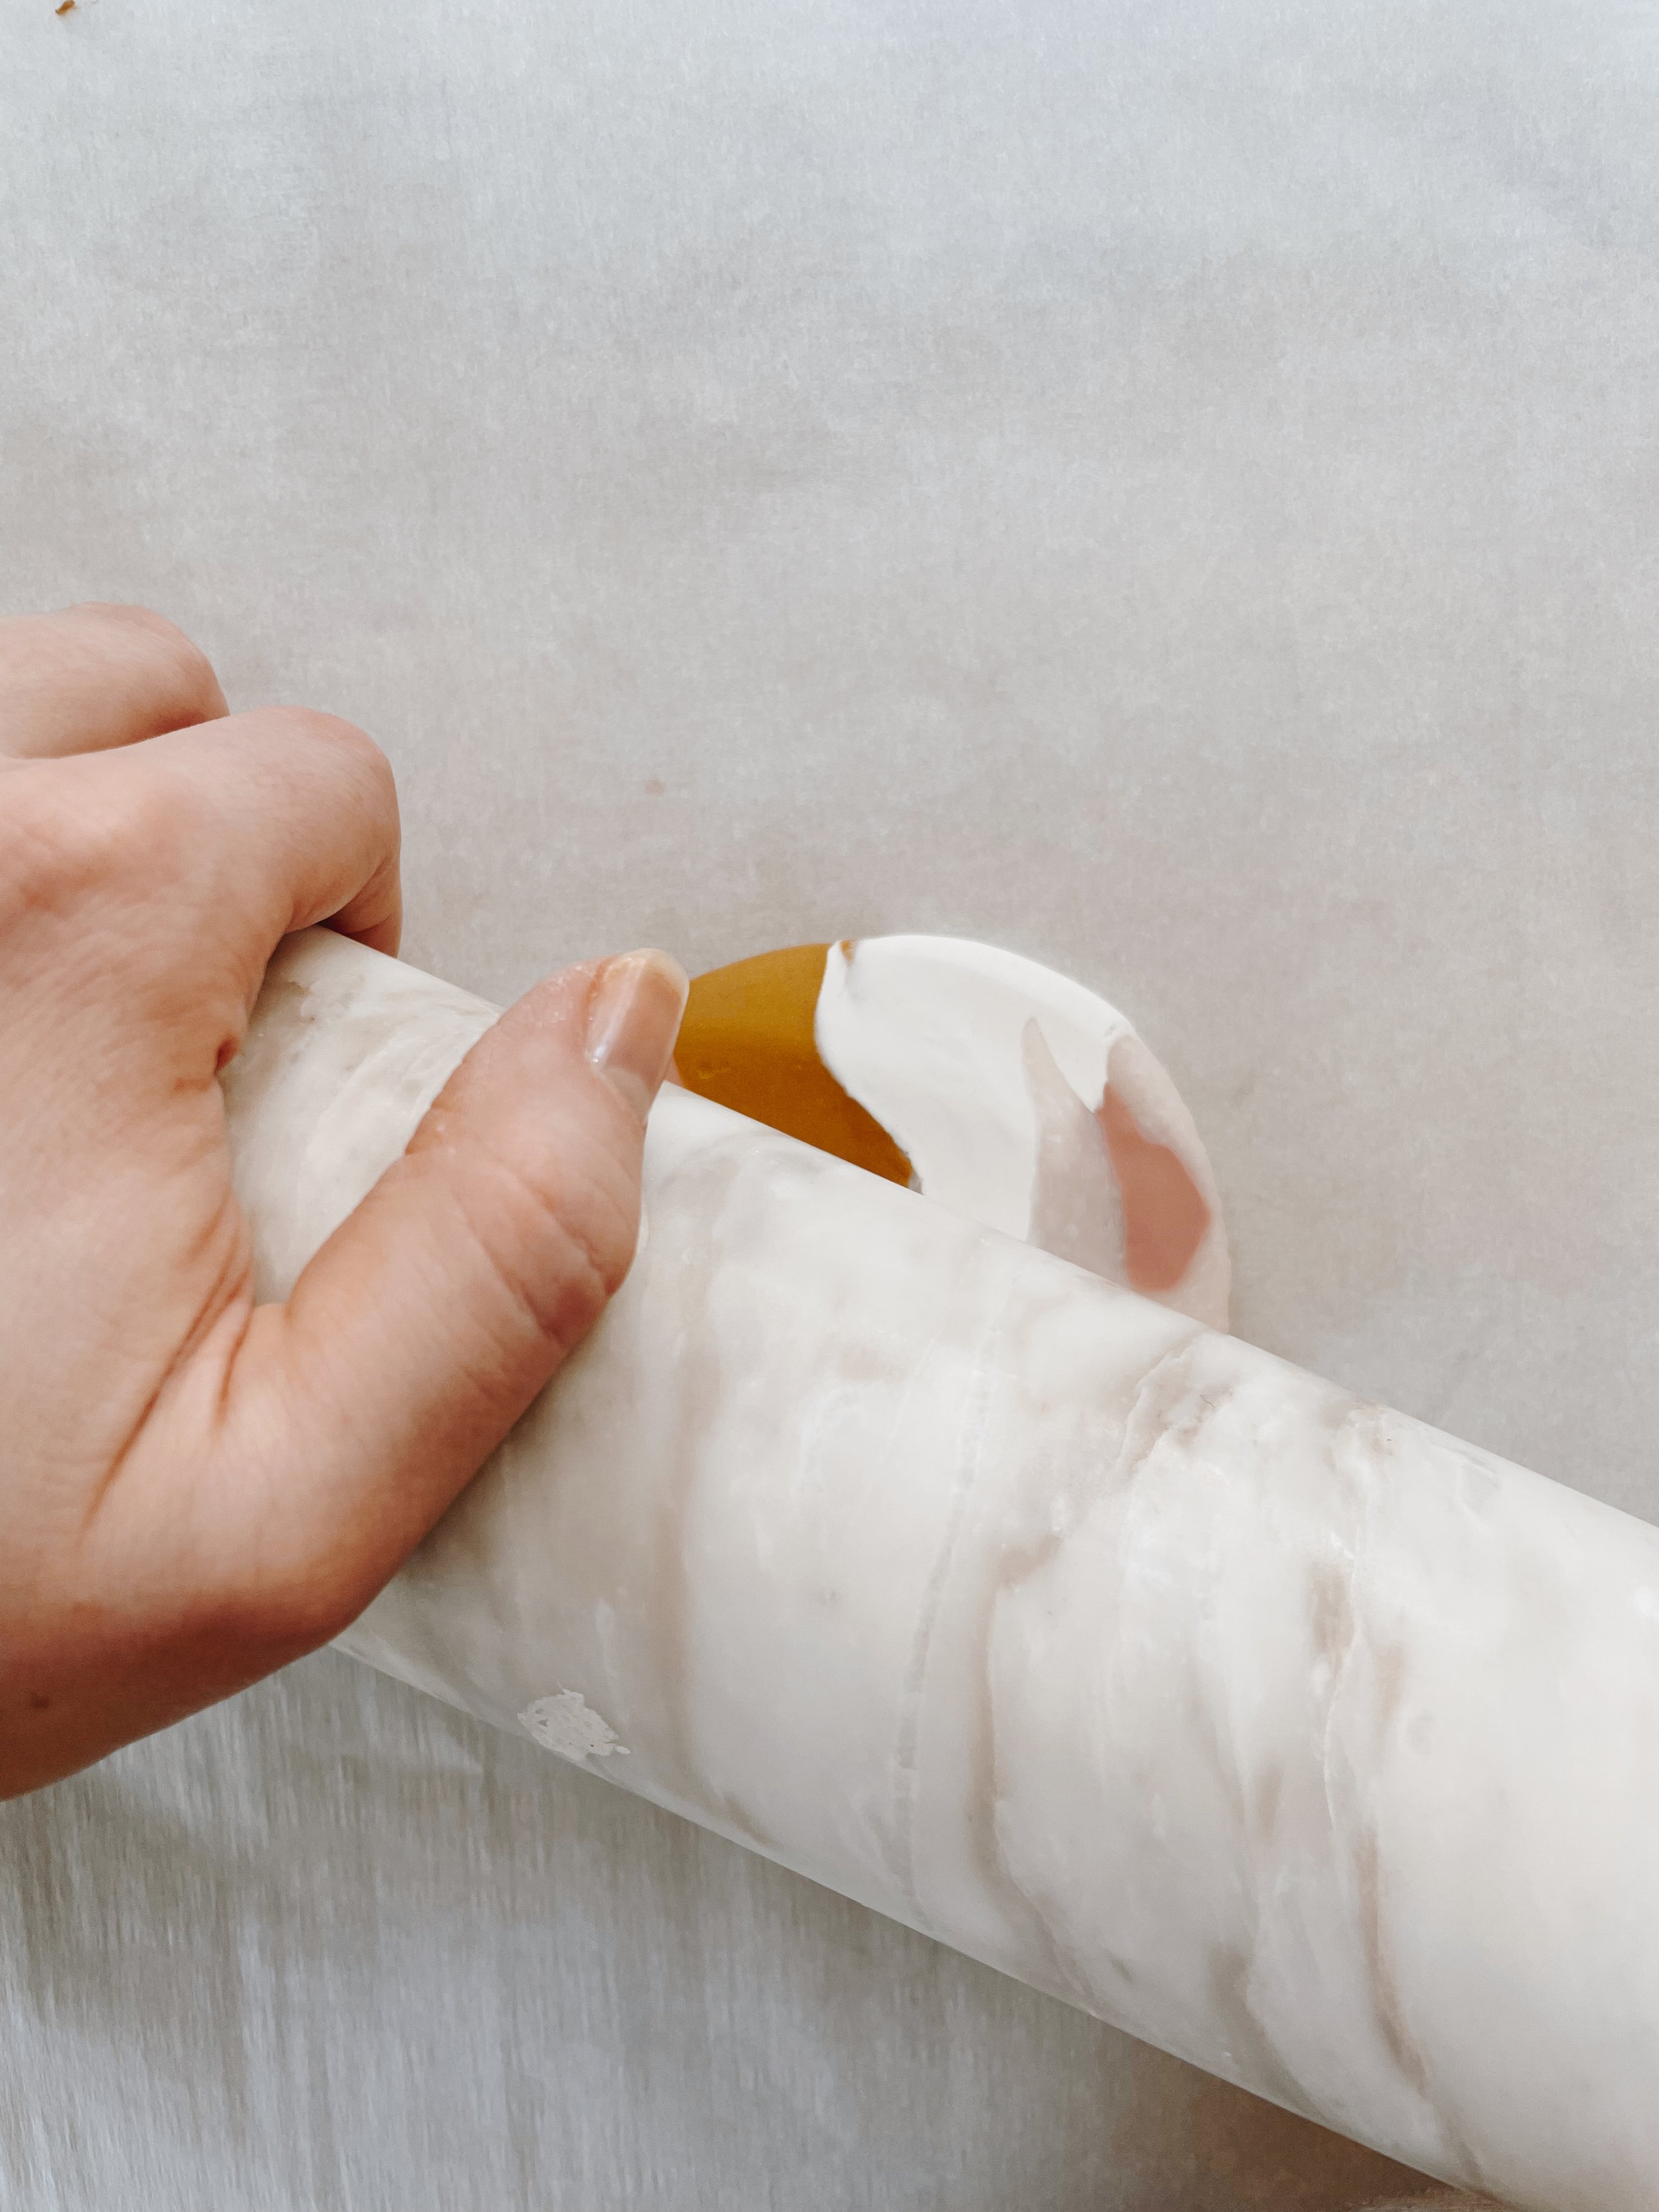
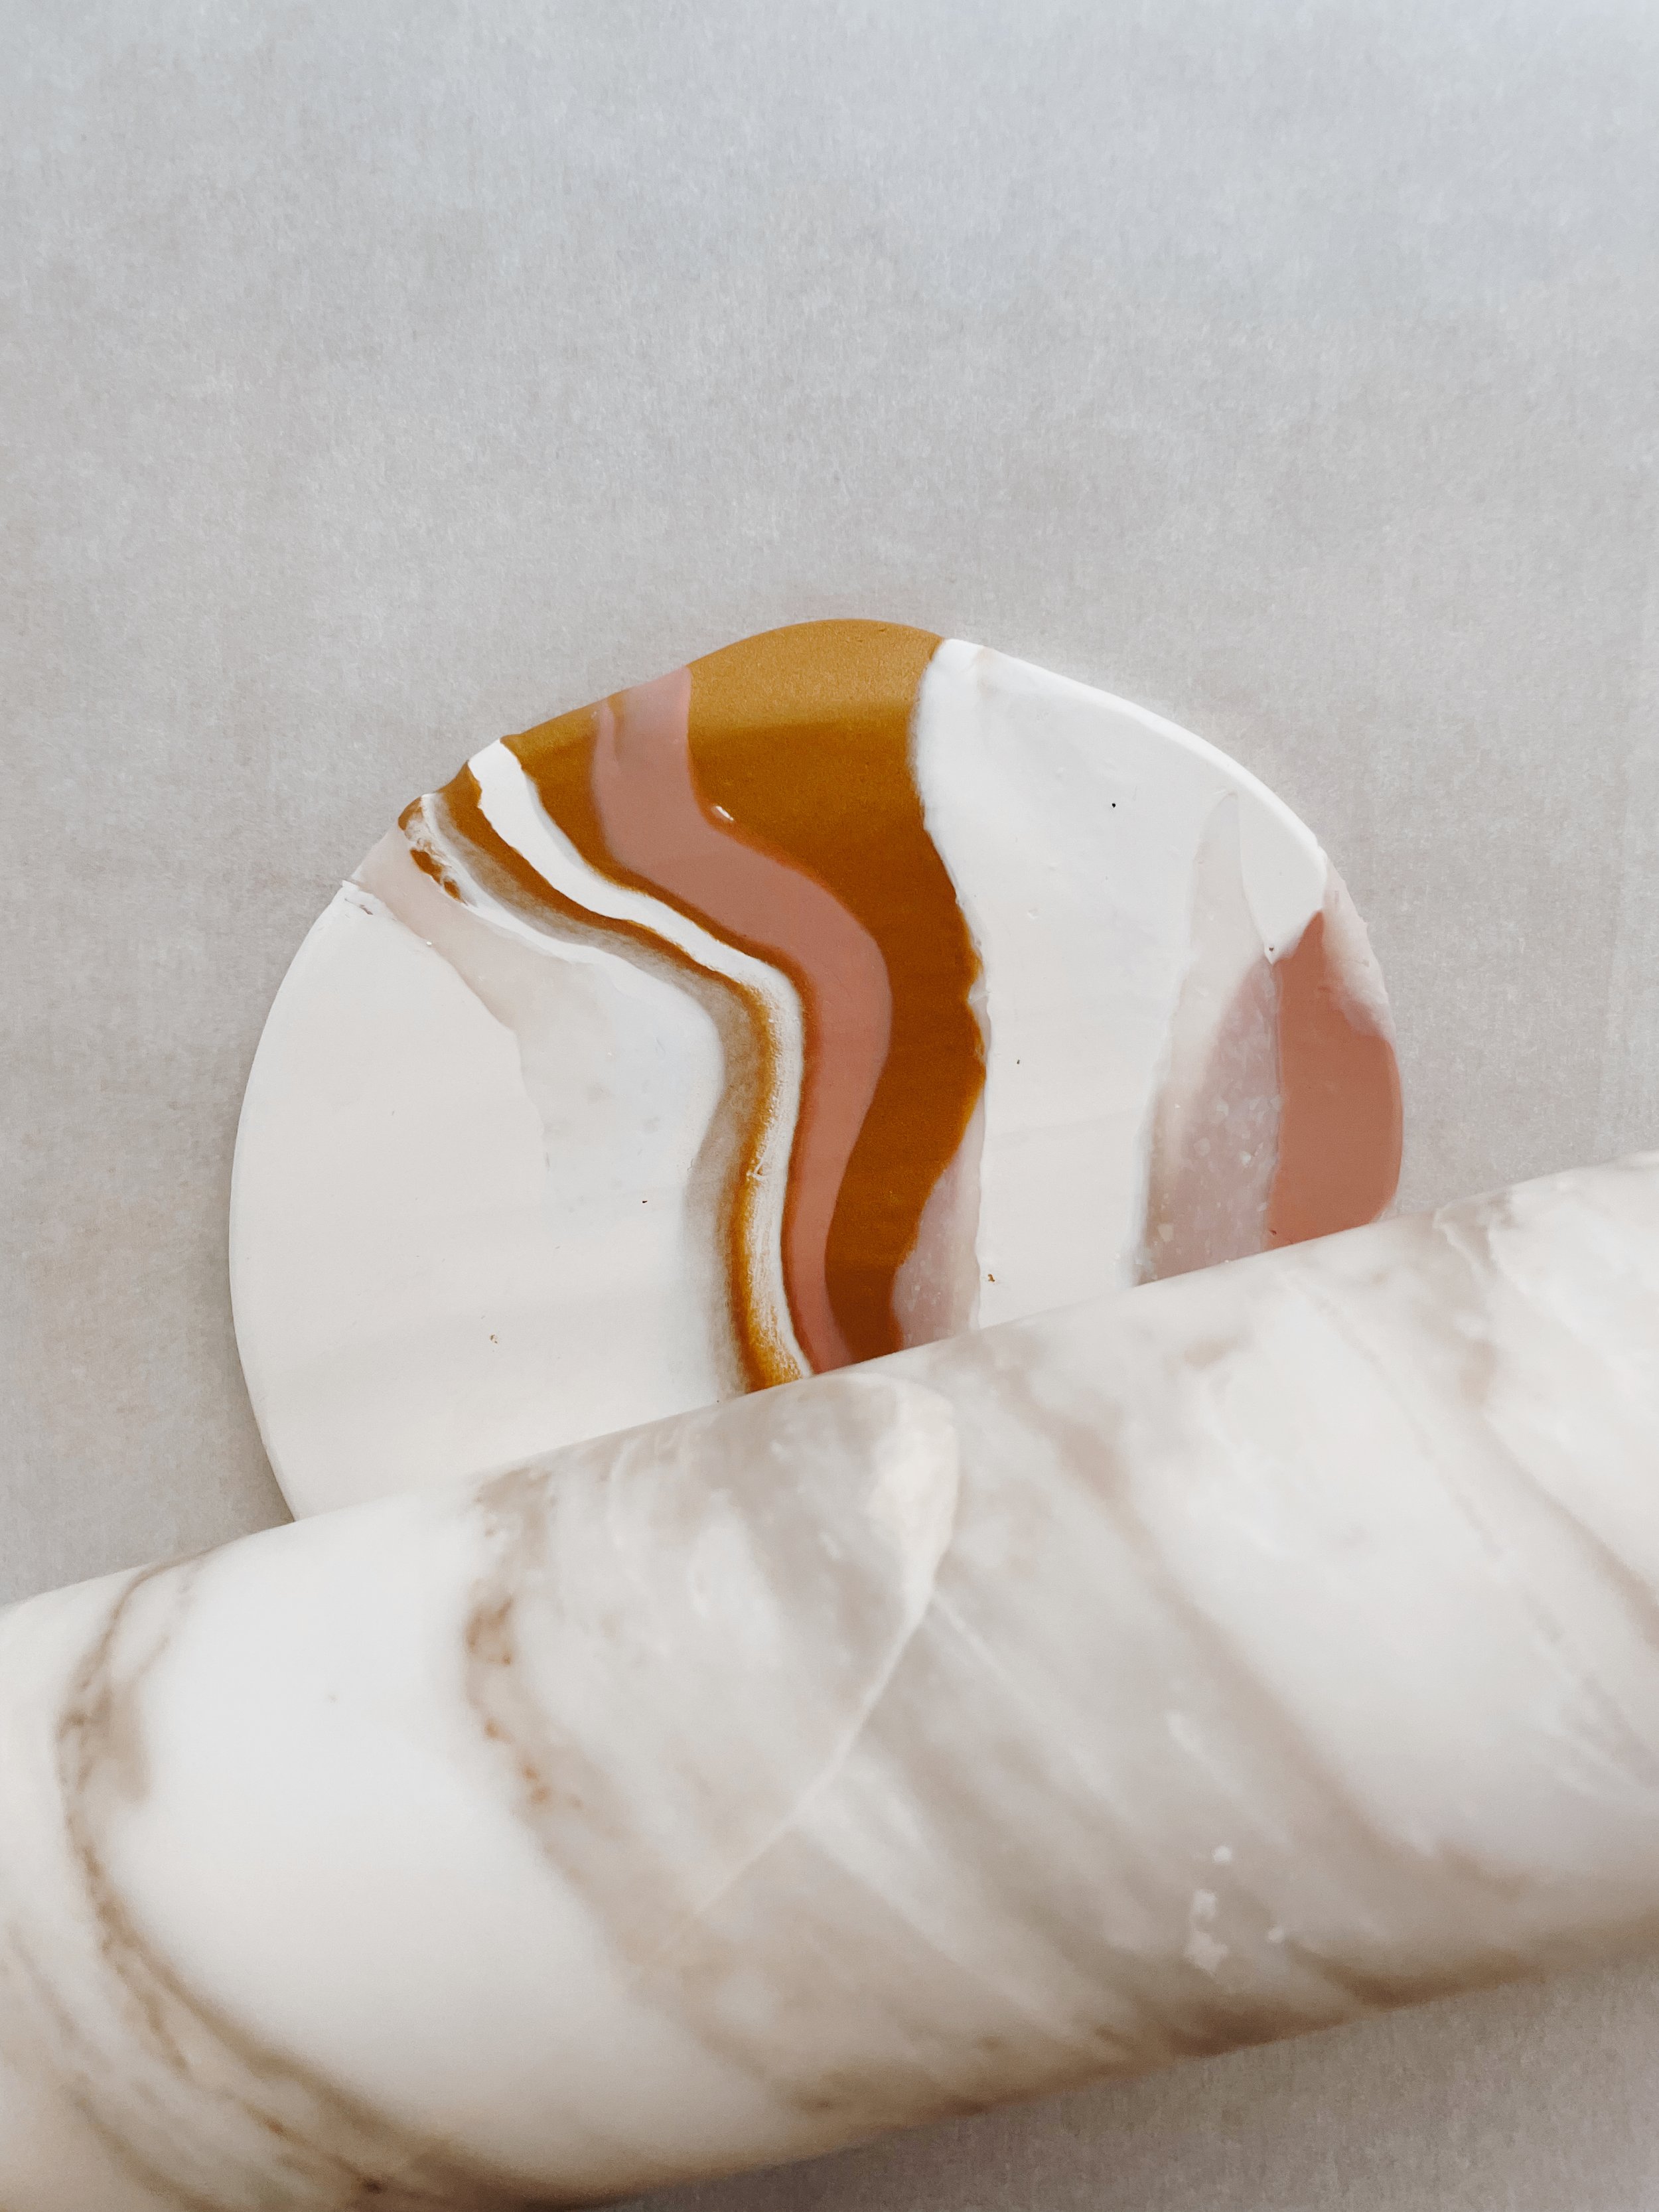
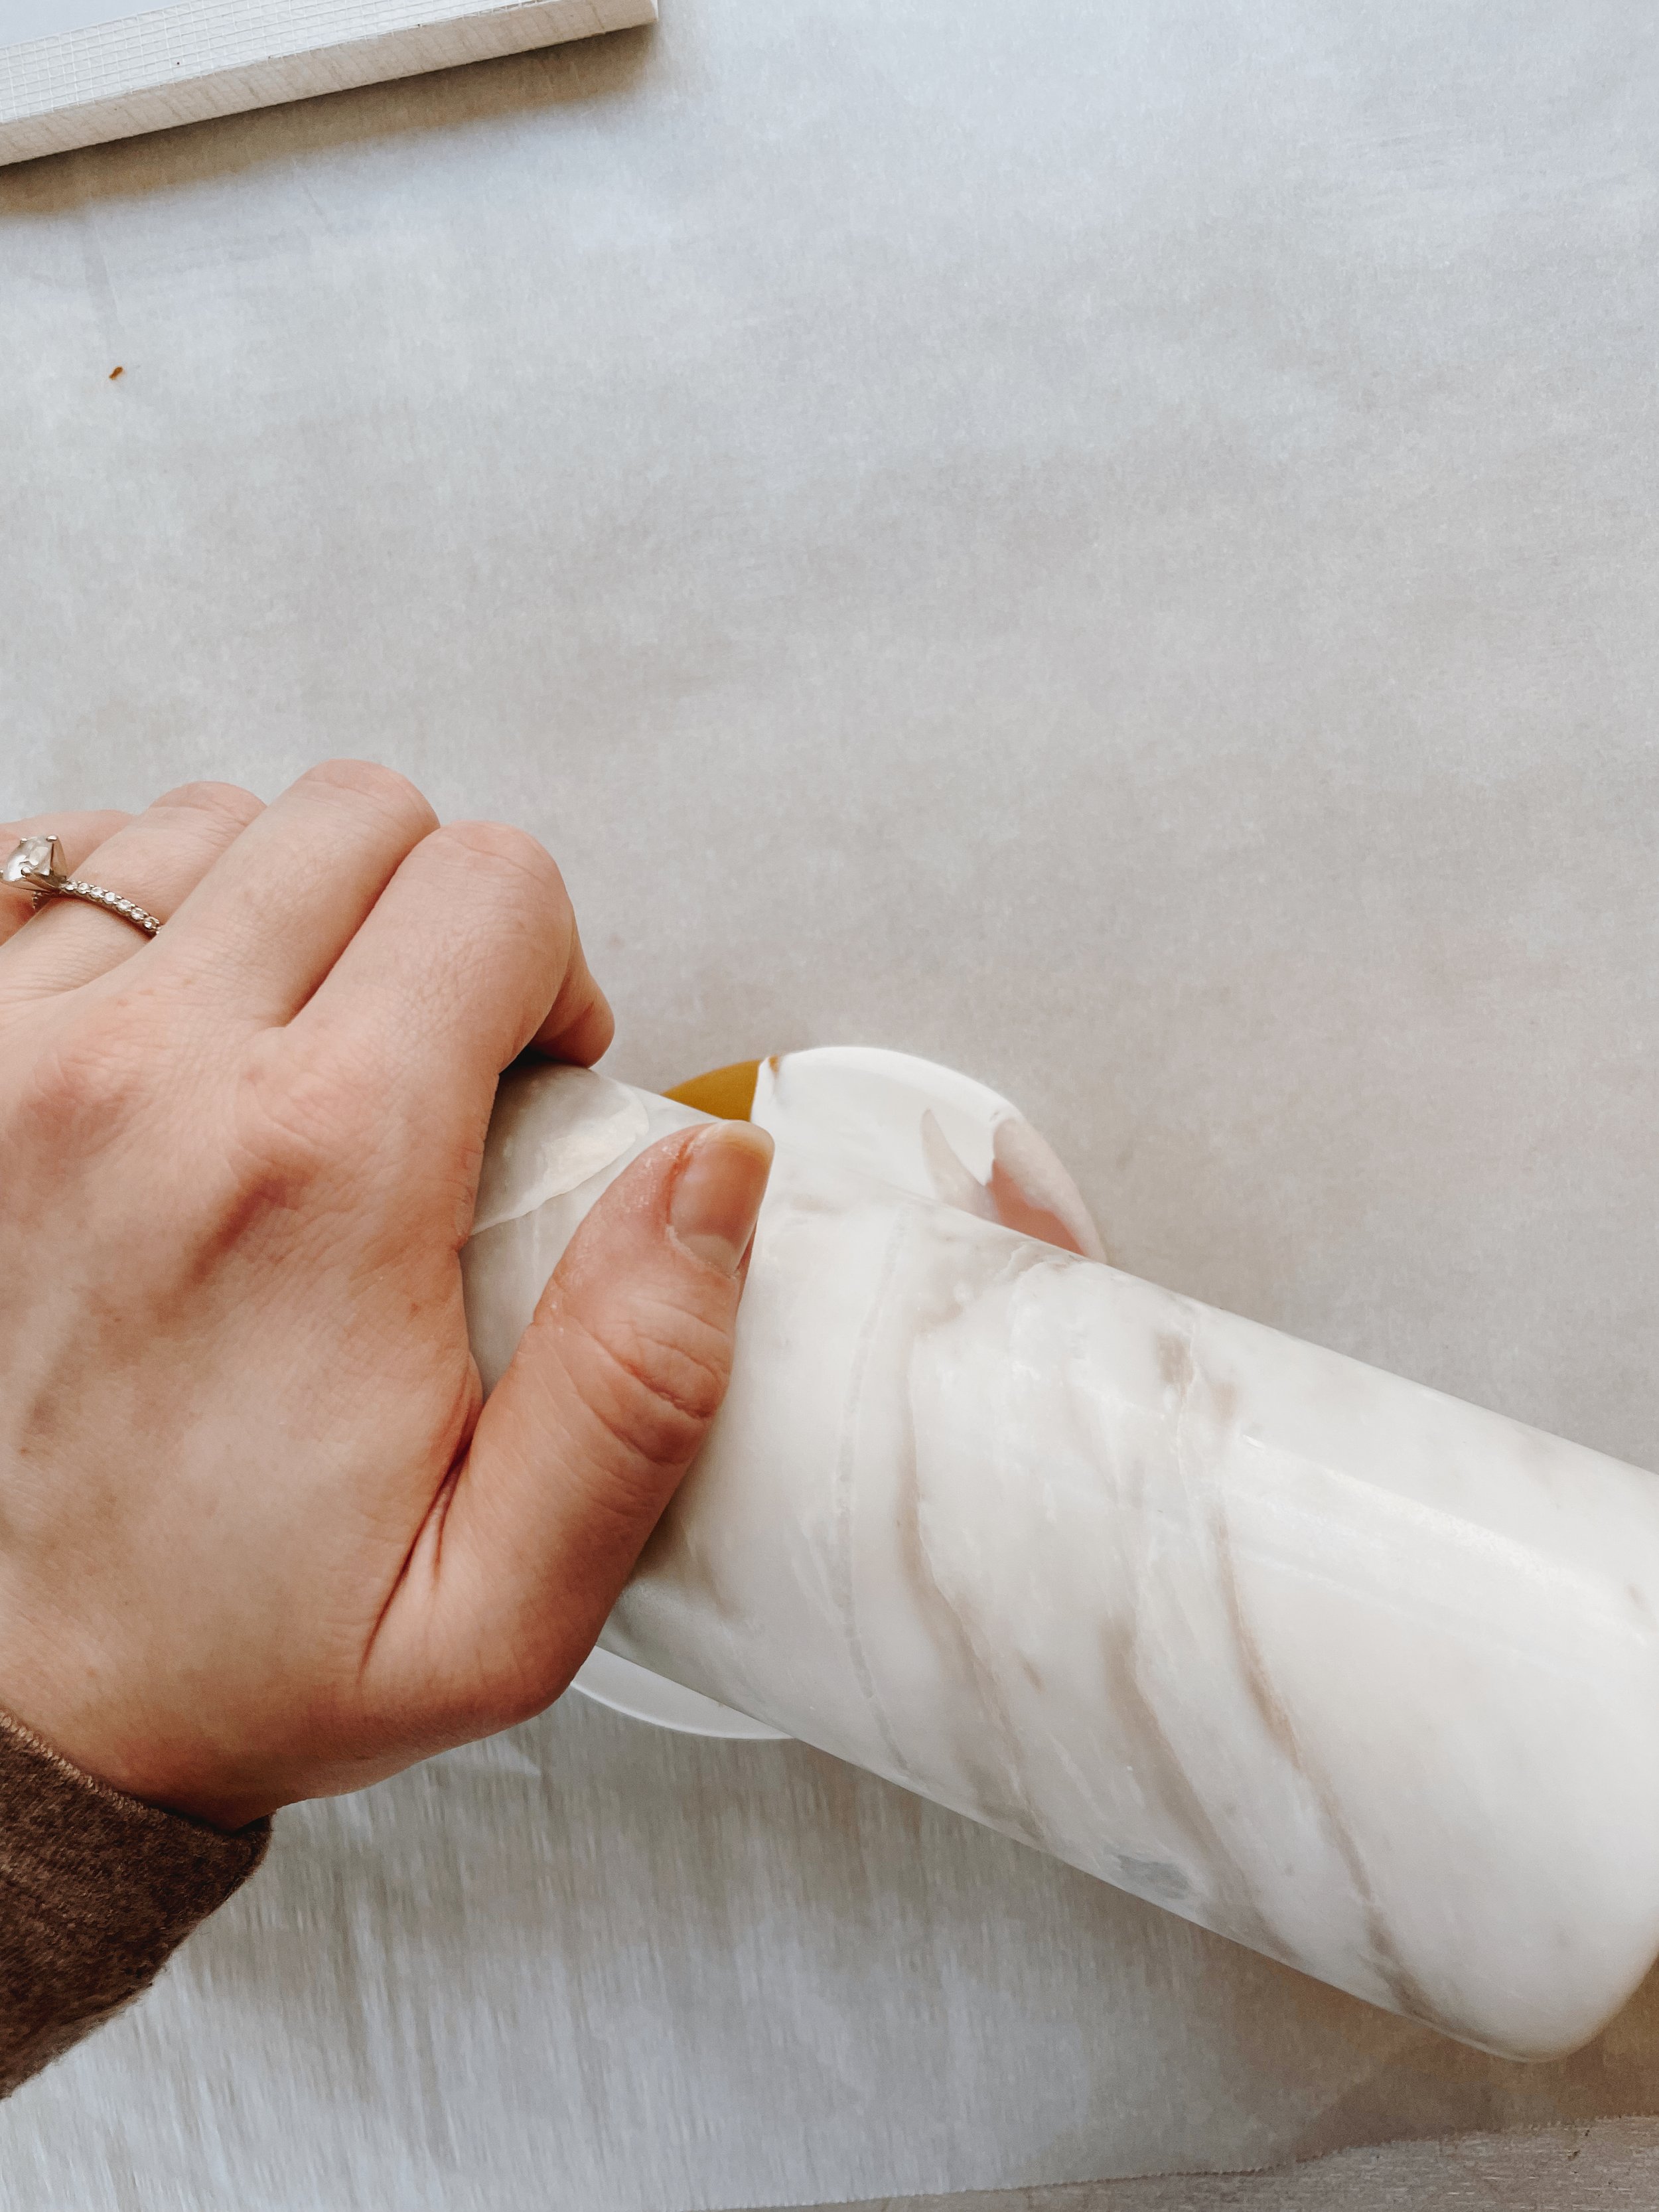
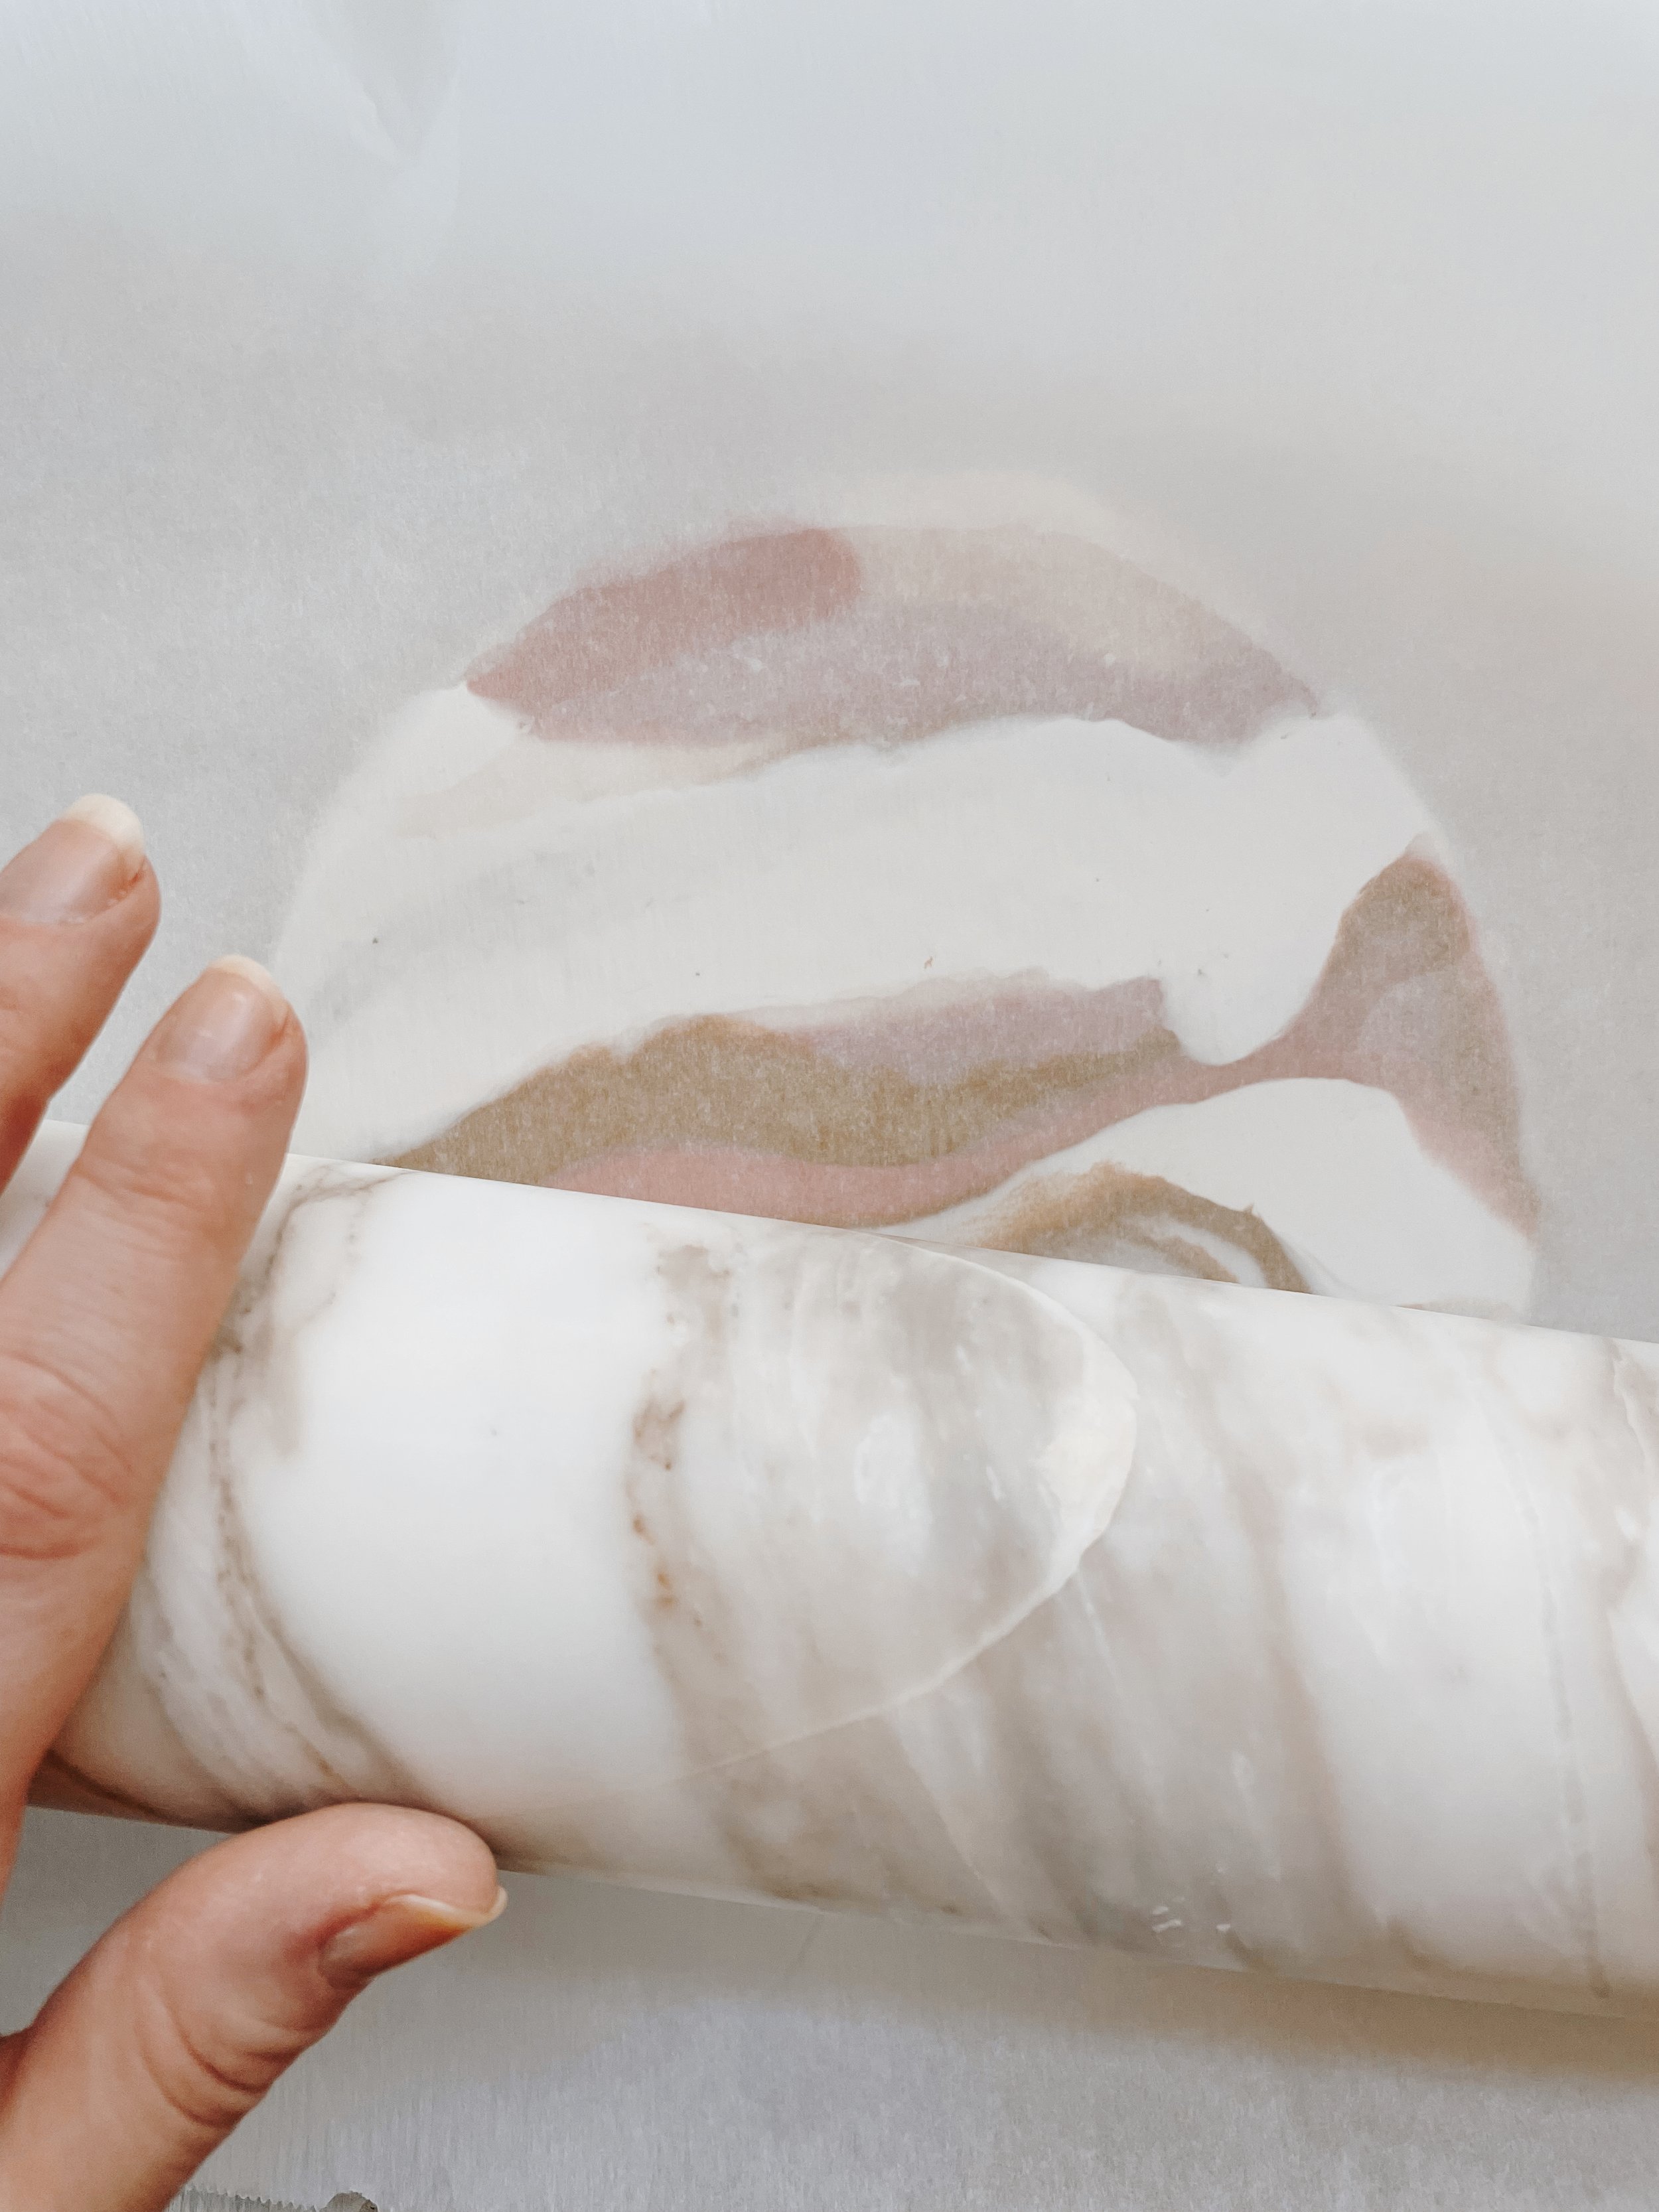
Step 4.) Flatten out the ball between two pieces of parchment paper by using a rolling pin or pressing down with a book.
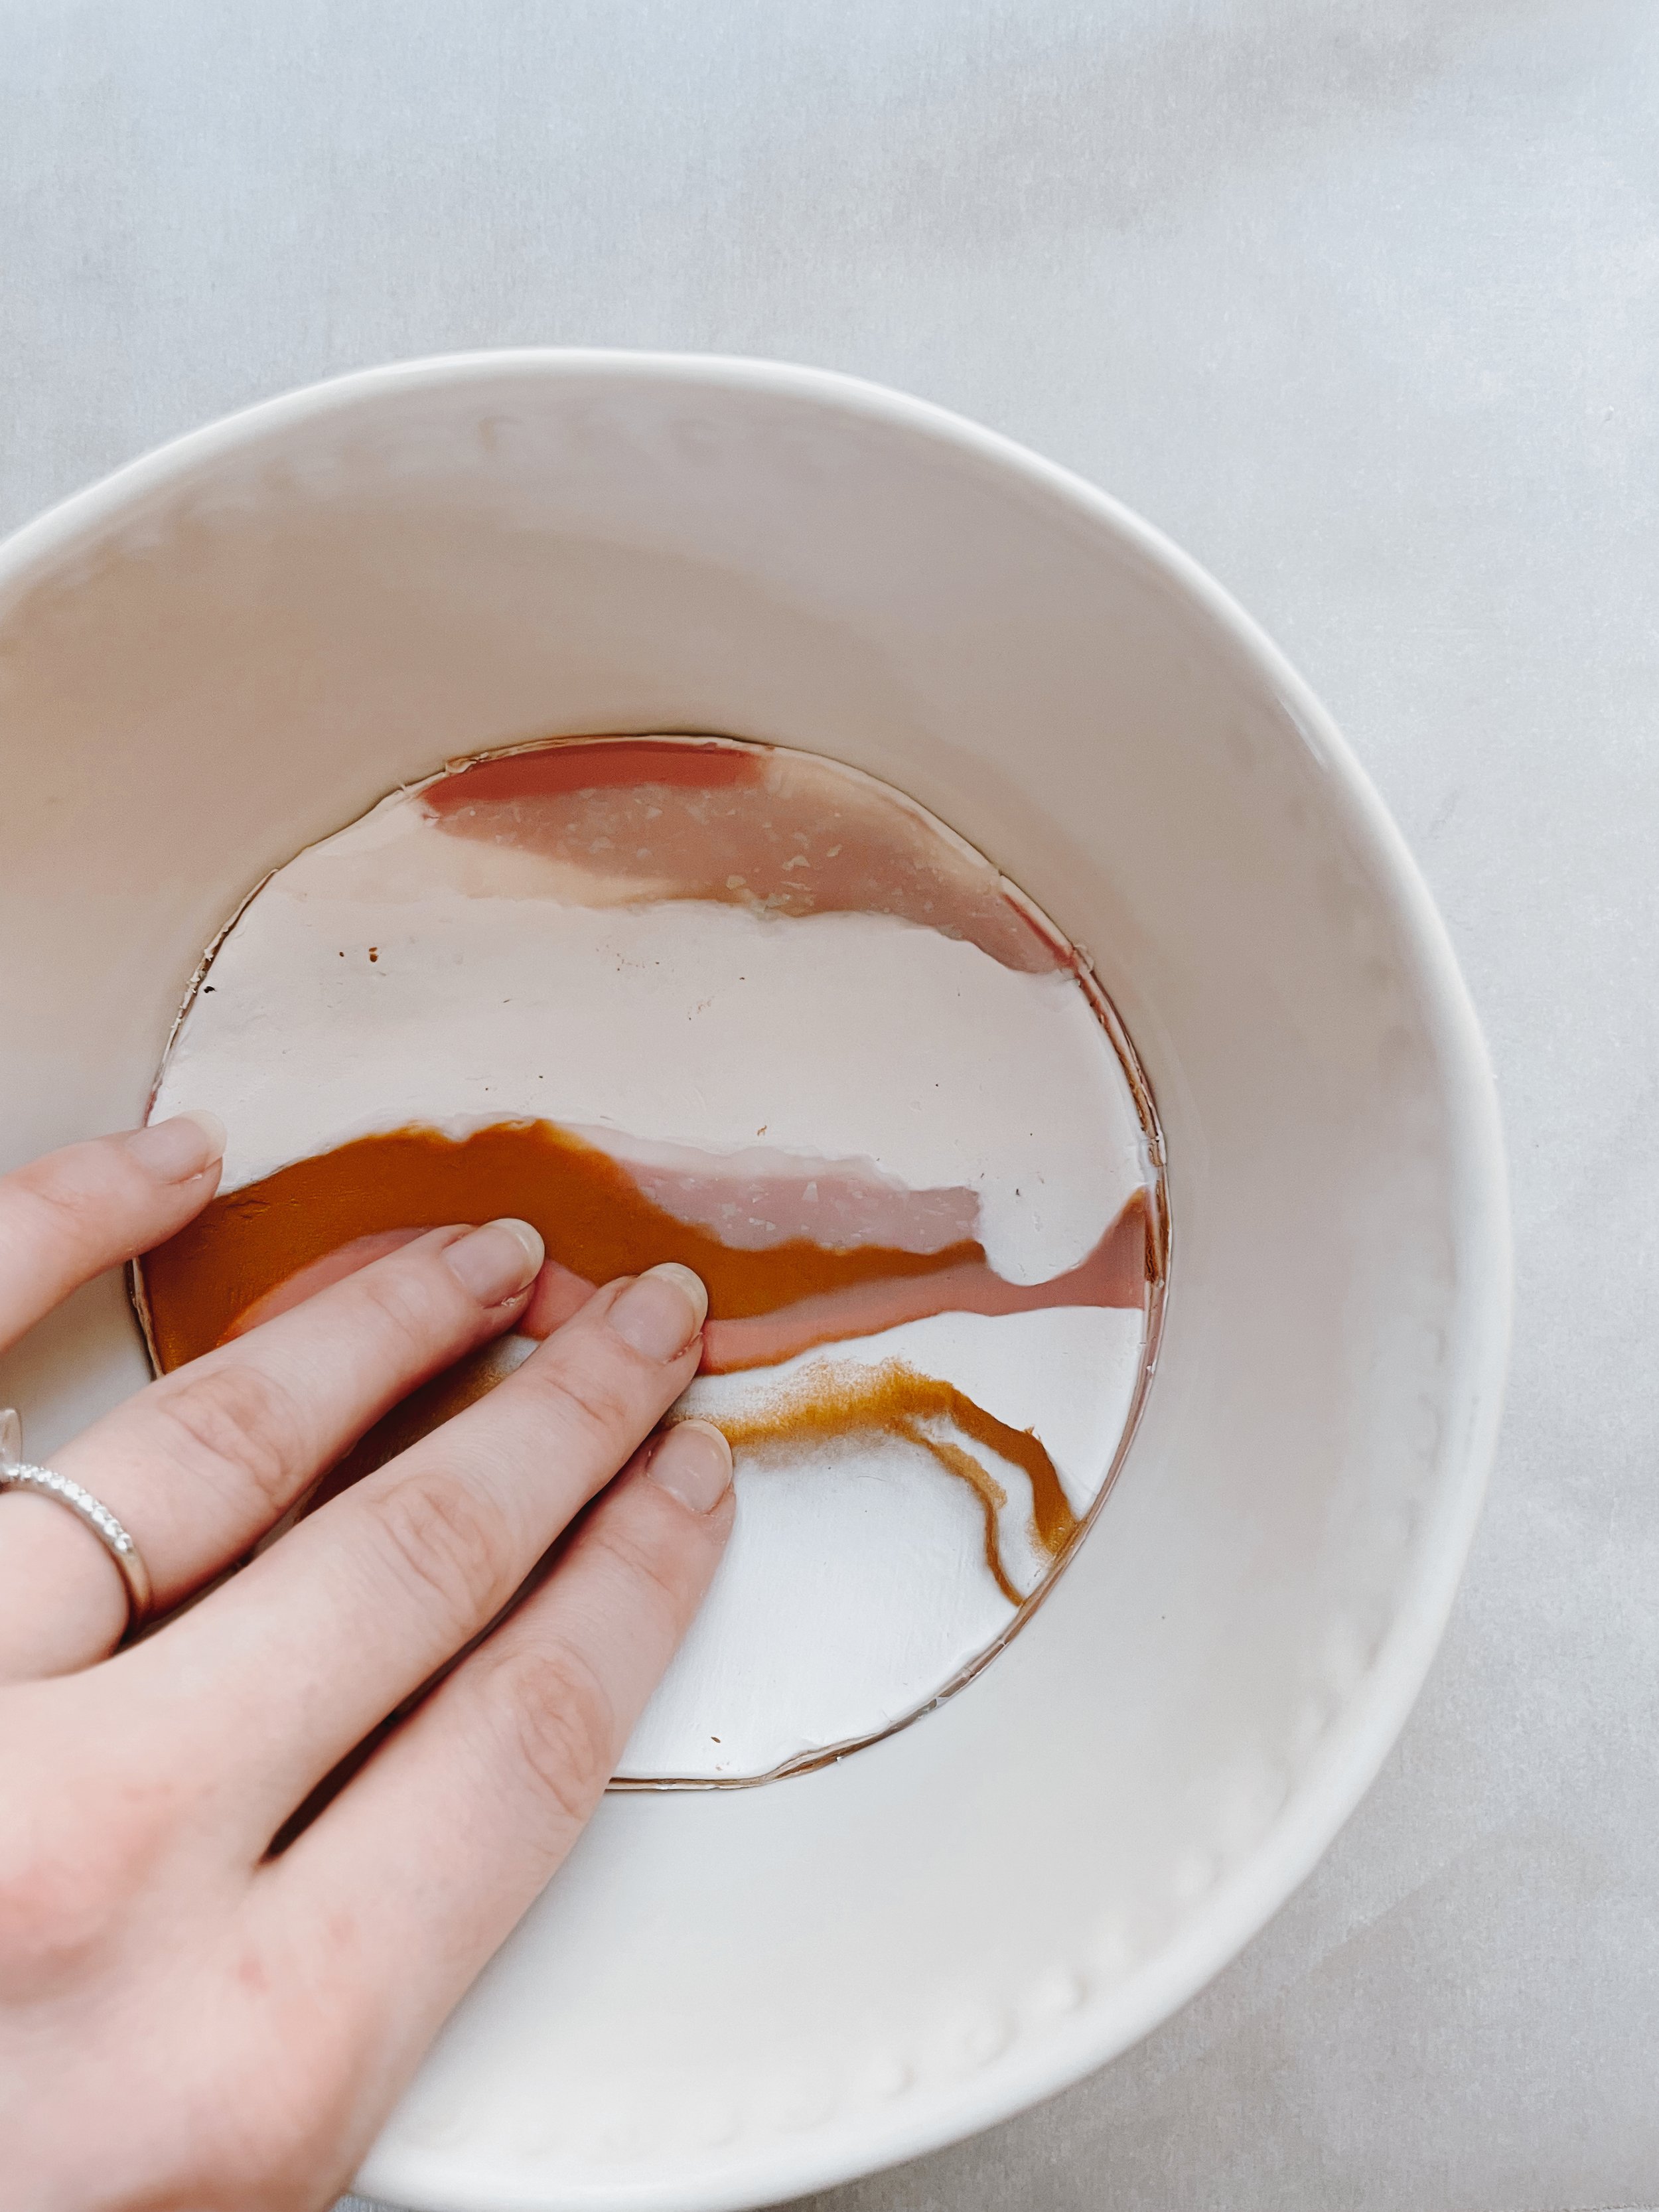
Step 5.) Use a large round cookie cutter or a bowl to cut the flattened clay into a circle, then place the circle of clay into an oven safe bowl to form it into the shape of the bowl.
Step 6.) Place the bowl on a baking sheet and bake at 275 for about 20 minutes OR according to the baking instructions on your clay package.
Step 7.) Take out of the oven and allow your marble dish to cool inside the bowl. Once cool, turn the bowl over and tap to free the clay from the inside of the bowl.
Step 8.) Enjoy your beautiful DIY marble clay dish!
CLAIRE’S PRO TIP: Use a nail file to smooth out the edges of your ring dish after you bake it.


