DIY

Crafting with Claire: Holiday Mantle

“May your walls know joy, may every room hold laughter, and every window open to great possibility.”
— Mary Anne Radmacher

Claire Jackson is such a refreshing part of our Bustle family. When she isn’t wowing us with her endearing creativity, she is spending time with her sweet husband, Dan, and their two precious children, Eleanor and Henry.

We all know someone who makes decorating look effortless. Claire is THAT person. Everything she touches turns into a Pinterest ad and we love her for it. While we can’t all be a “Claire", at Bustle we want to make the art of creativity attainable for everyone. That’s why Claire has made it her personal goal to curate crafts that we can all partake in. Every season, she will lead us in a step-by-step guide through the latest diy trends. Whether you’re crafting with kiddos or by yourself with a glass of wine, we hope you enjoy this pretty piece of mindfulness

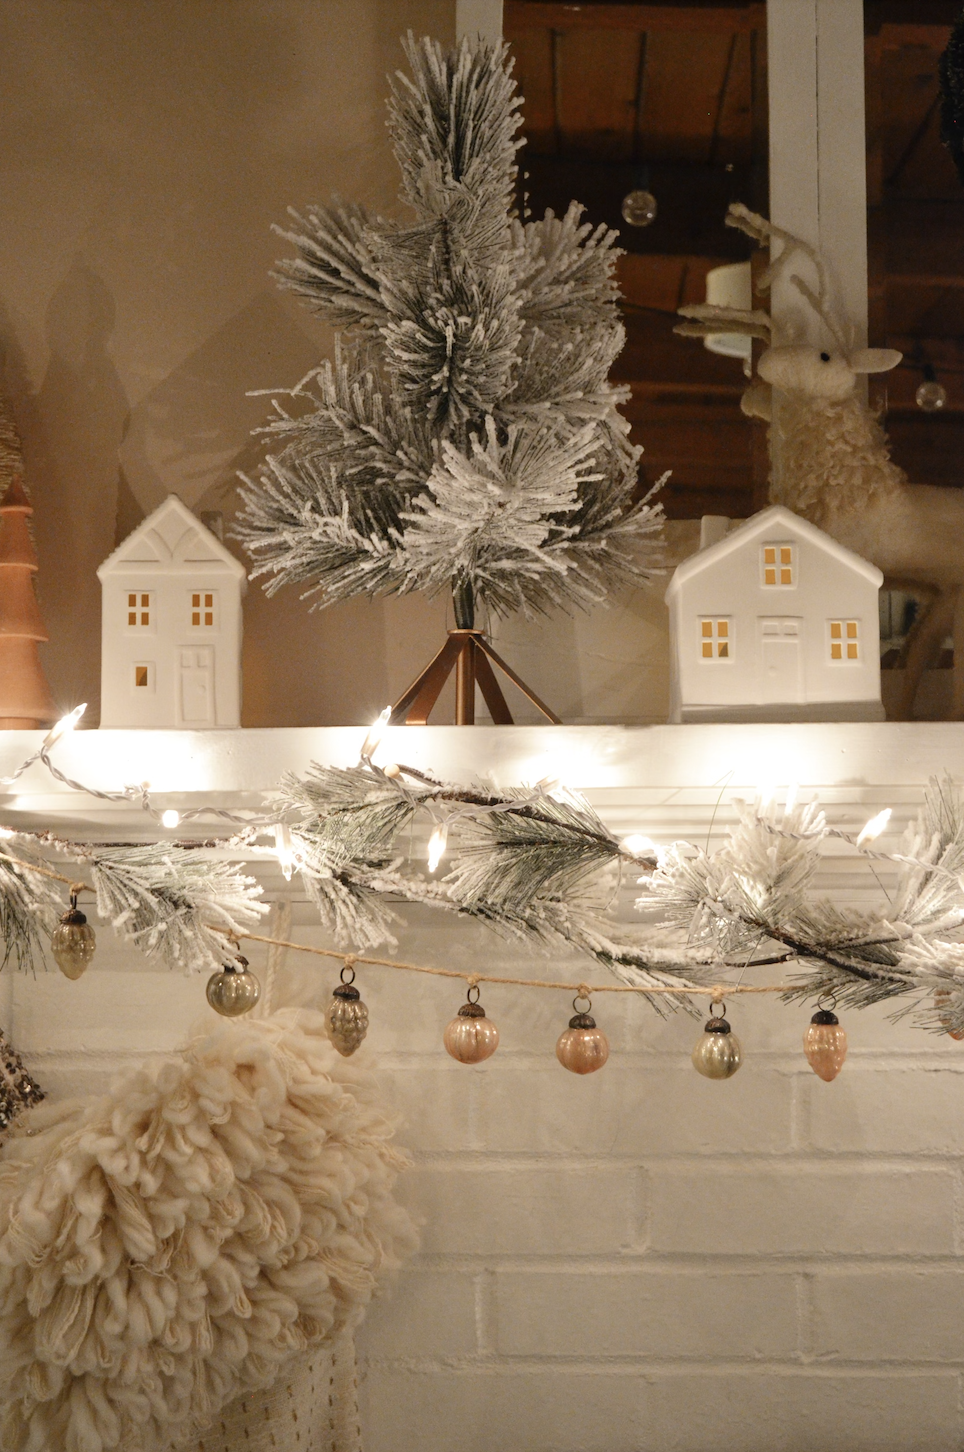
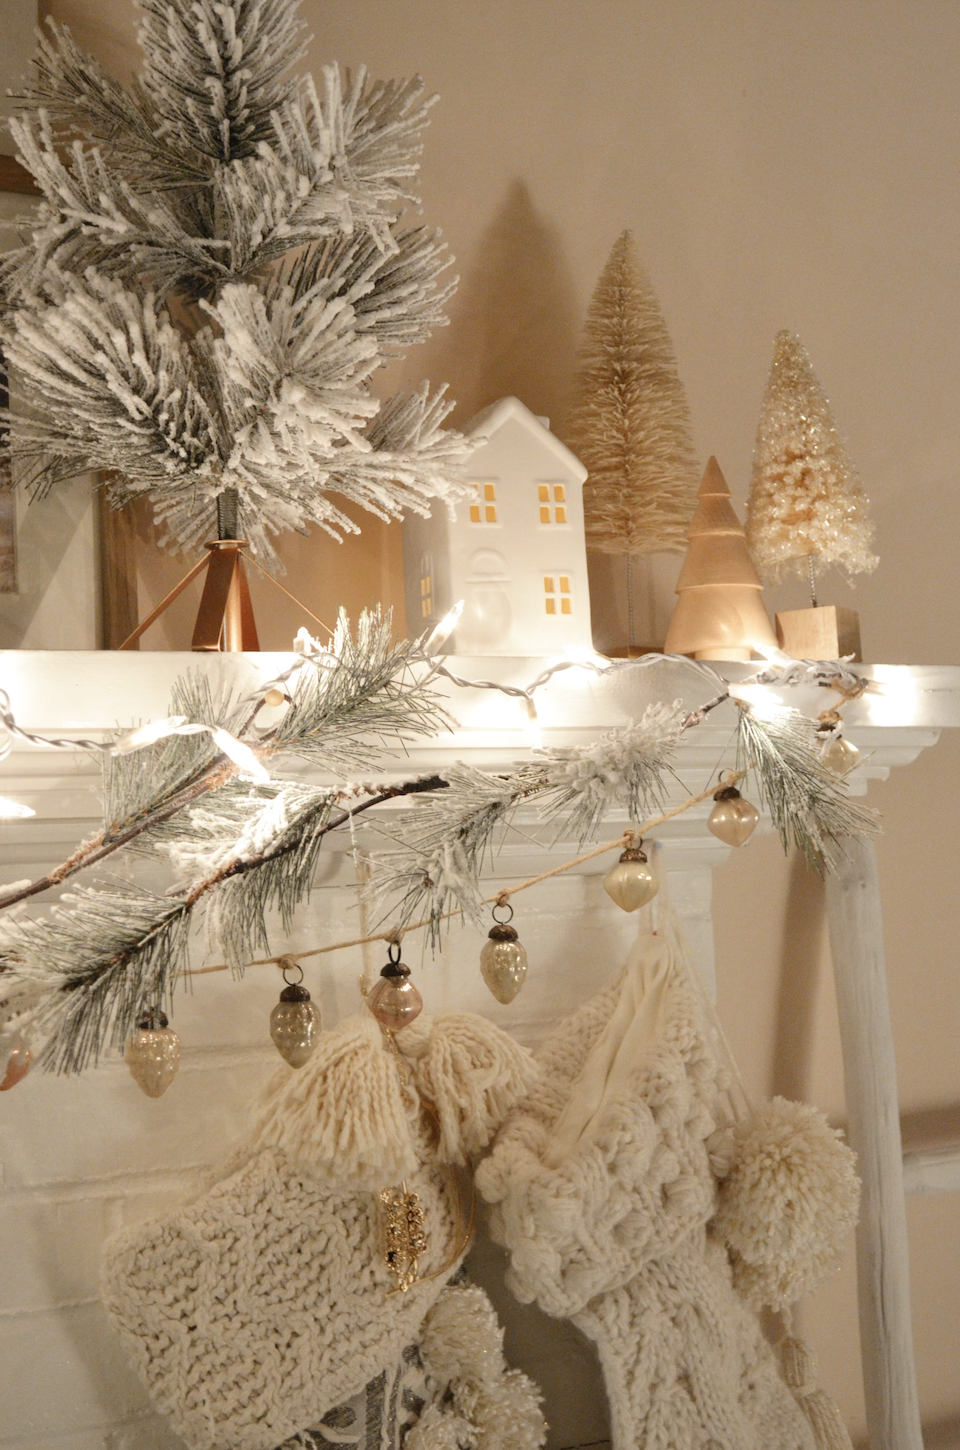
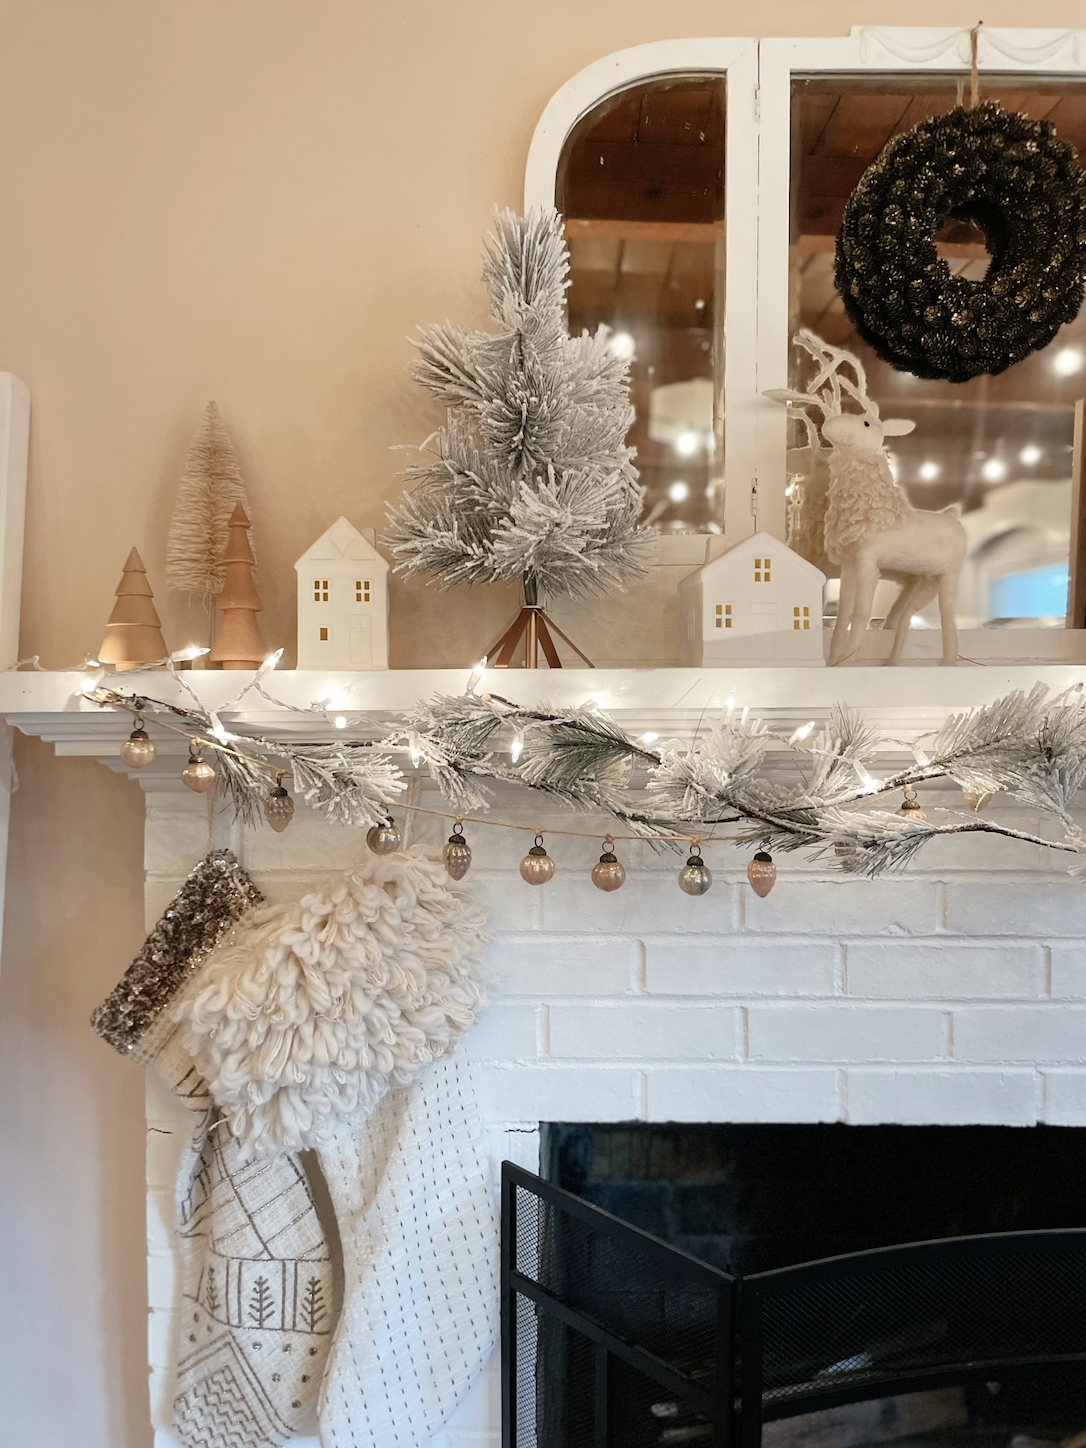
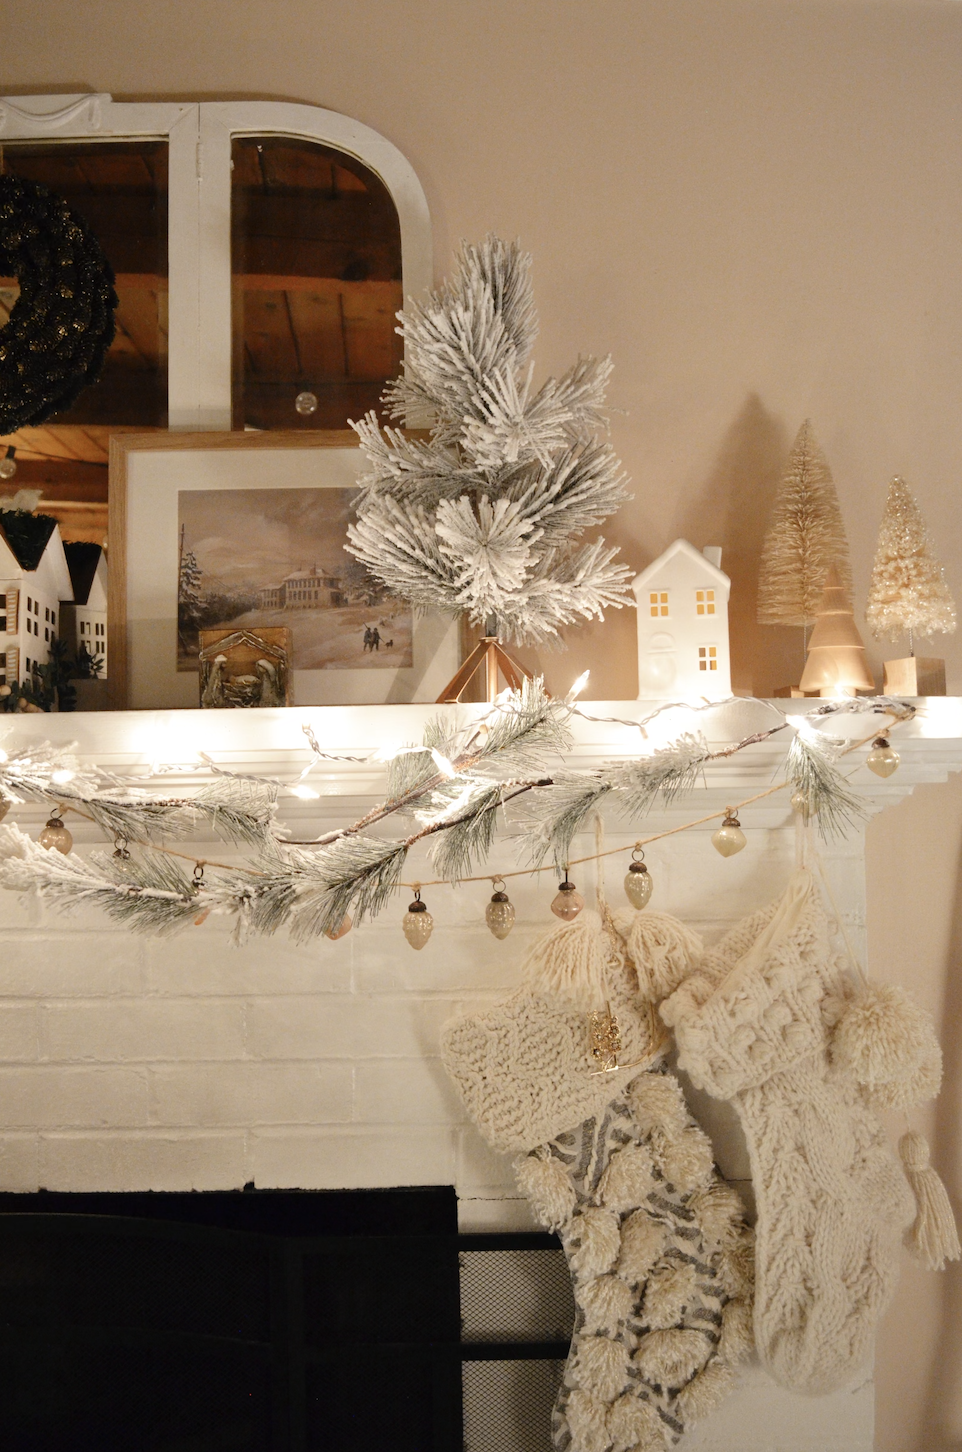
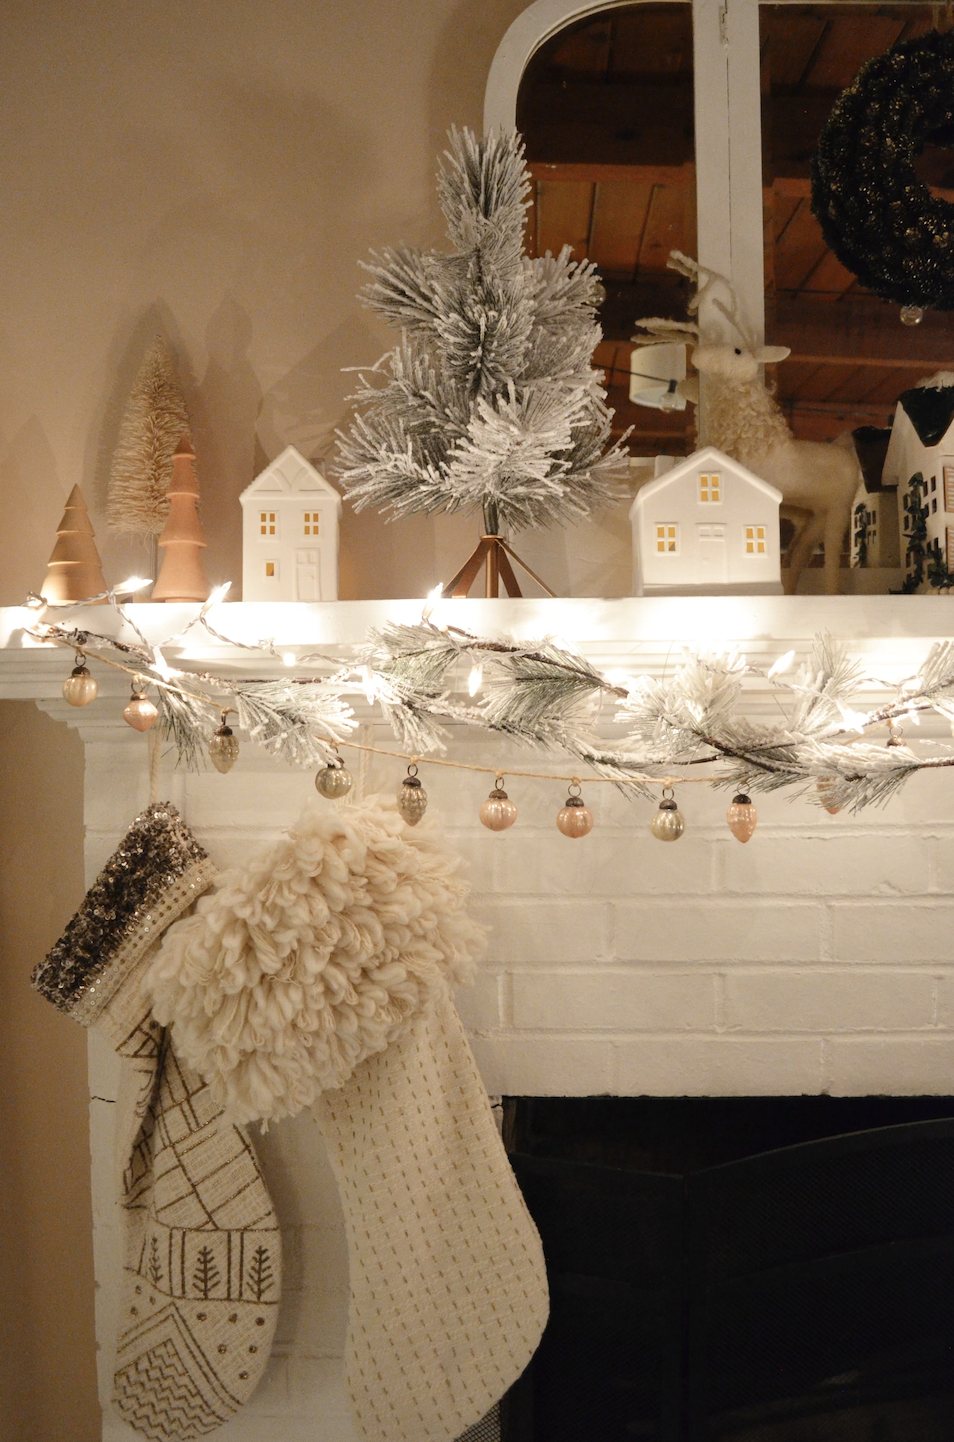
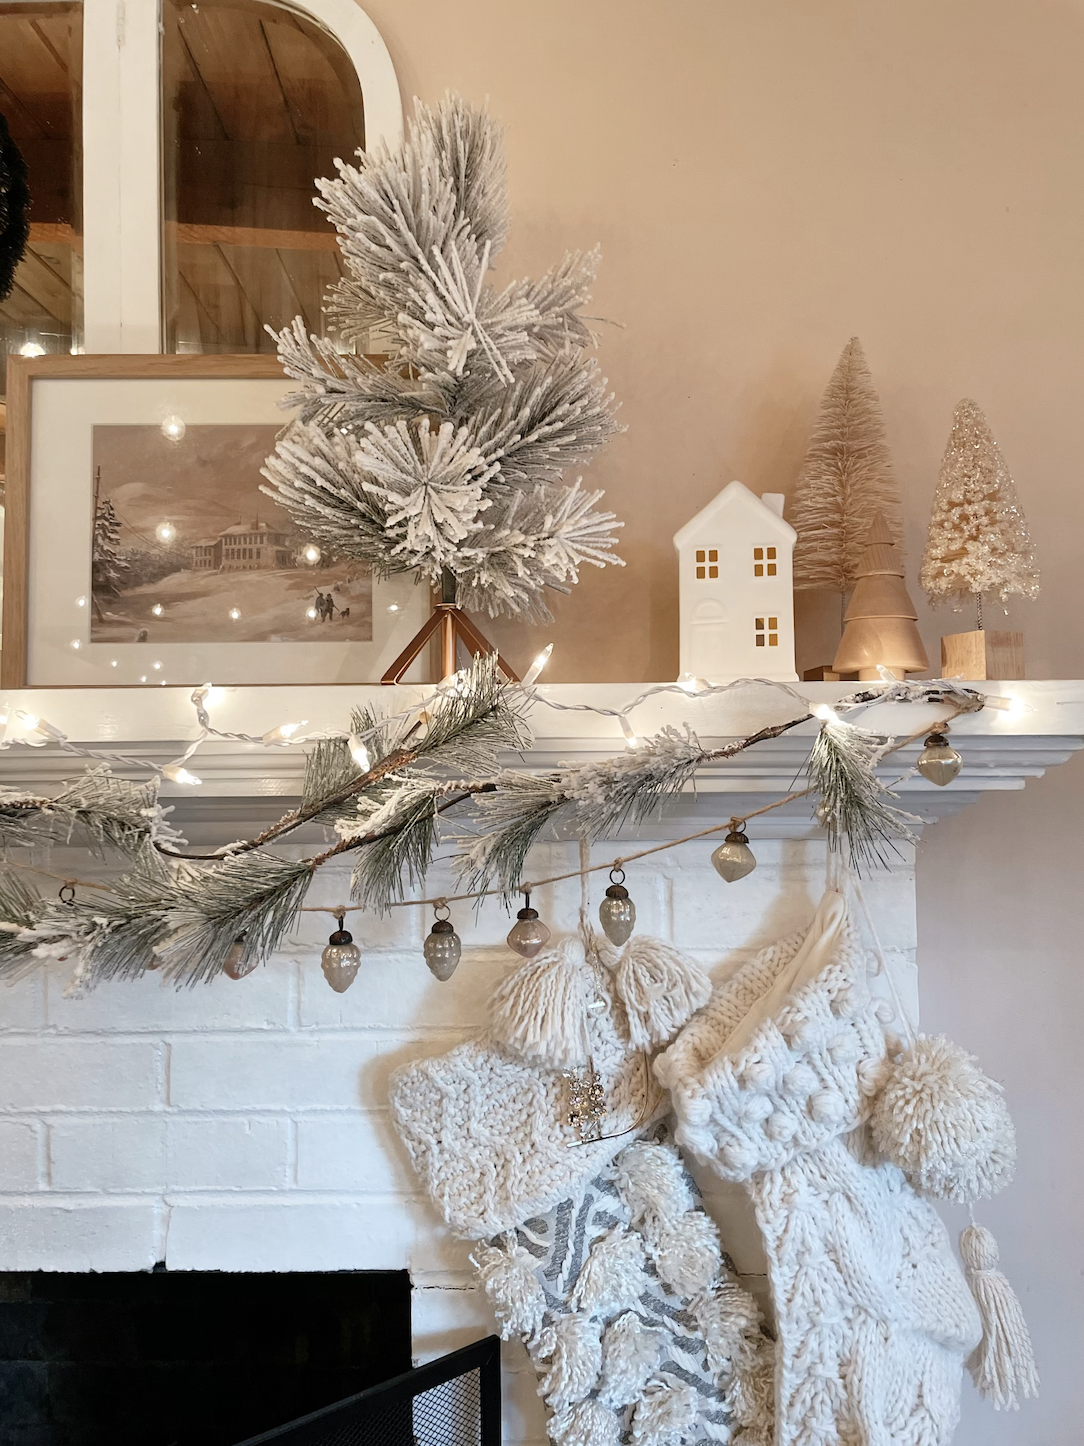
This season’s Crafts with Claire is a beautiful homage to the warmth of home for the holidays. There is something so heartfelt about a festive mantle with twinkling lights and nostalgic decor. This setting will be the backdrop to your most treasured memories for years to come.

In this blog, Claire will guide us through her process of designing the coziest Holiday Mantle, shopping at one of our favorite places on earth, TARGET.


It seems like the big box stores ordain their shelfs with holiday merriment earlier and earlier each year. Sometimes the array of stockings and Christmas garland can be quite overwhelming. We’ve all had that moment of standing in the middle of the holiday lights display, trying to figure out what size bulbs would be just perfect for our tree. Claire is helping us get our holly jolly together this season!

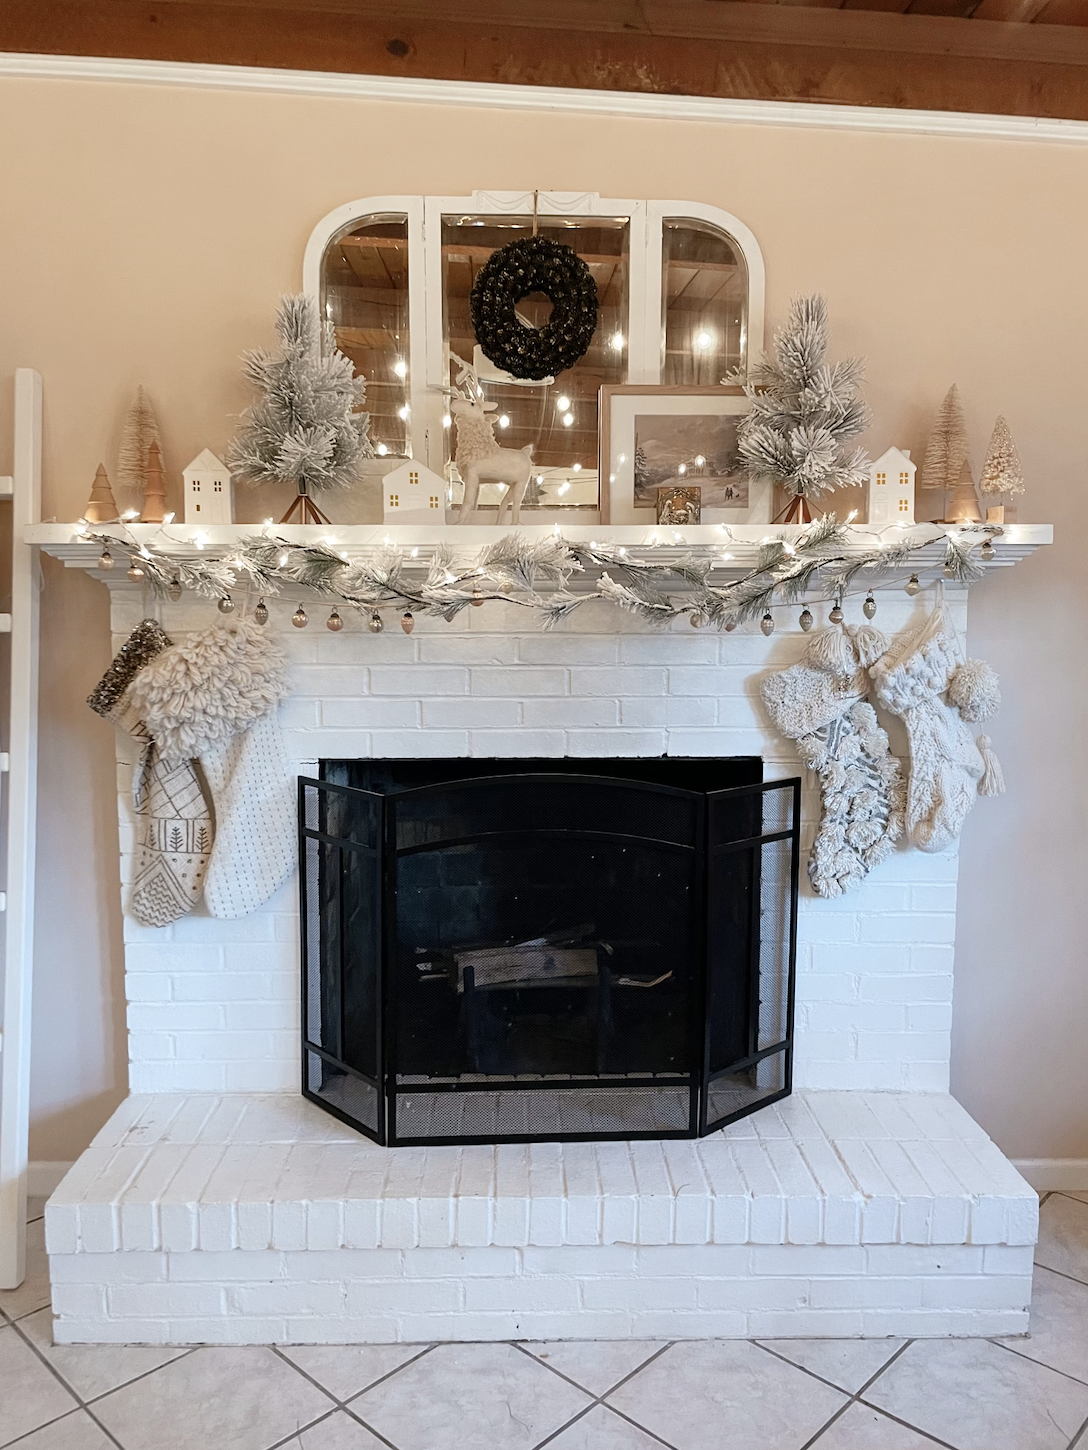
She took on the task of using a $50 design budget to create a mantle worthy of all our White Christmas dreams. She frolicked through the aisles of Target to pull this project together and we are NOT disappointed. We hope you can get some inspiration from Claire’s lush display. Keep an eye out for links to shop some of these items for your own decor!

“Christmas is a piece of one’s home that one carries in one’s heart.”
— Freya Stark

Claire’s Tips to Build an Aesthetic Holiday Mantle

1.) When you start designing a new display, it helps to make the key elements of your design symmetrical and then add other things to make it interesting and give balance.

2.) Add lights for that Christmas glow!

3.) Working vintage items into your scheme will add sentimentality and warmth to your design.

Crafting with Claire: Spring Floral Art

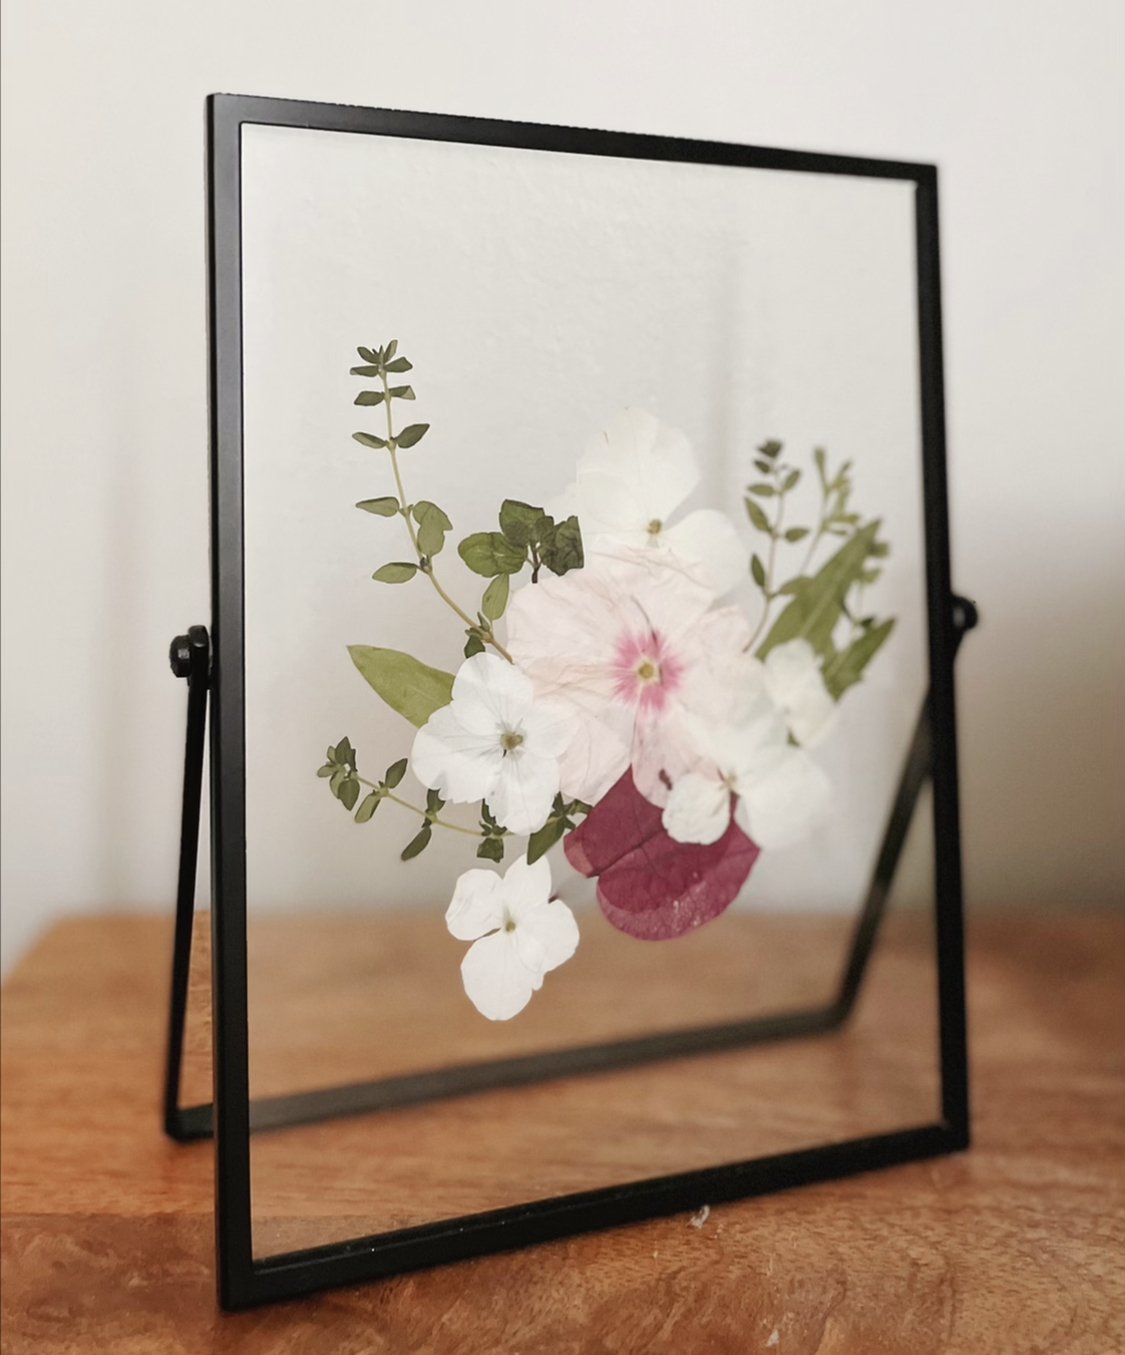
Is it May already? The grocery stores are filled with gardens of rainbow colored blooms and it’s giving us an extra boost of seasonal serendipity. There is something so effortlessly enchanting about fresh flowers. That’s why we want to dedicate this crafting session to preserving their beauty. This DIY would be the perfect gift for our favorite heroes this Mother’s Day. Whether you are crafting for Mom or for yourself, we think this would be a lovely addition to your gallery wall this Spring.

Happiness is to hold flowers in both hands.
— Japanese Proverb
Headshot of Claire.

We all know someone who makes crafting look flawless. Claire is THAT person. Everything she touches turns into a Pinterest ad and we love her for it. While we can’t all be a “Claire", at Bustle we want to make creativity attainable for everyone. That’s why Claire has made it her personal goal to curate crafts that we can all partake in. Every season, she will lead us in a step-by-step guide through the latest diy trends. Whether you’re crafting with kiddos or by yourself with a glass of wine, we hope you enjoy this pretty piece of mindfulness.
Step 1.) Choose your blooms — visit your local garden shop, flower truck, grocery store or even your yard! The best flowers to use are ones that are not too thick and can be flattened easily. Hydrangeas, violets, and other delicate flowers are a great choice.

Step 2.) Flatten your flowers! Use a flower press, wooden blocks, or heavy books to get your flowers nice and flat (and dry!).

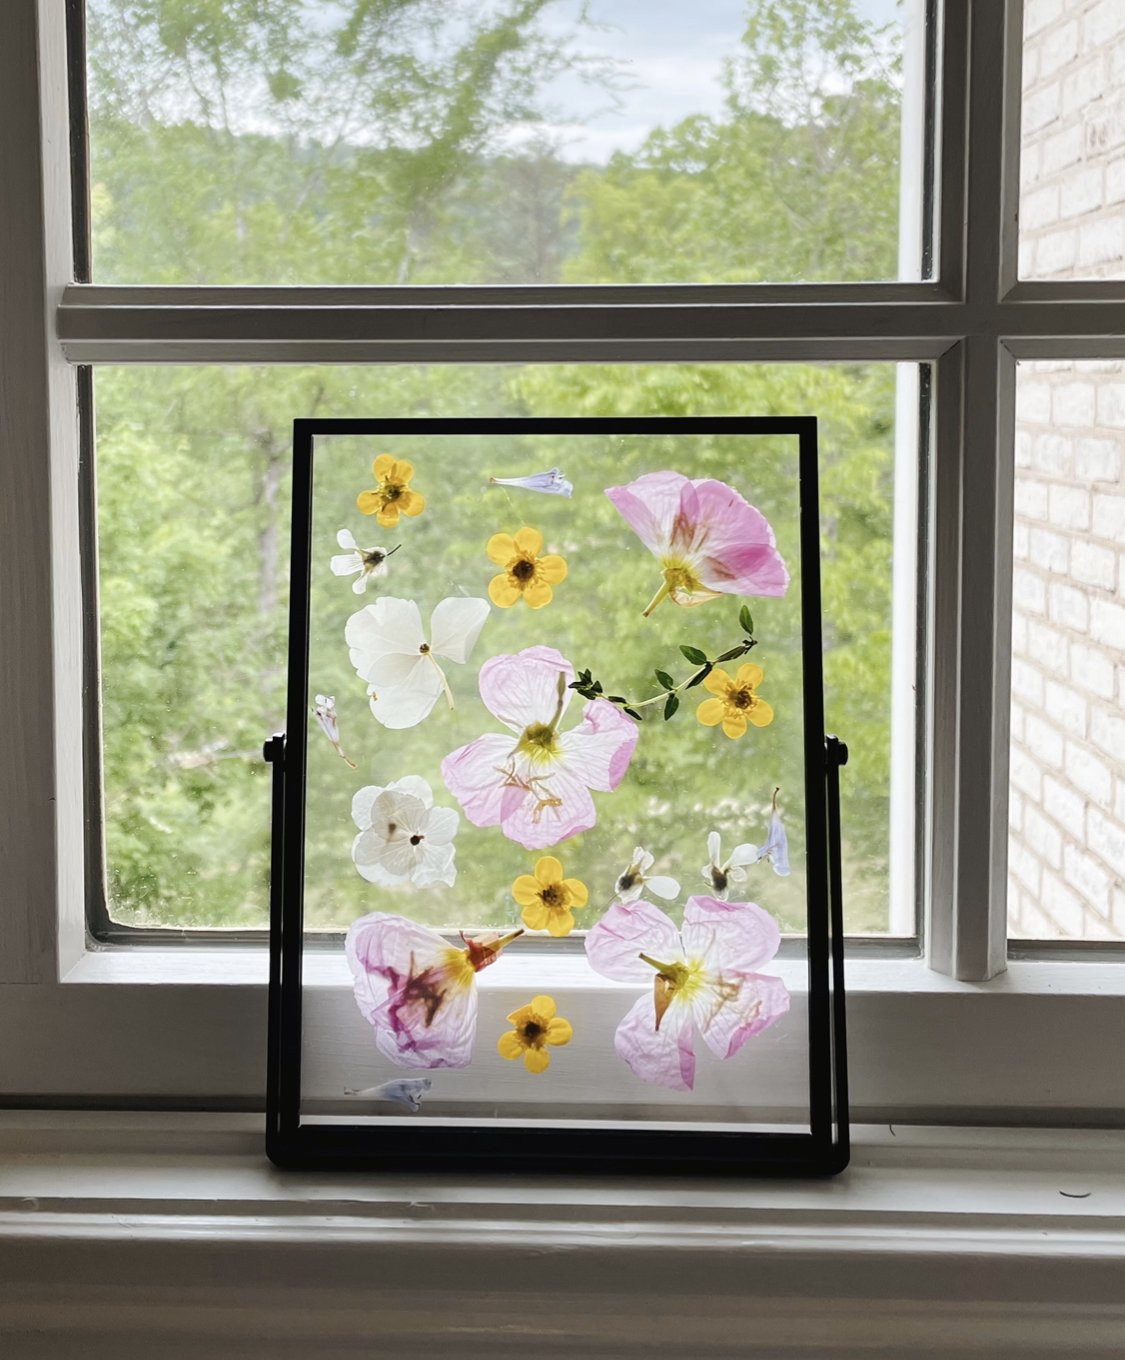
Step 3.)Select a double glass frame to display your preserved flowers. You can find them at Target, Home Goods, or even a thrift store!

Step 4.) Arrange your dried, pressed flowers in your frame. If you want, you can add a photo and arrange the flowers around it or display the flowers alone in the frame. You may need to add just a touch of glue to keep the flowers in place.

Step 5.) Display your new homemade floral art in your home or give as a gift!

Claire’s Pro Tip: If you give your mom flowers for Mothers Day, save the flowers to make her a bonus mother’s day gift — maybe even add a picture of you and her. This would also make a great keepsake for your bridesmaids using the flowers from their bouquets!

Pressed Floral Wall Art.

If you would like to catch up on the last DIY, you can find that crafting session here!

Crafting with Claire: Marble Ring Dish

Crafts with Claire

We are delighted to introduce this brand new series to the Bustle Blog: Crafts with Claire.

Claire Jackson is such a refreshing part of our Bustle family. When she isn’t wowing us with her endearing creativity, she is spending time with her sweet husband, Dan, and their two precious kiddos, Eleanor (2 yrs) and Henry (4 mo).

We all know someone who makes crafting look effortless. Claire is THAT person. Everything she touches turns into a Pinterest ad and we love her for it. While we can’t all be a “Claire", at Bustle we want to make creativity attainable for everyone. That’s why Claire has made it her personal goal to curate crafts that we can all partake in. Every season, she will lead us in a step-by-step guide through the latest diy trends. Whether you’re crafting with kiddos or by yourself with a glass of wine, we hope you enjoy this pretty piece of mindfulness.

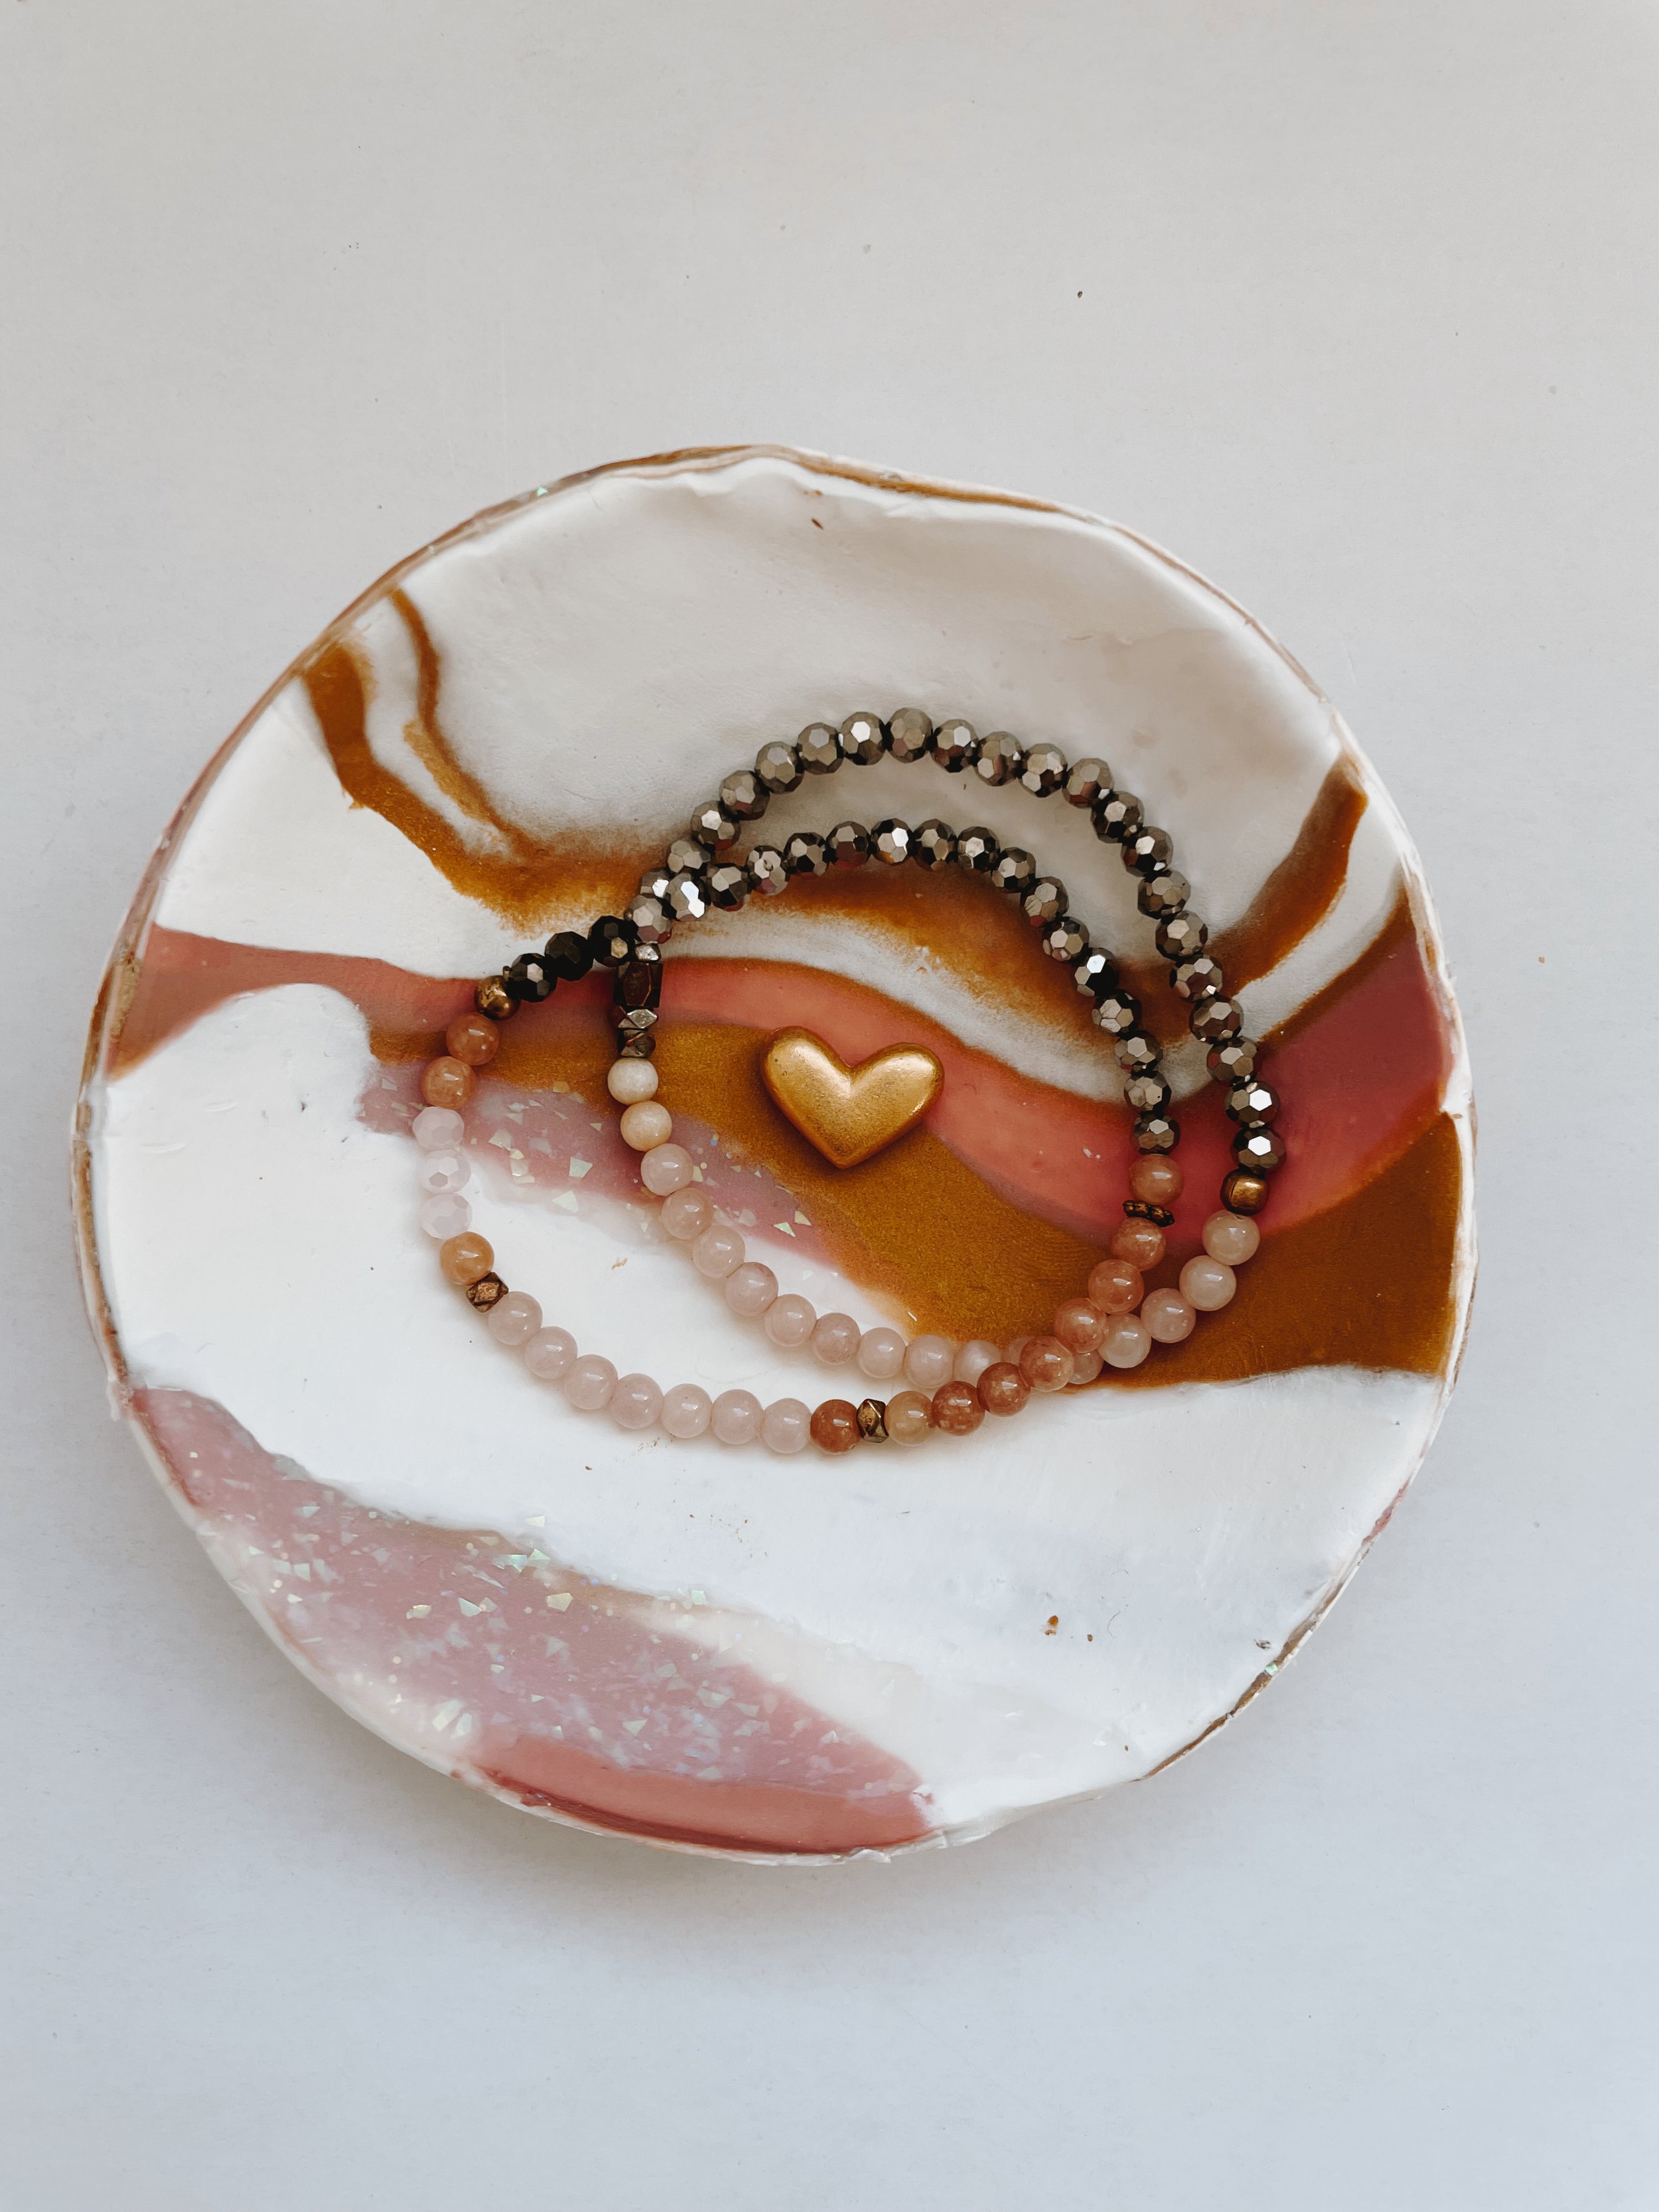
DIY marble dish for Spring 2022.

SPRING 2022:

MARBLE RING DISH

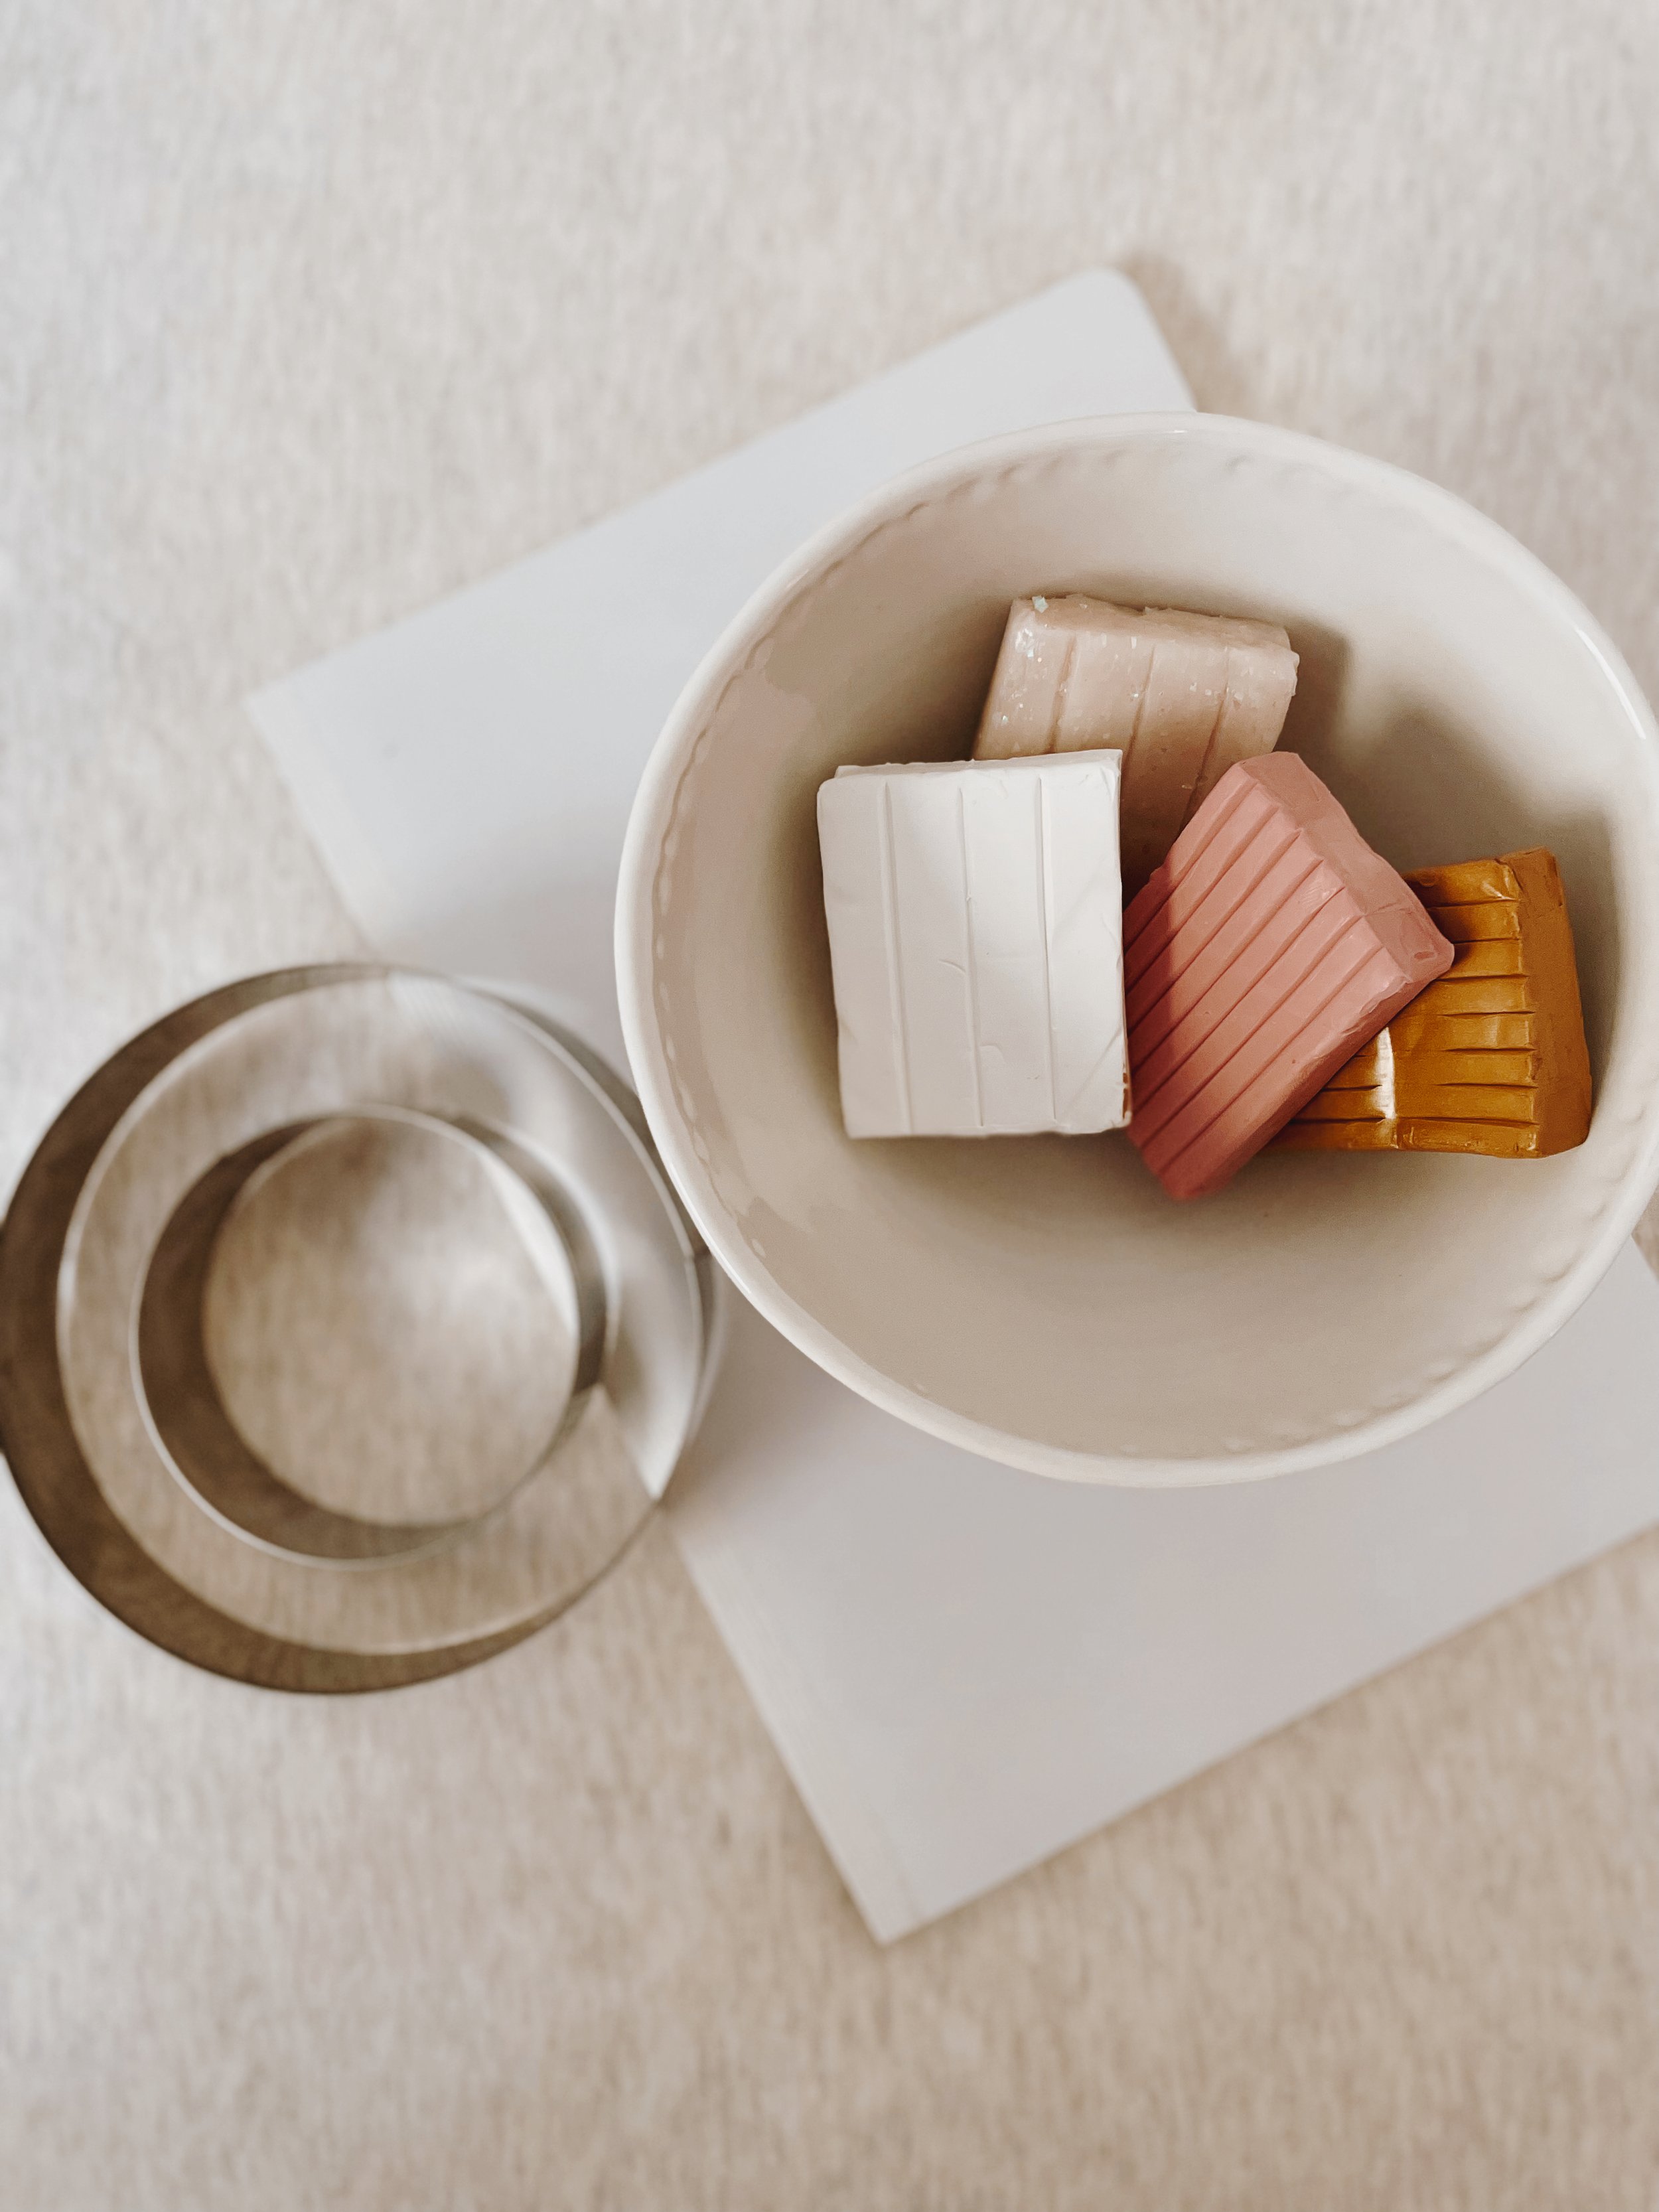
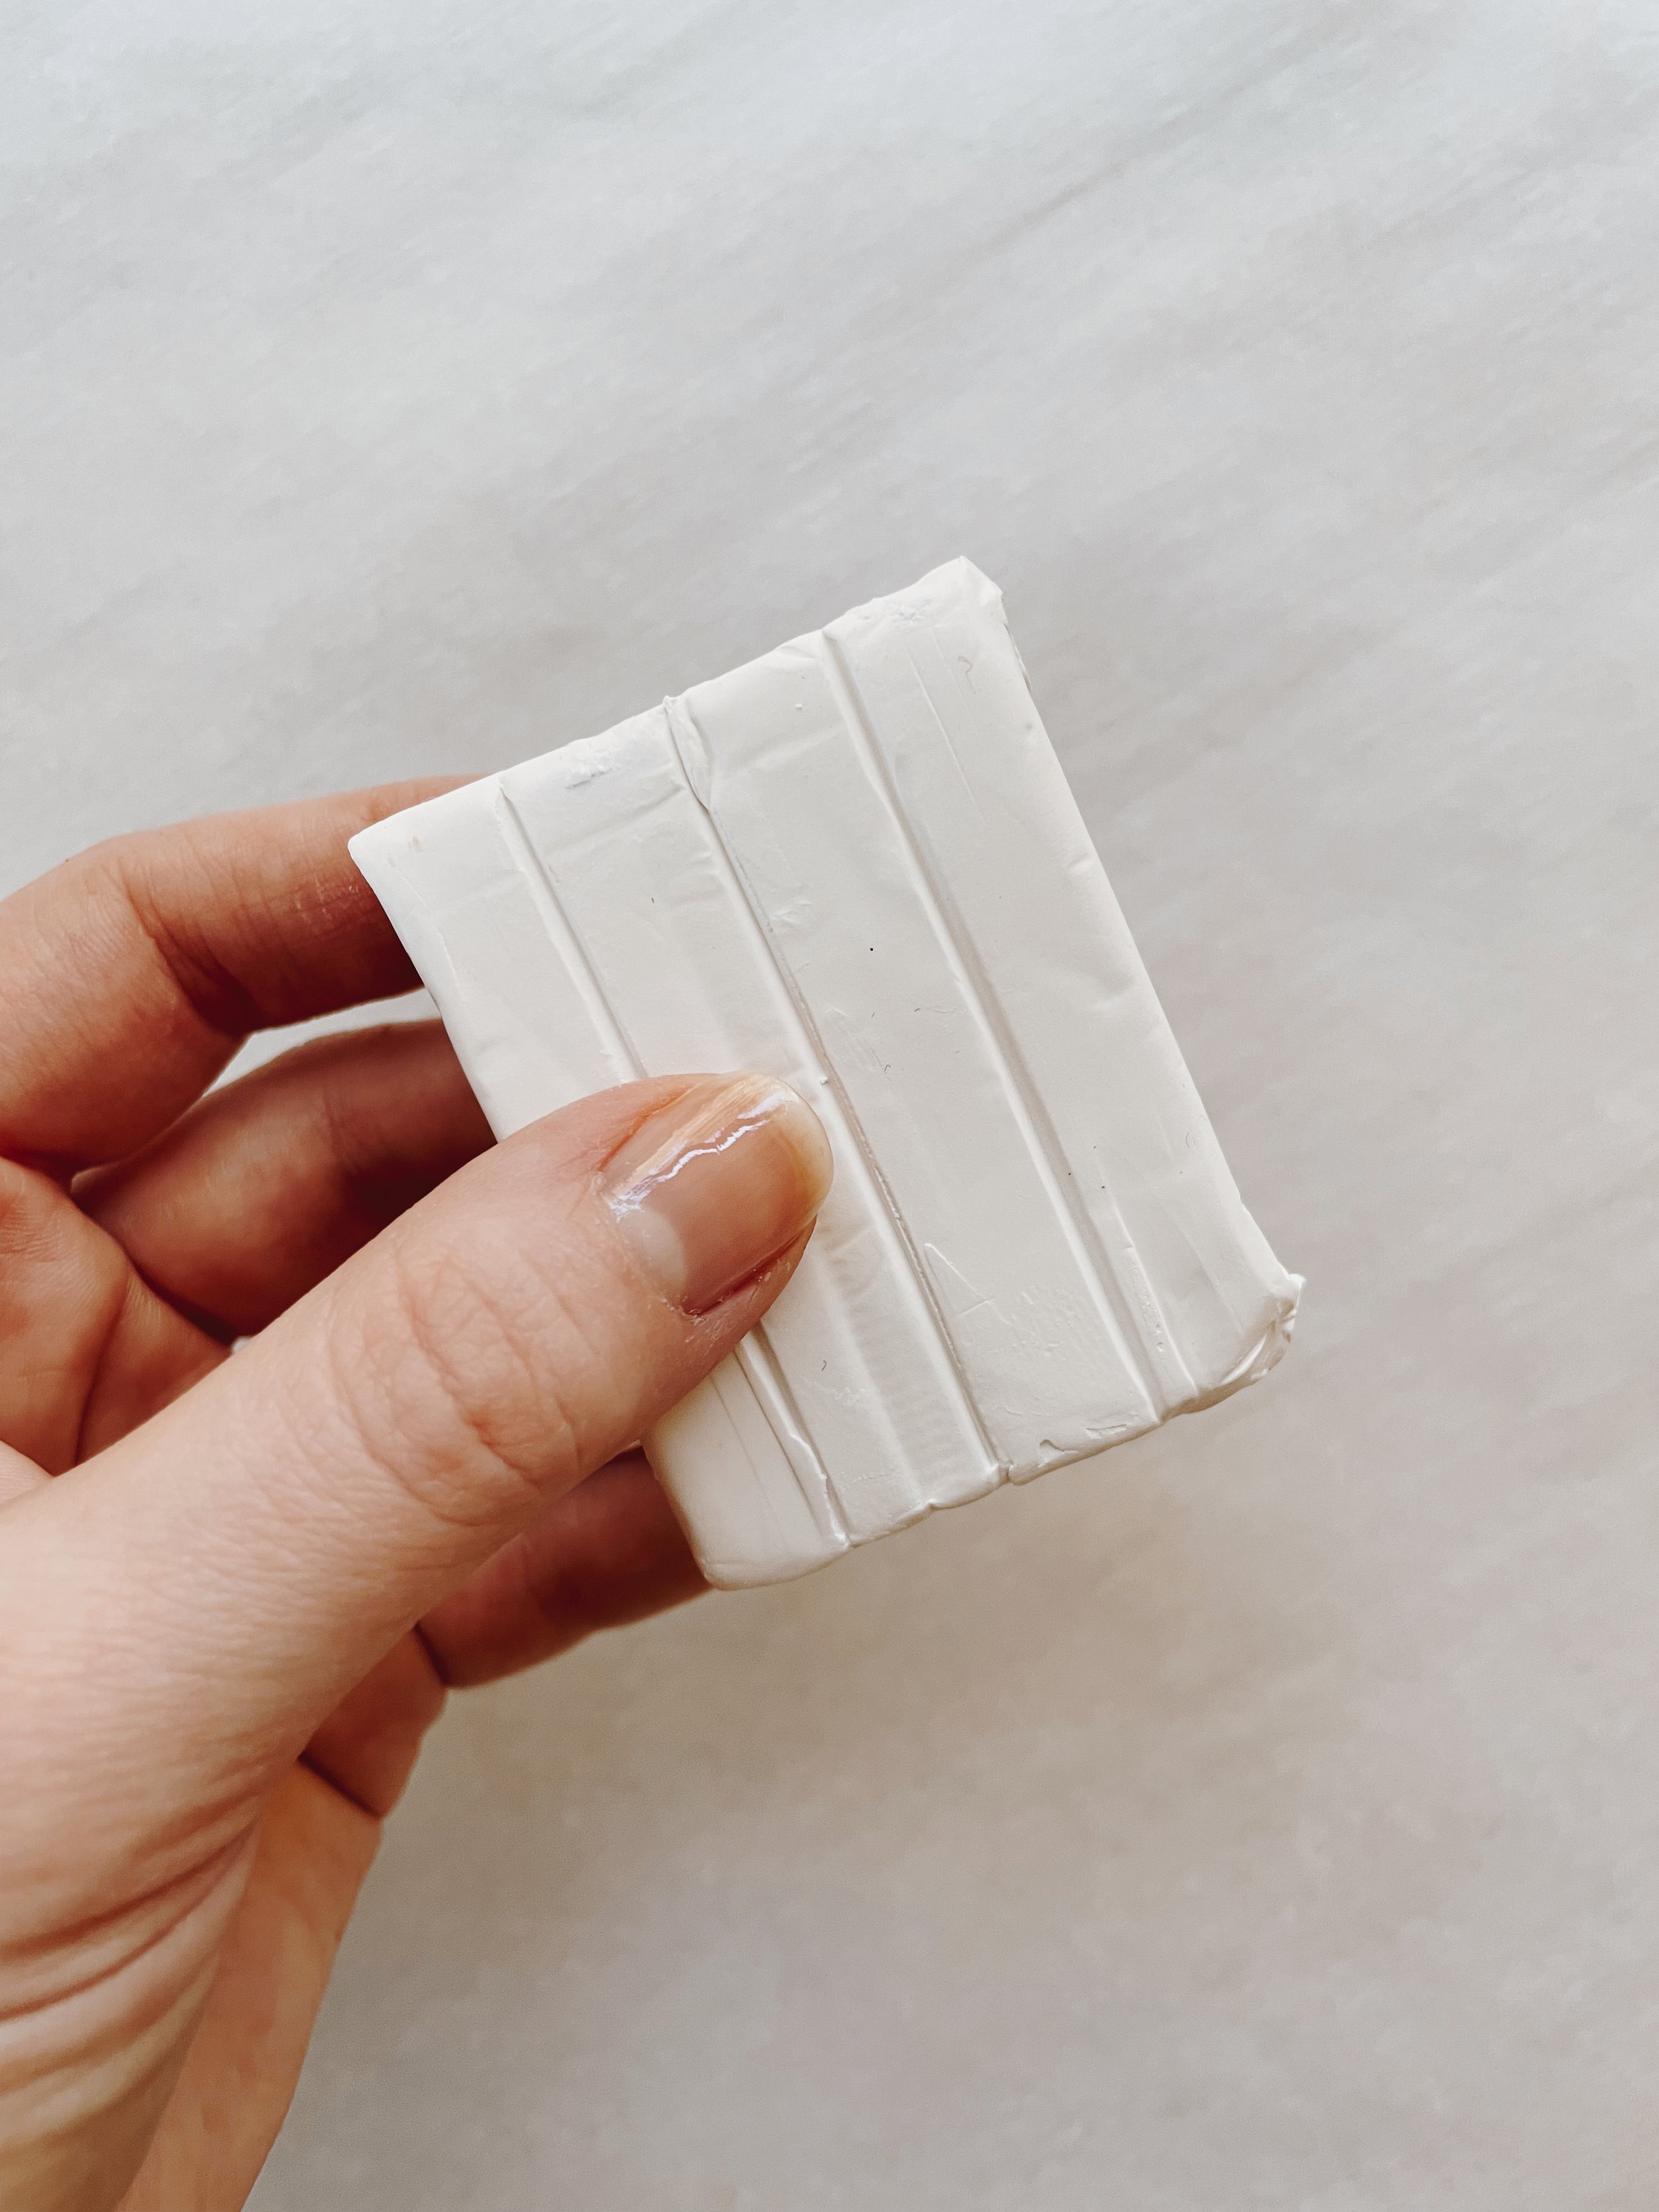
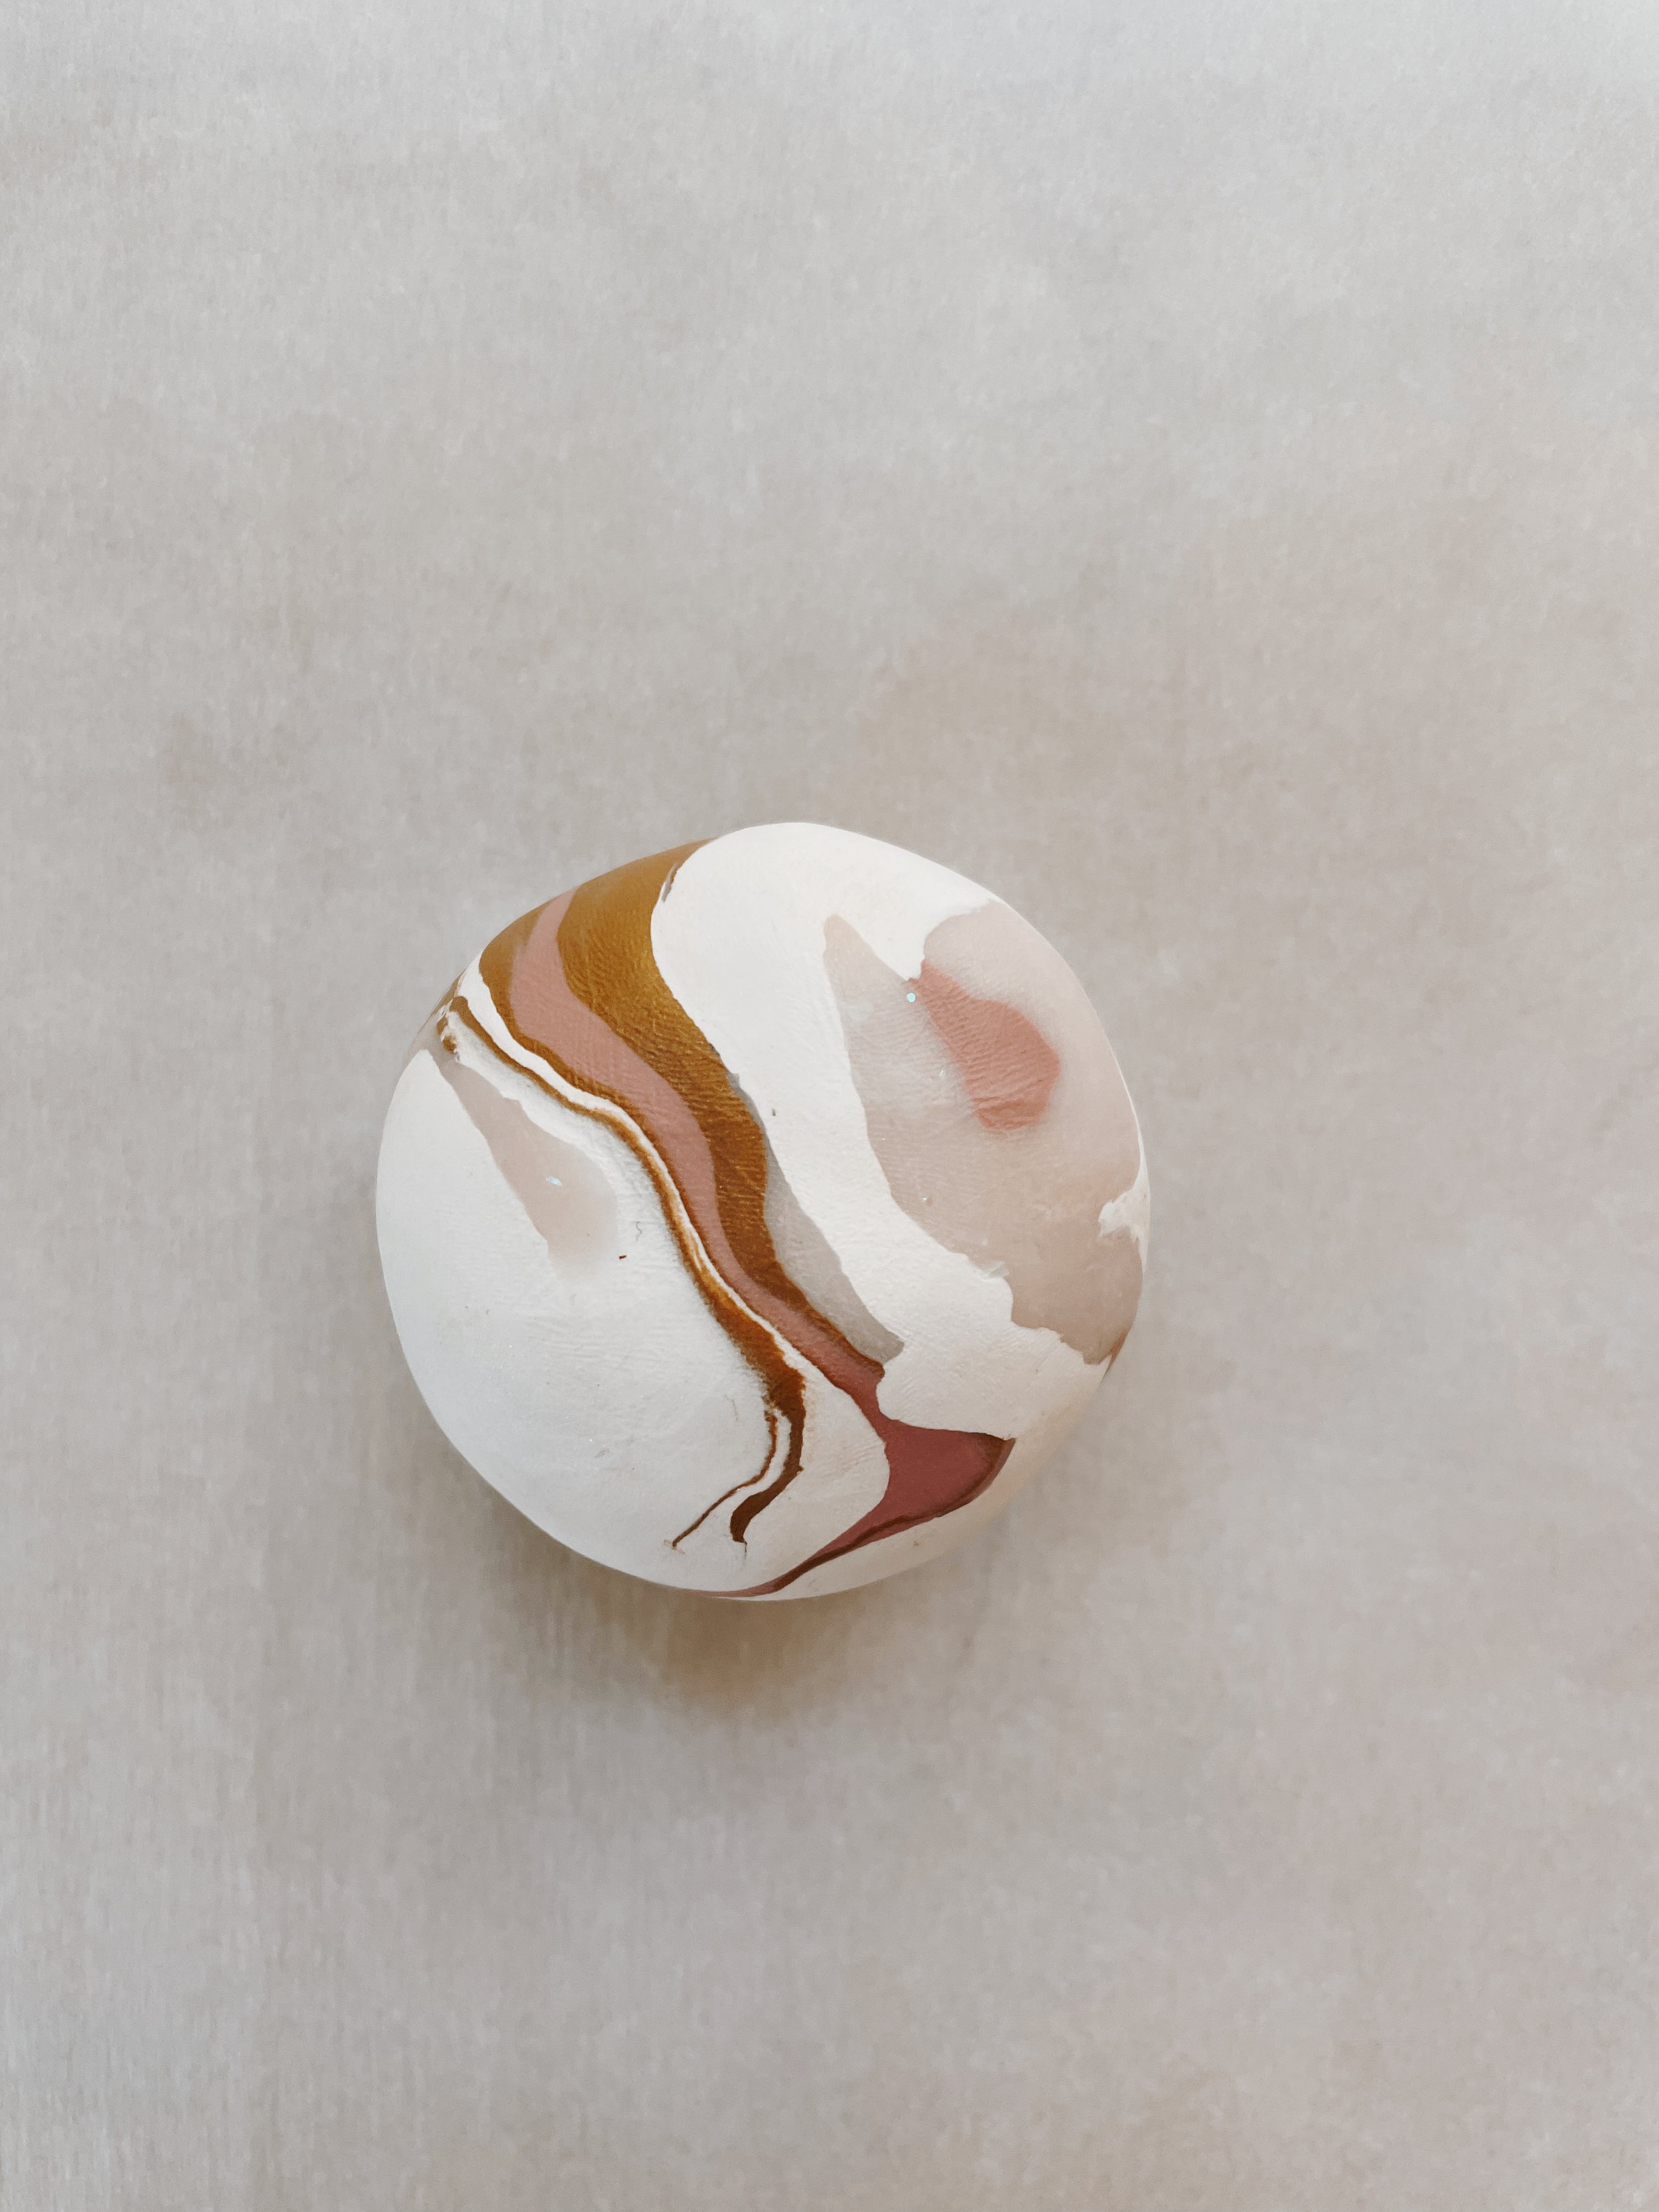
Step 1.) Choose 2-5 colors of clay for your marble dish.

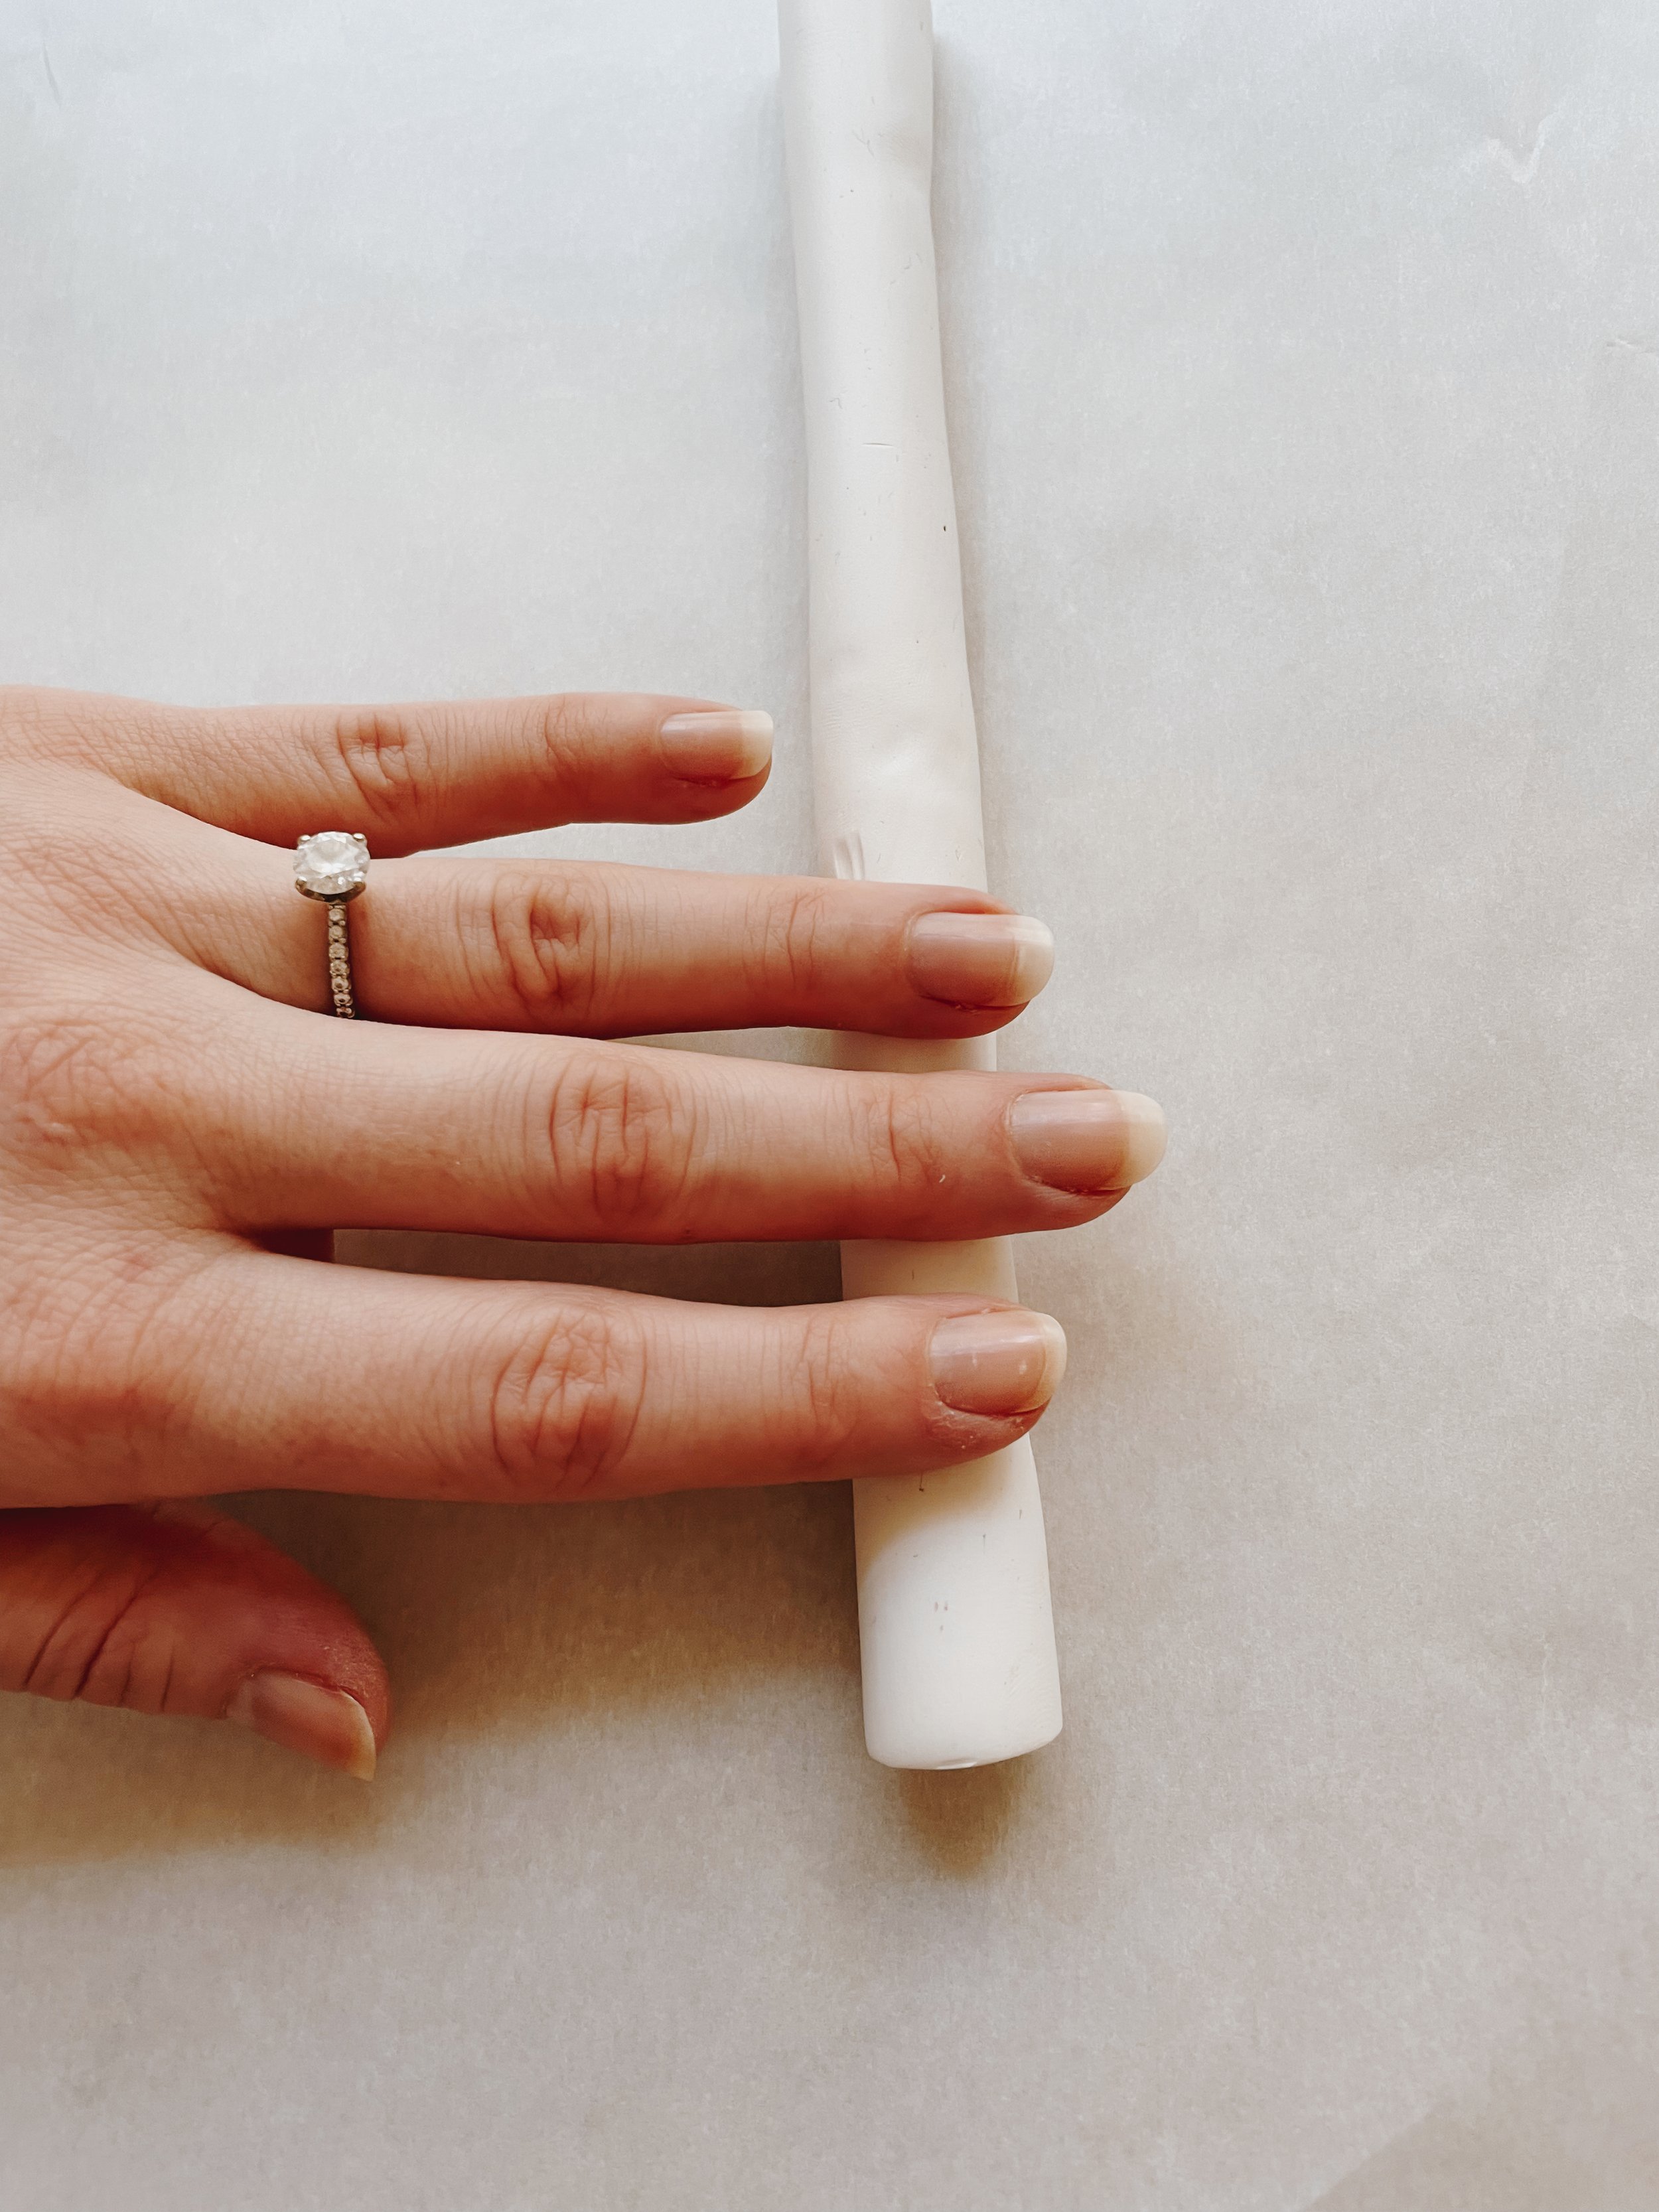
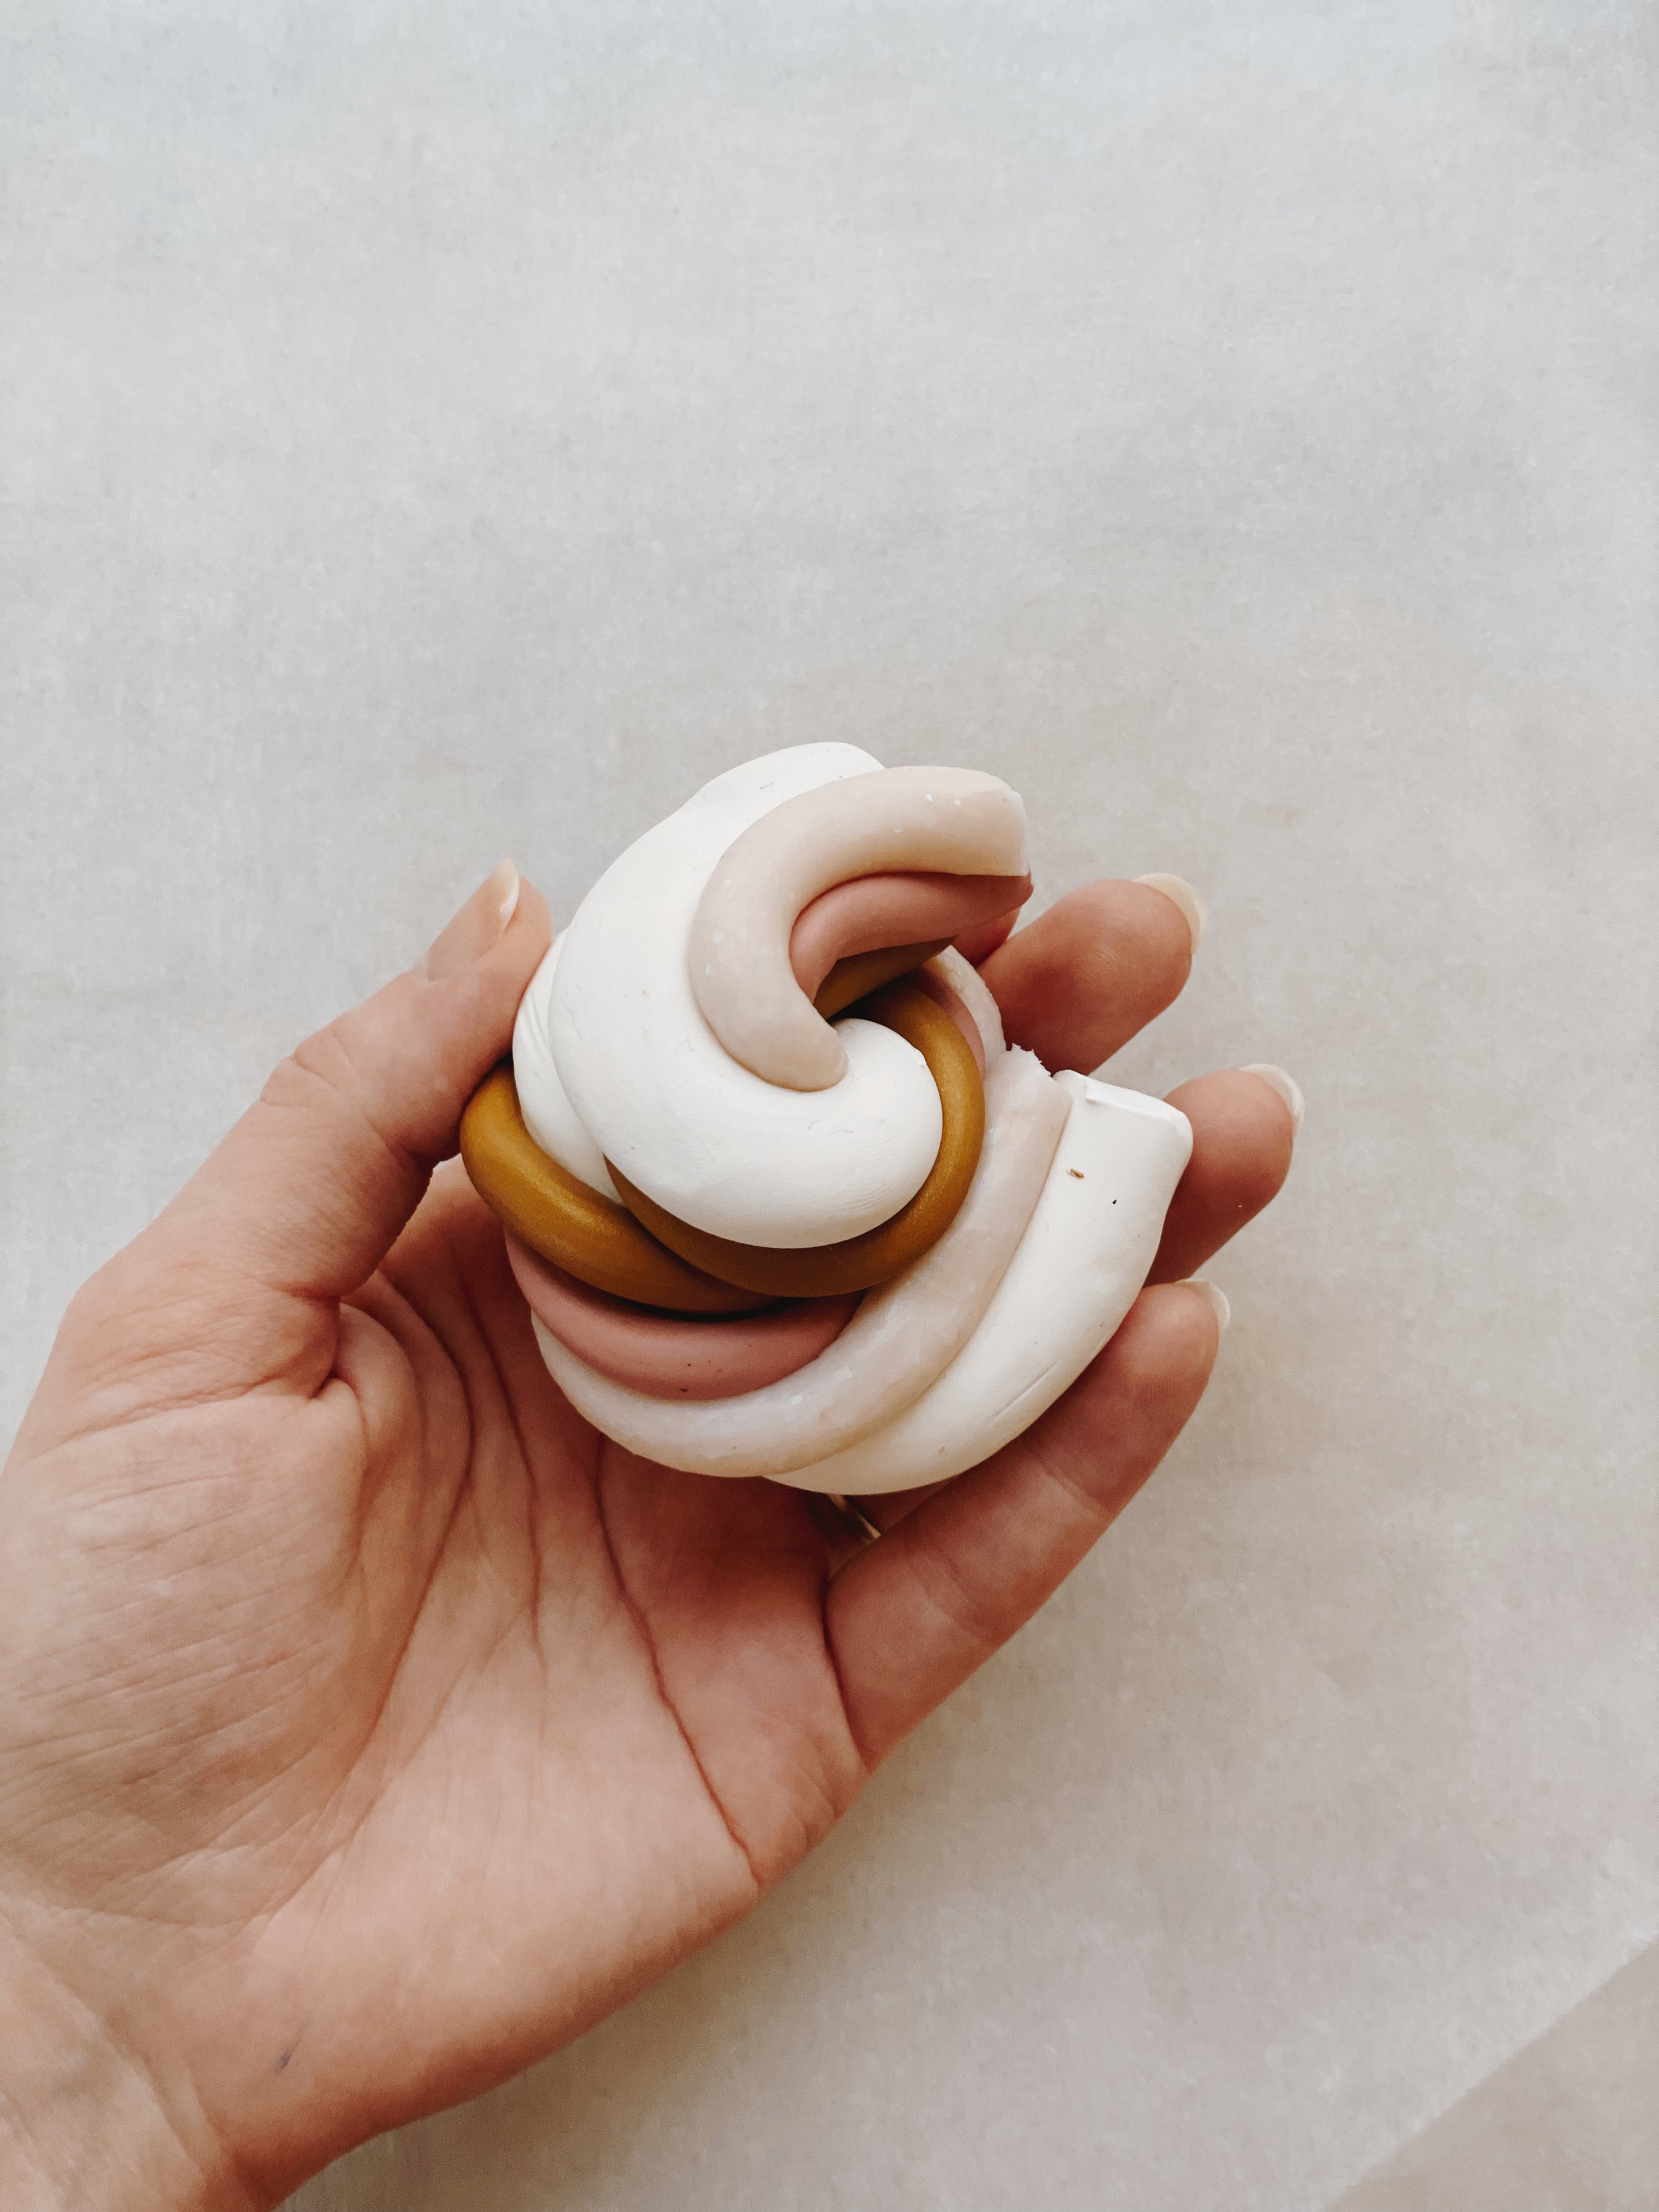
Step 2.) Roll each color into a smooth long line and twist all the colors together.

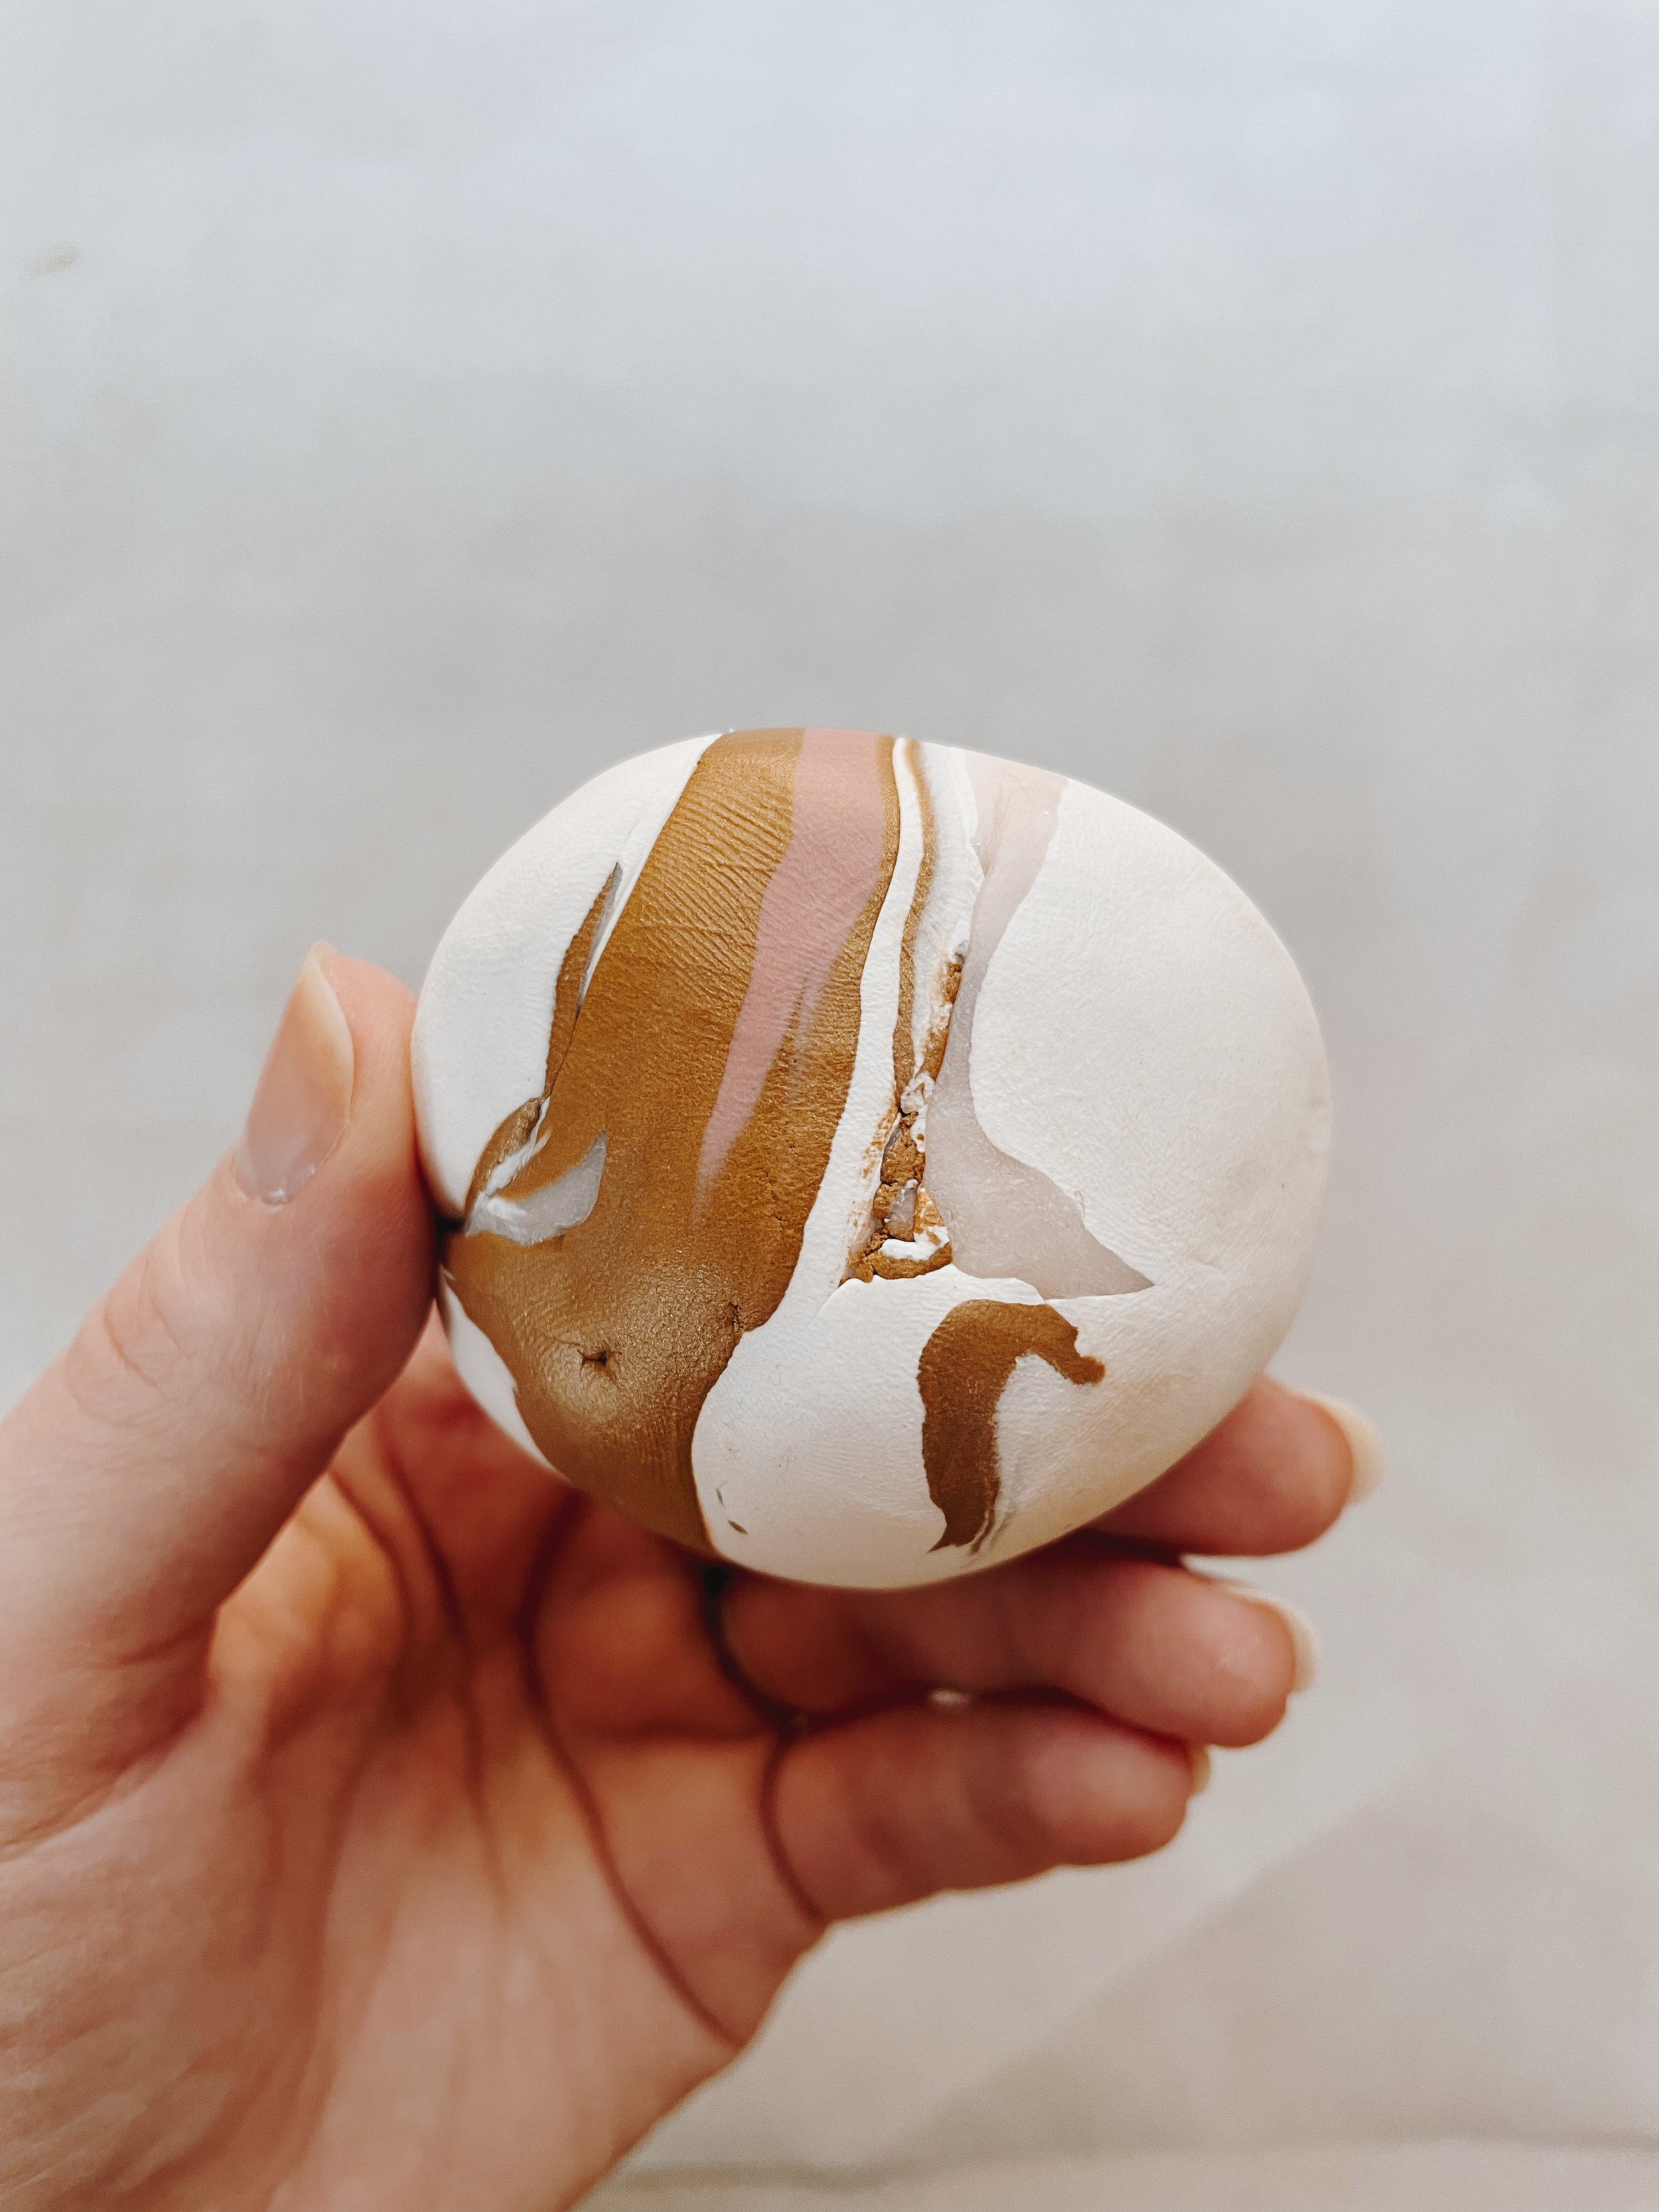
Step 3.) Roll into a ball and knead to achieve desired marble effect.

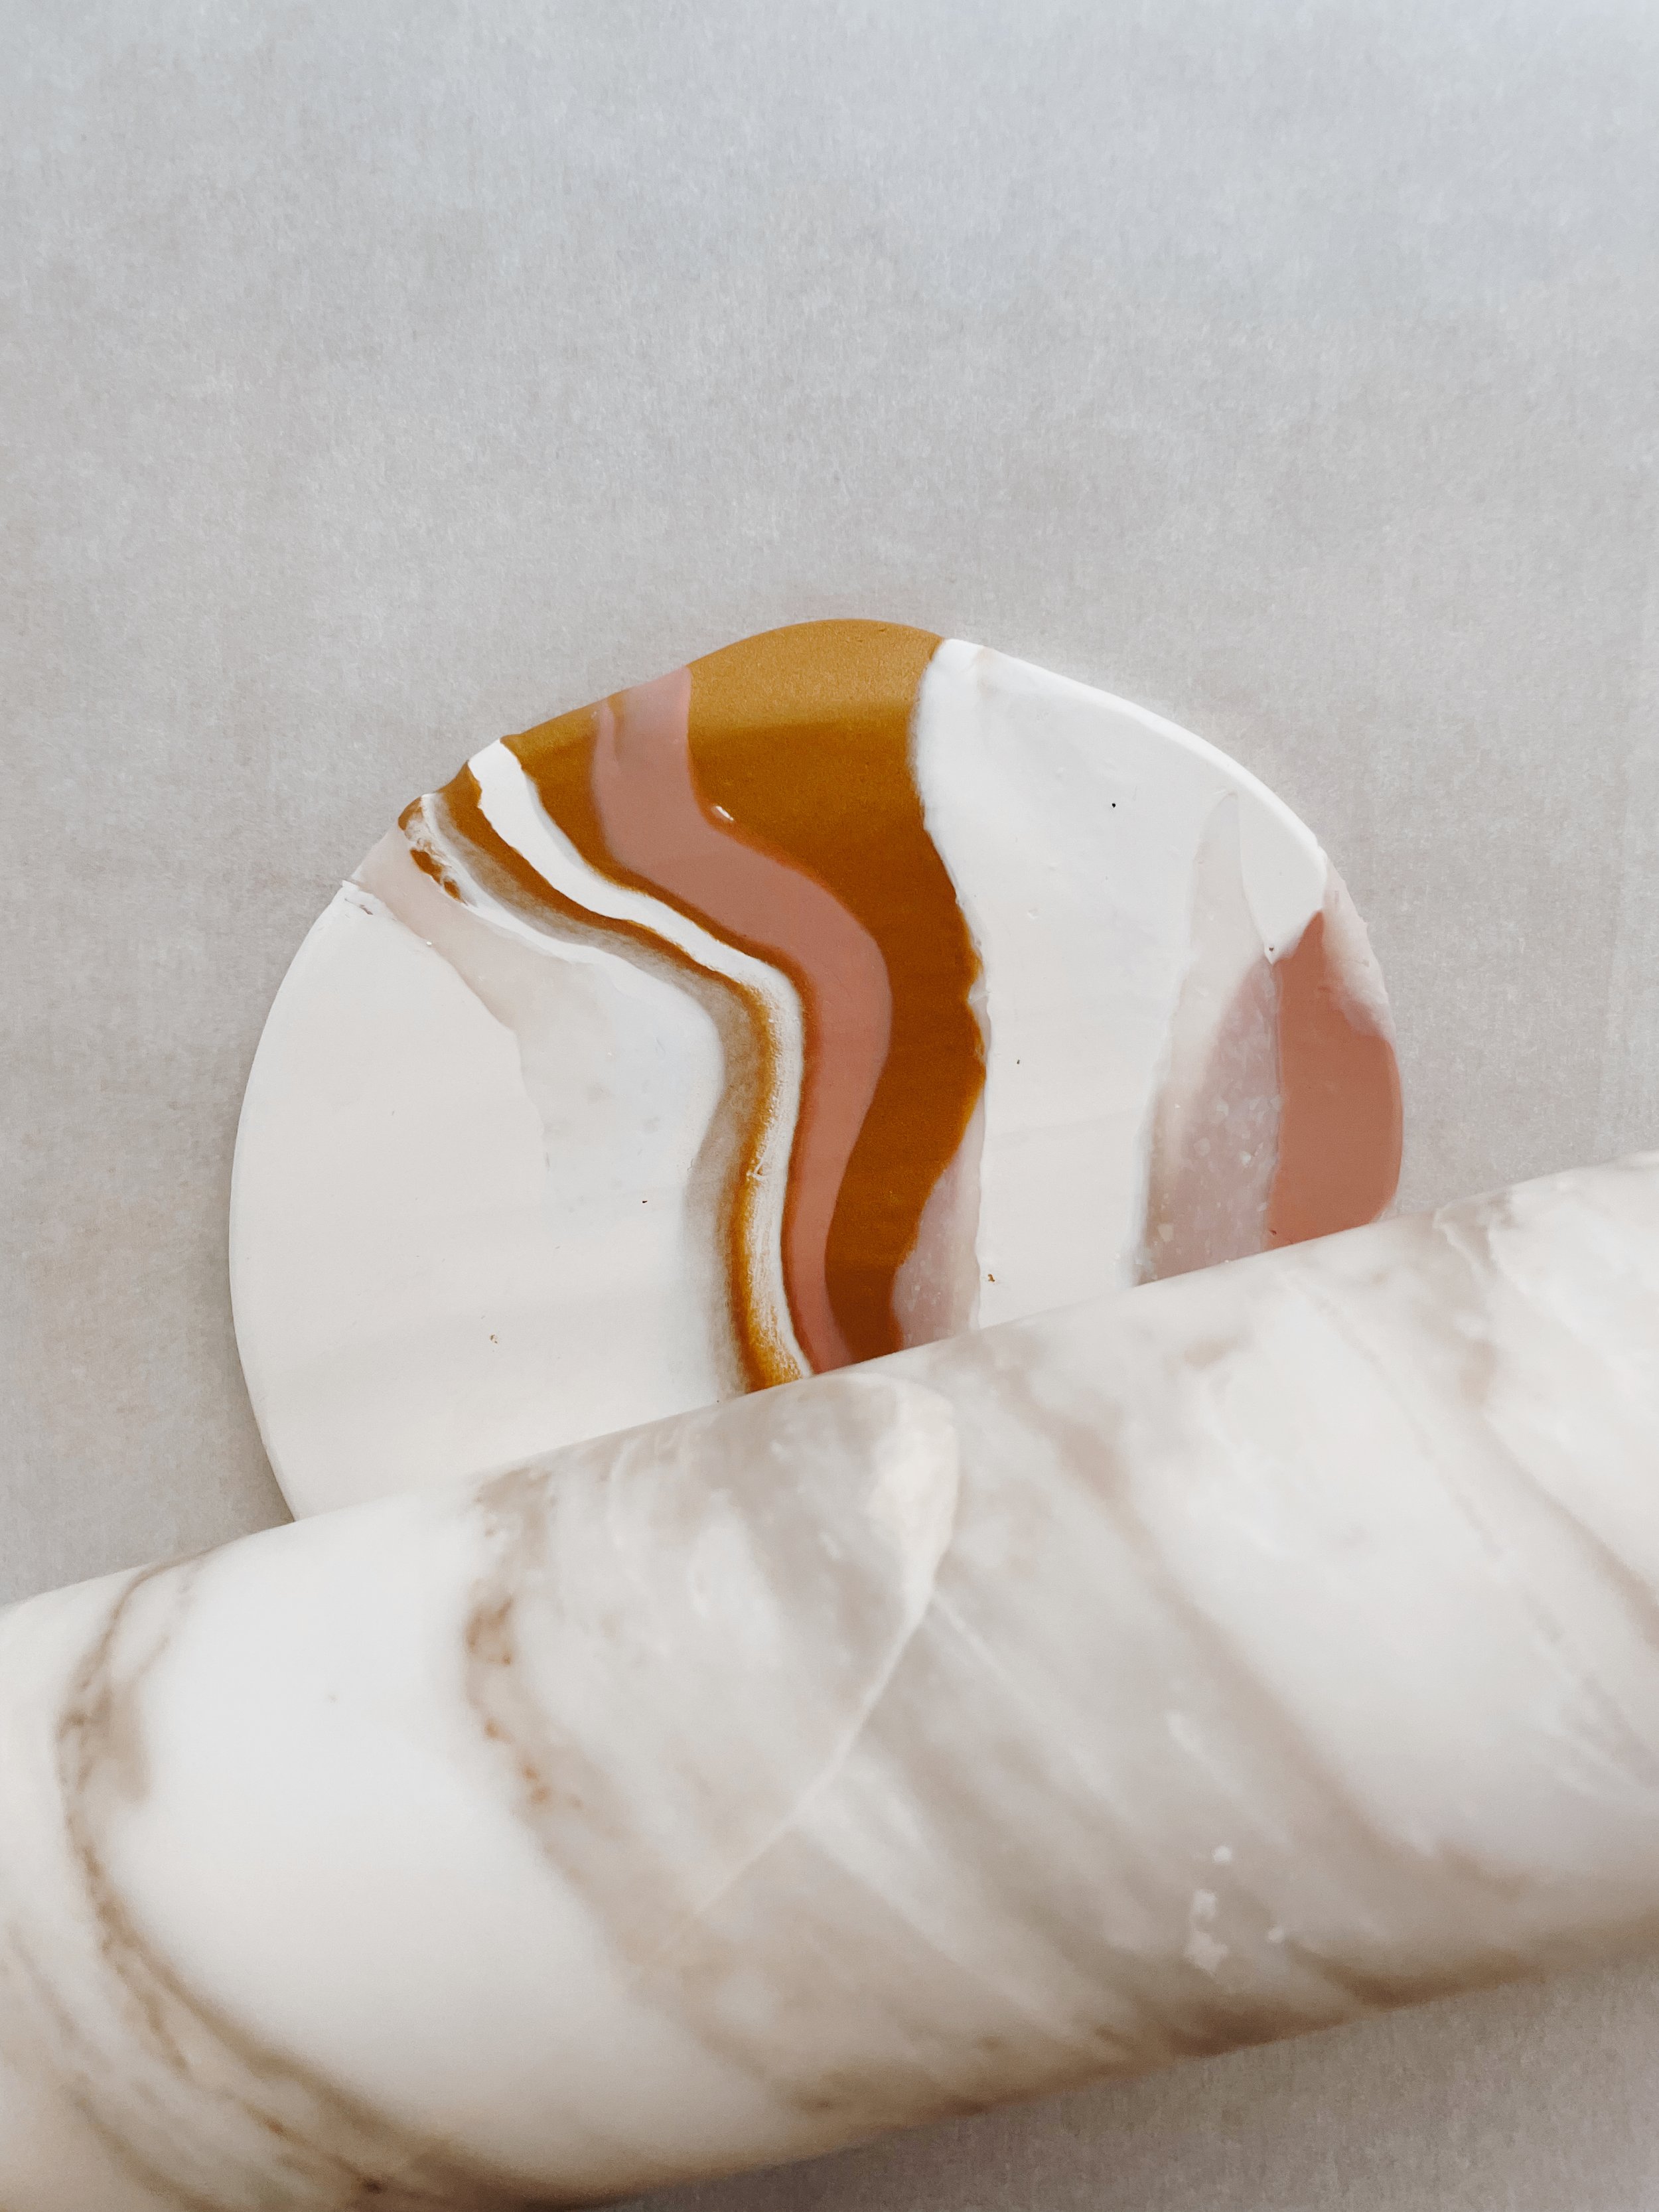
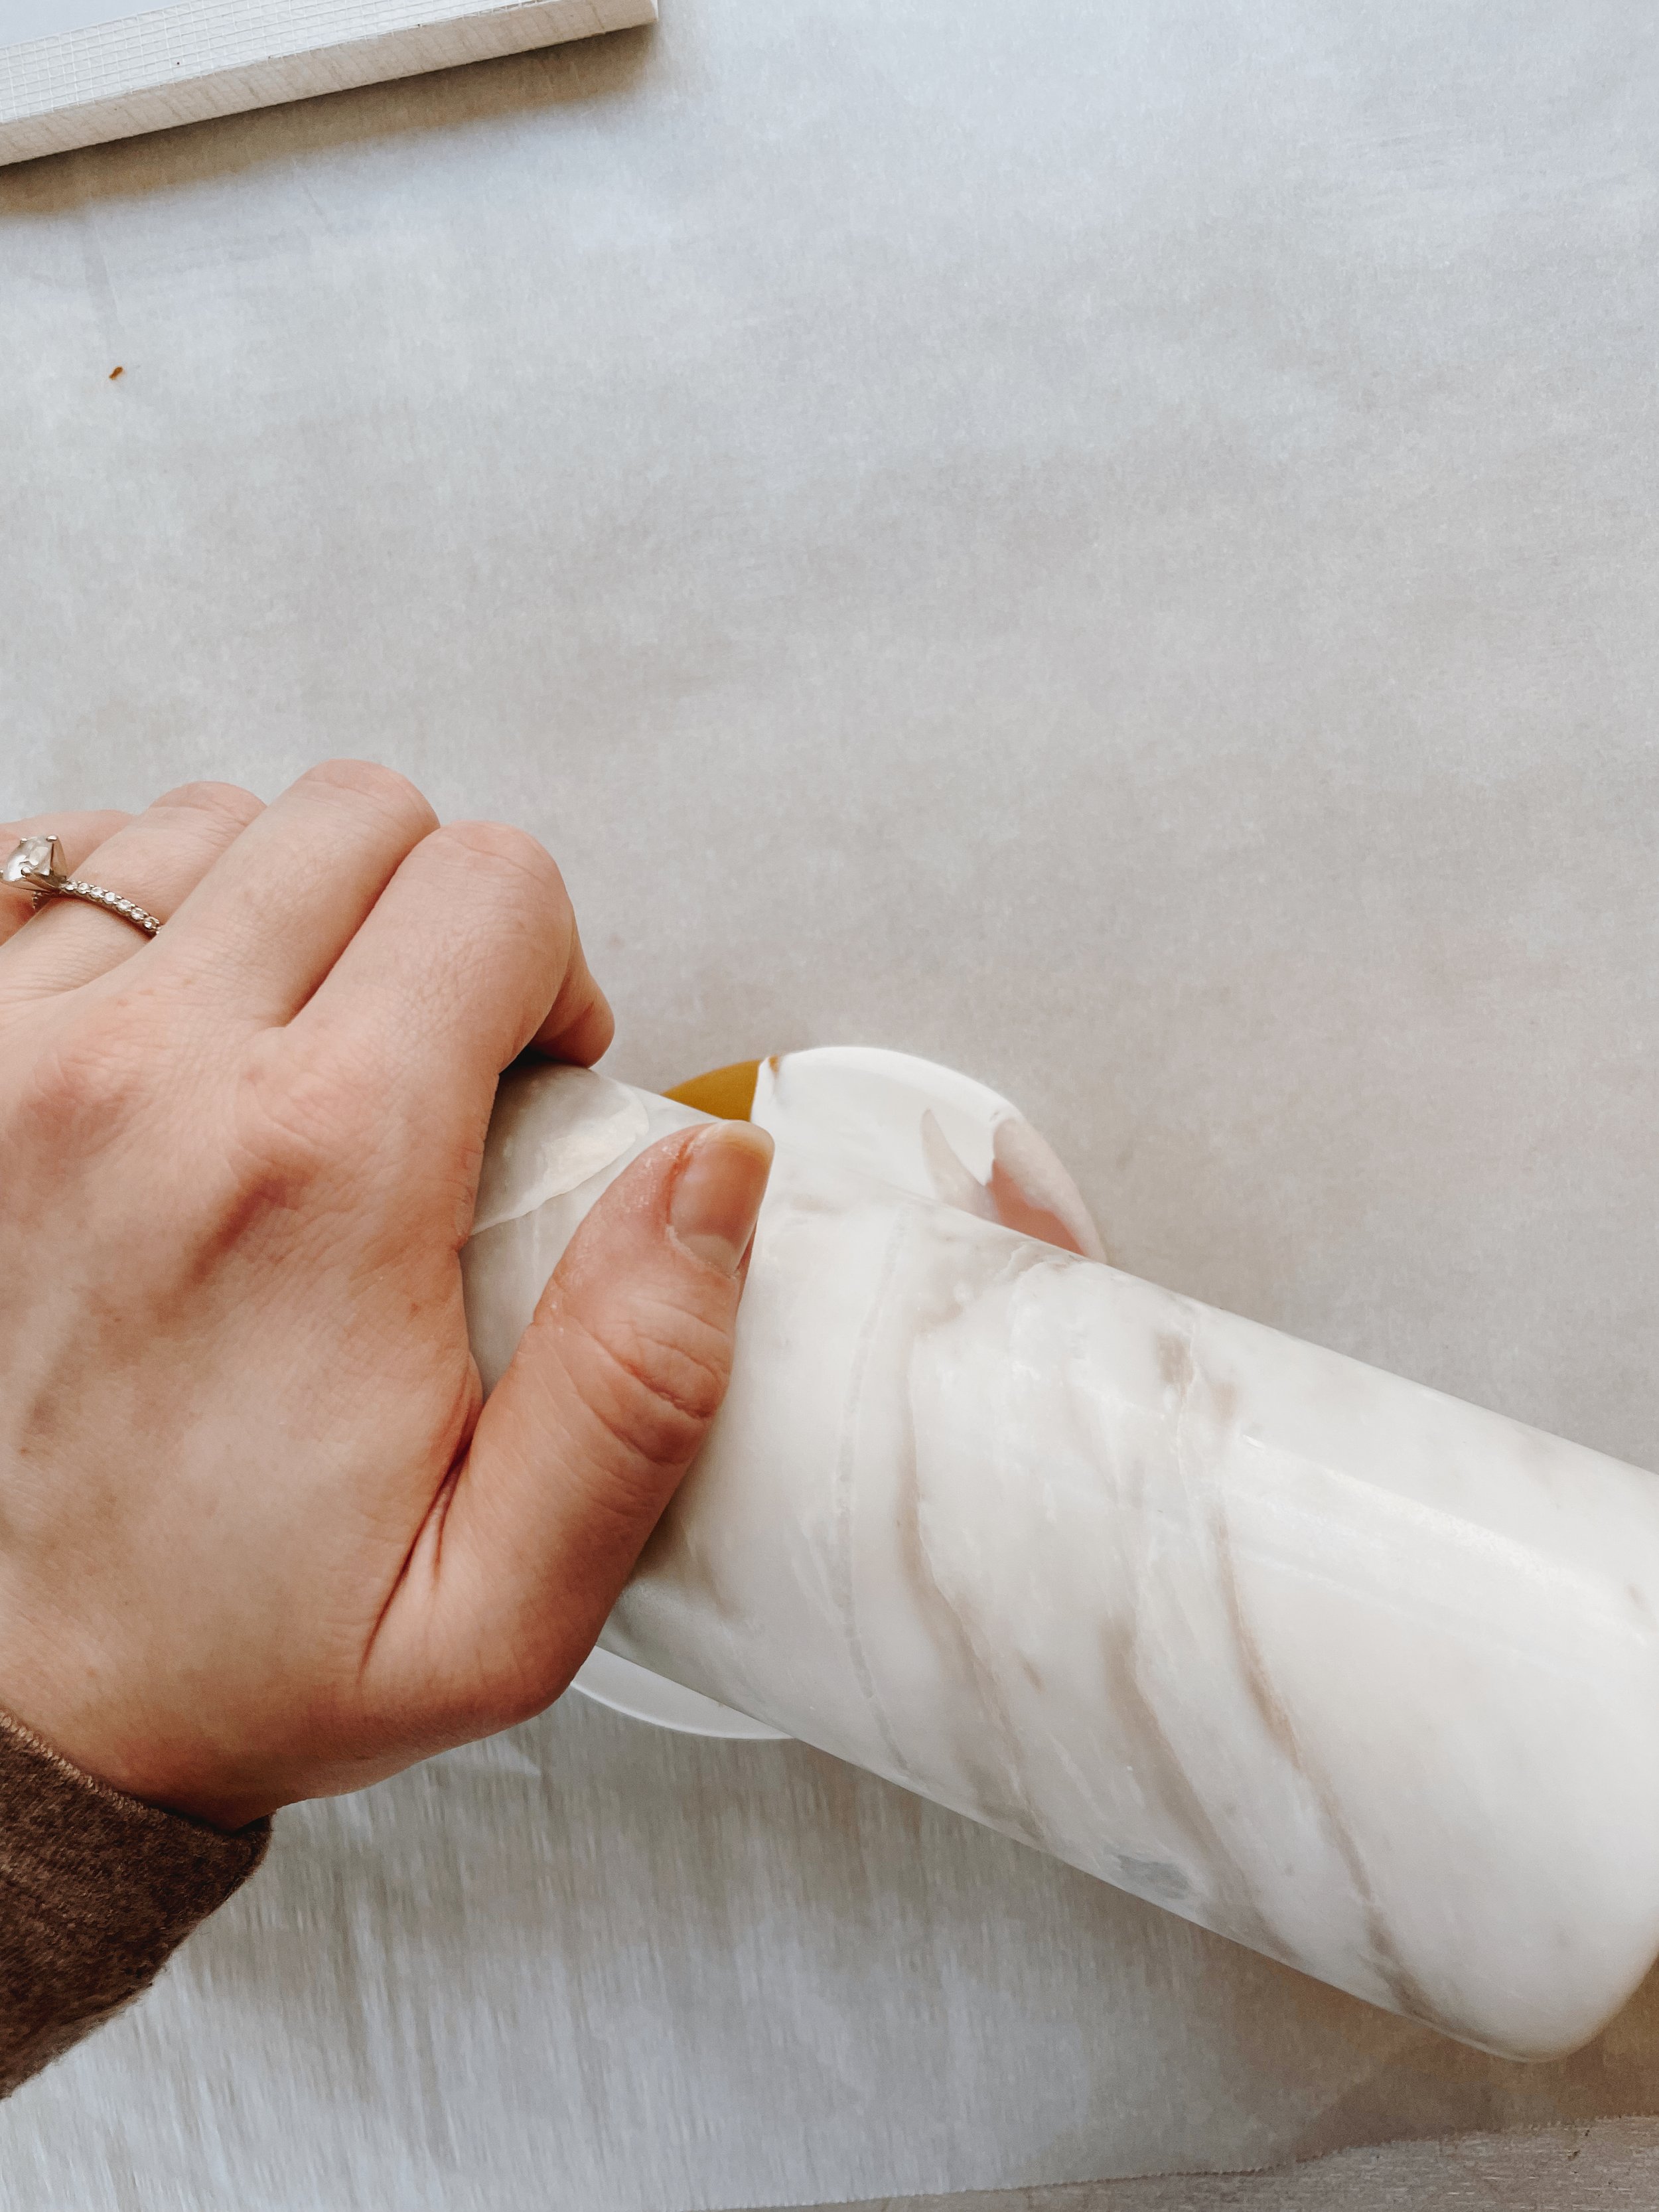
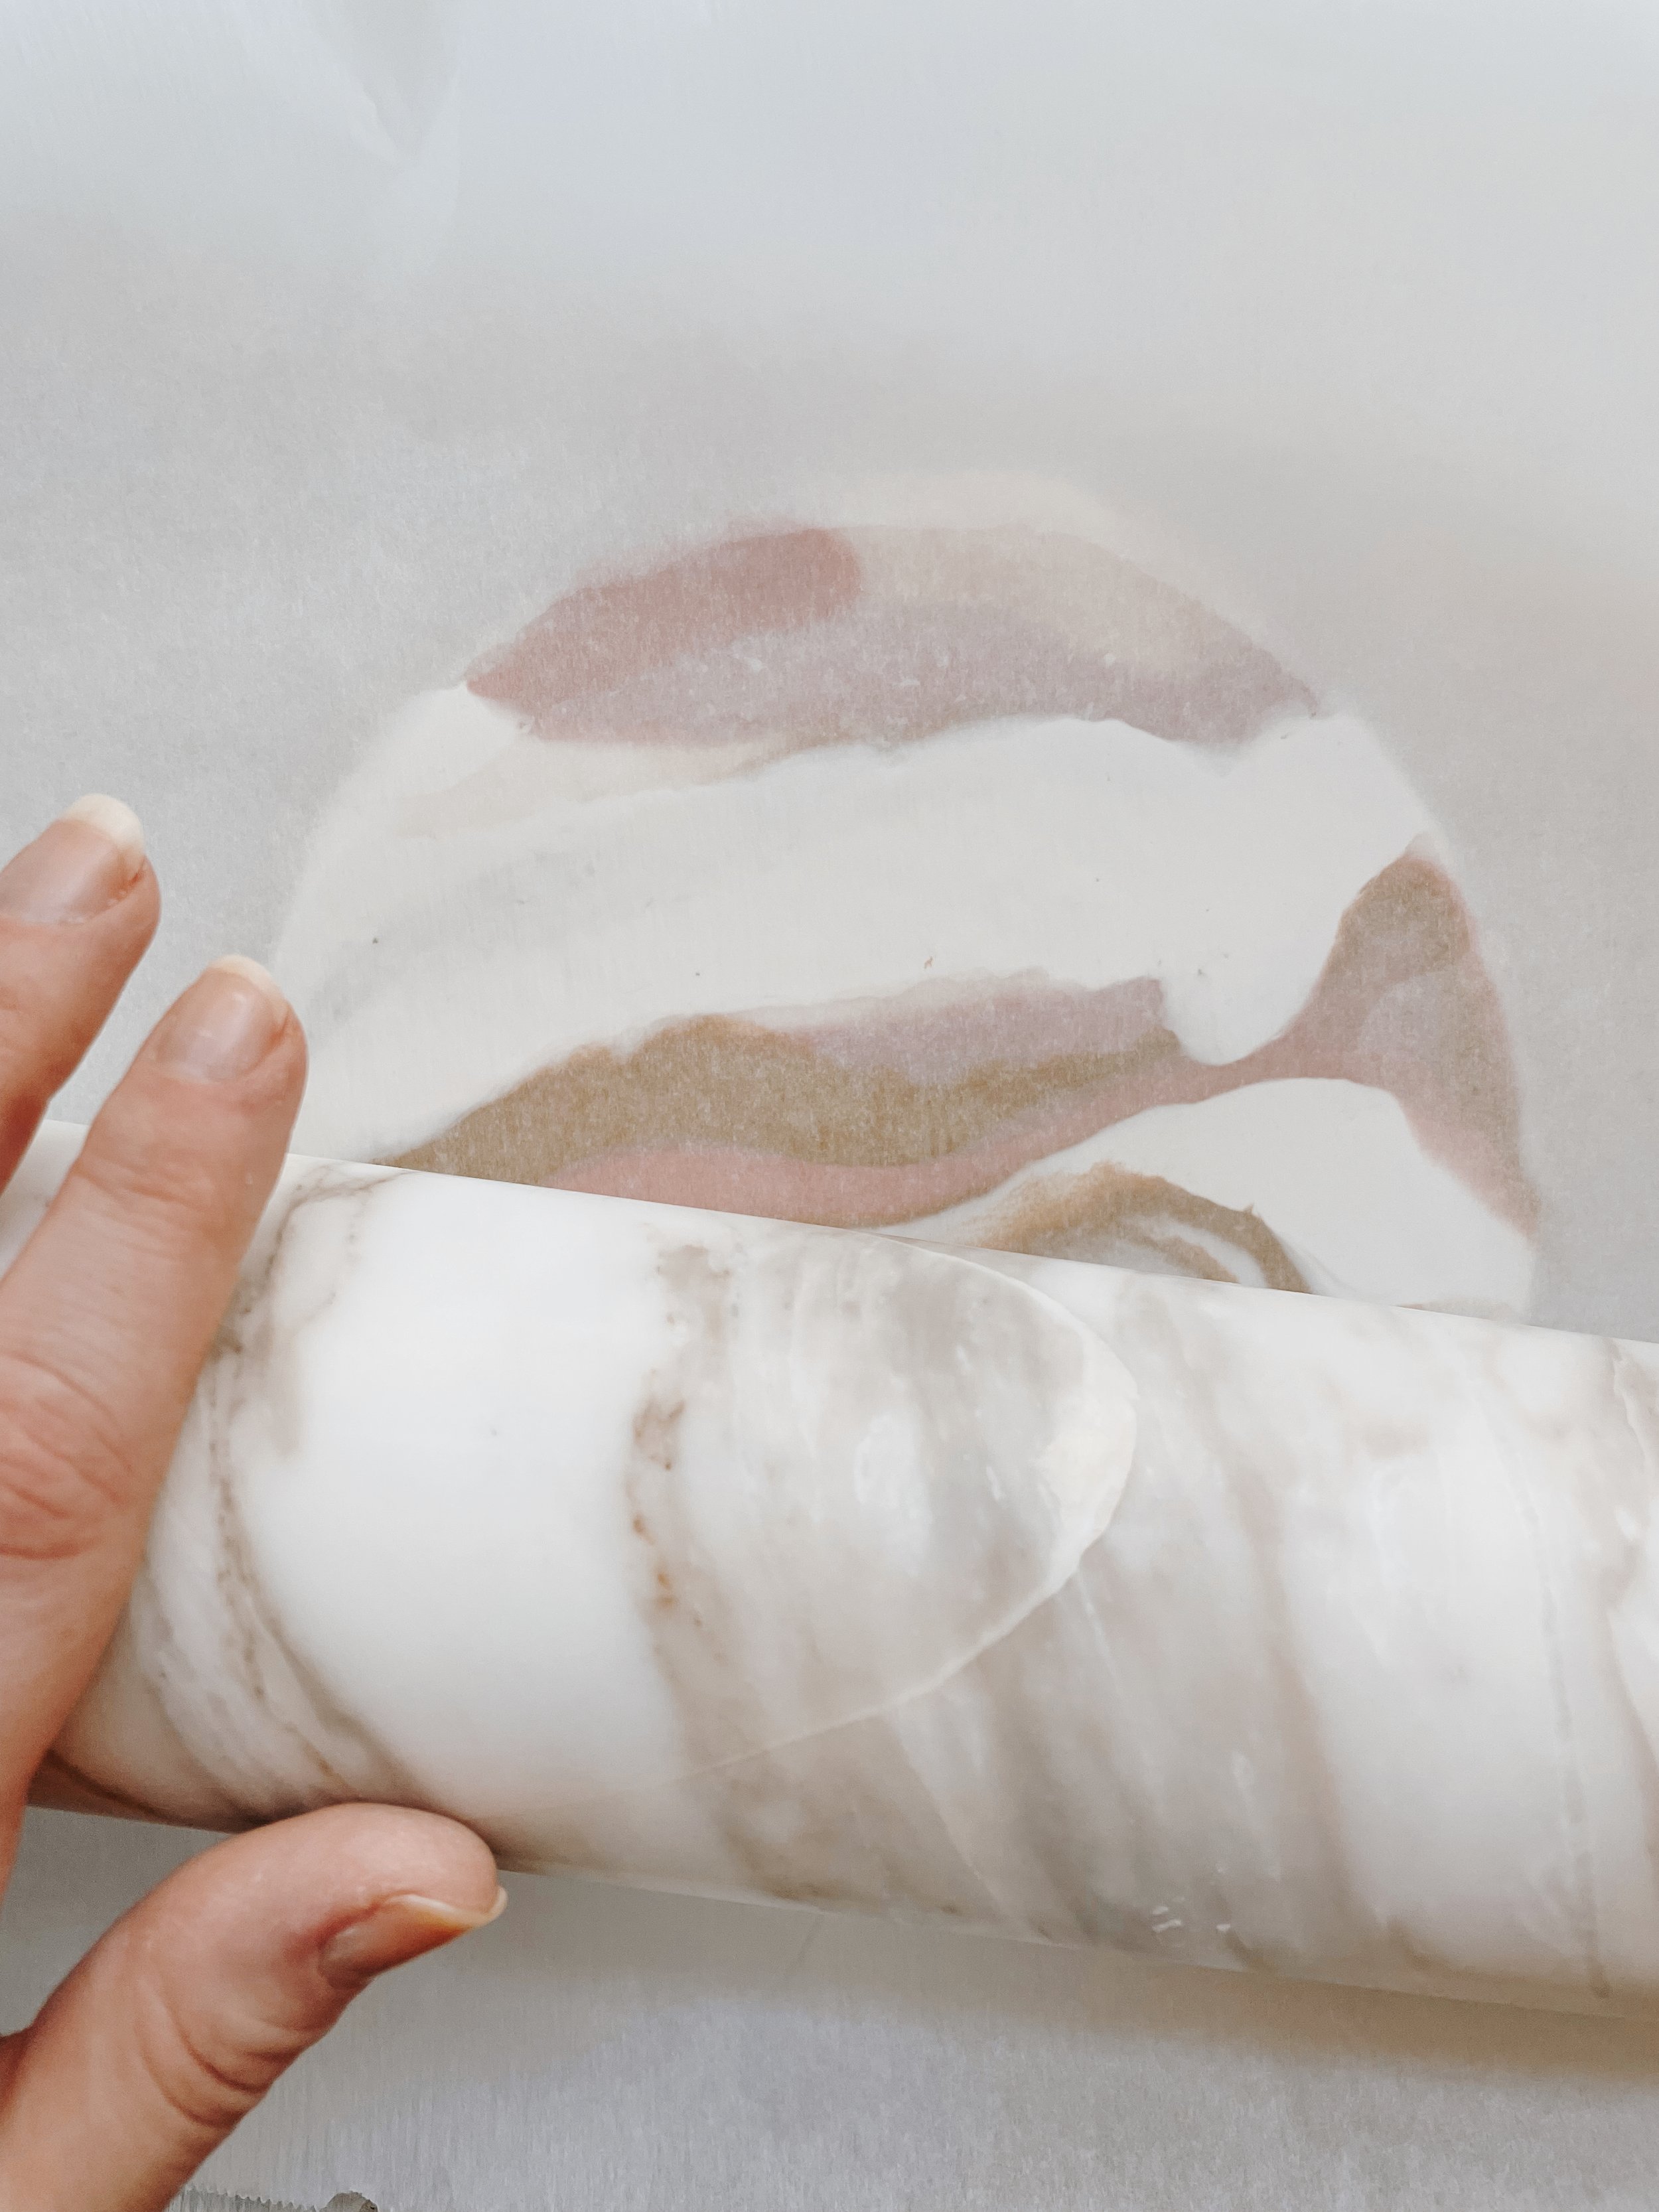
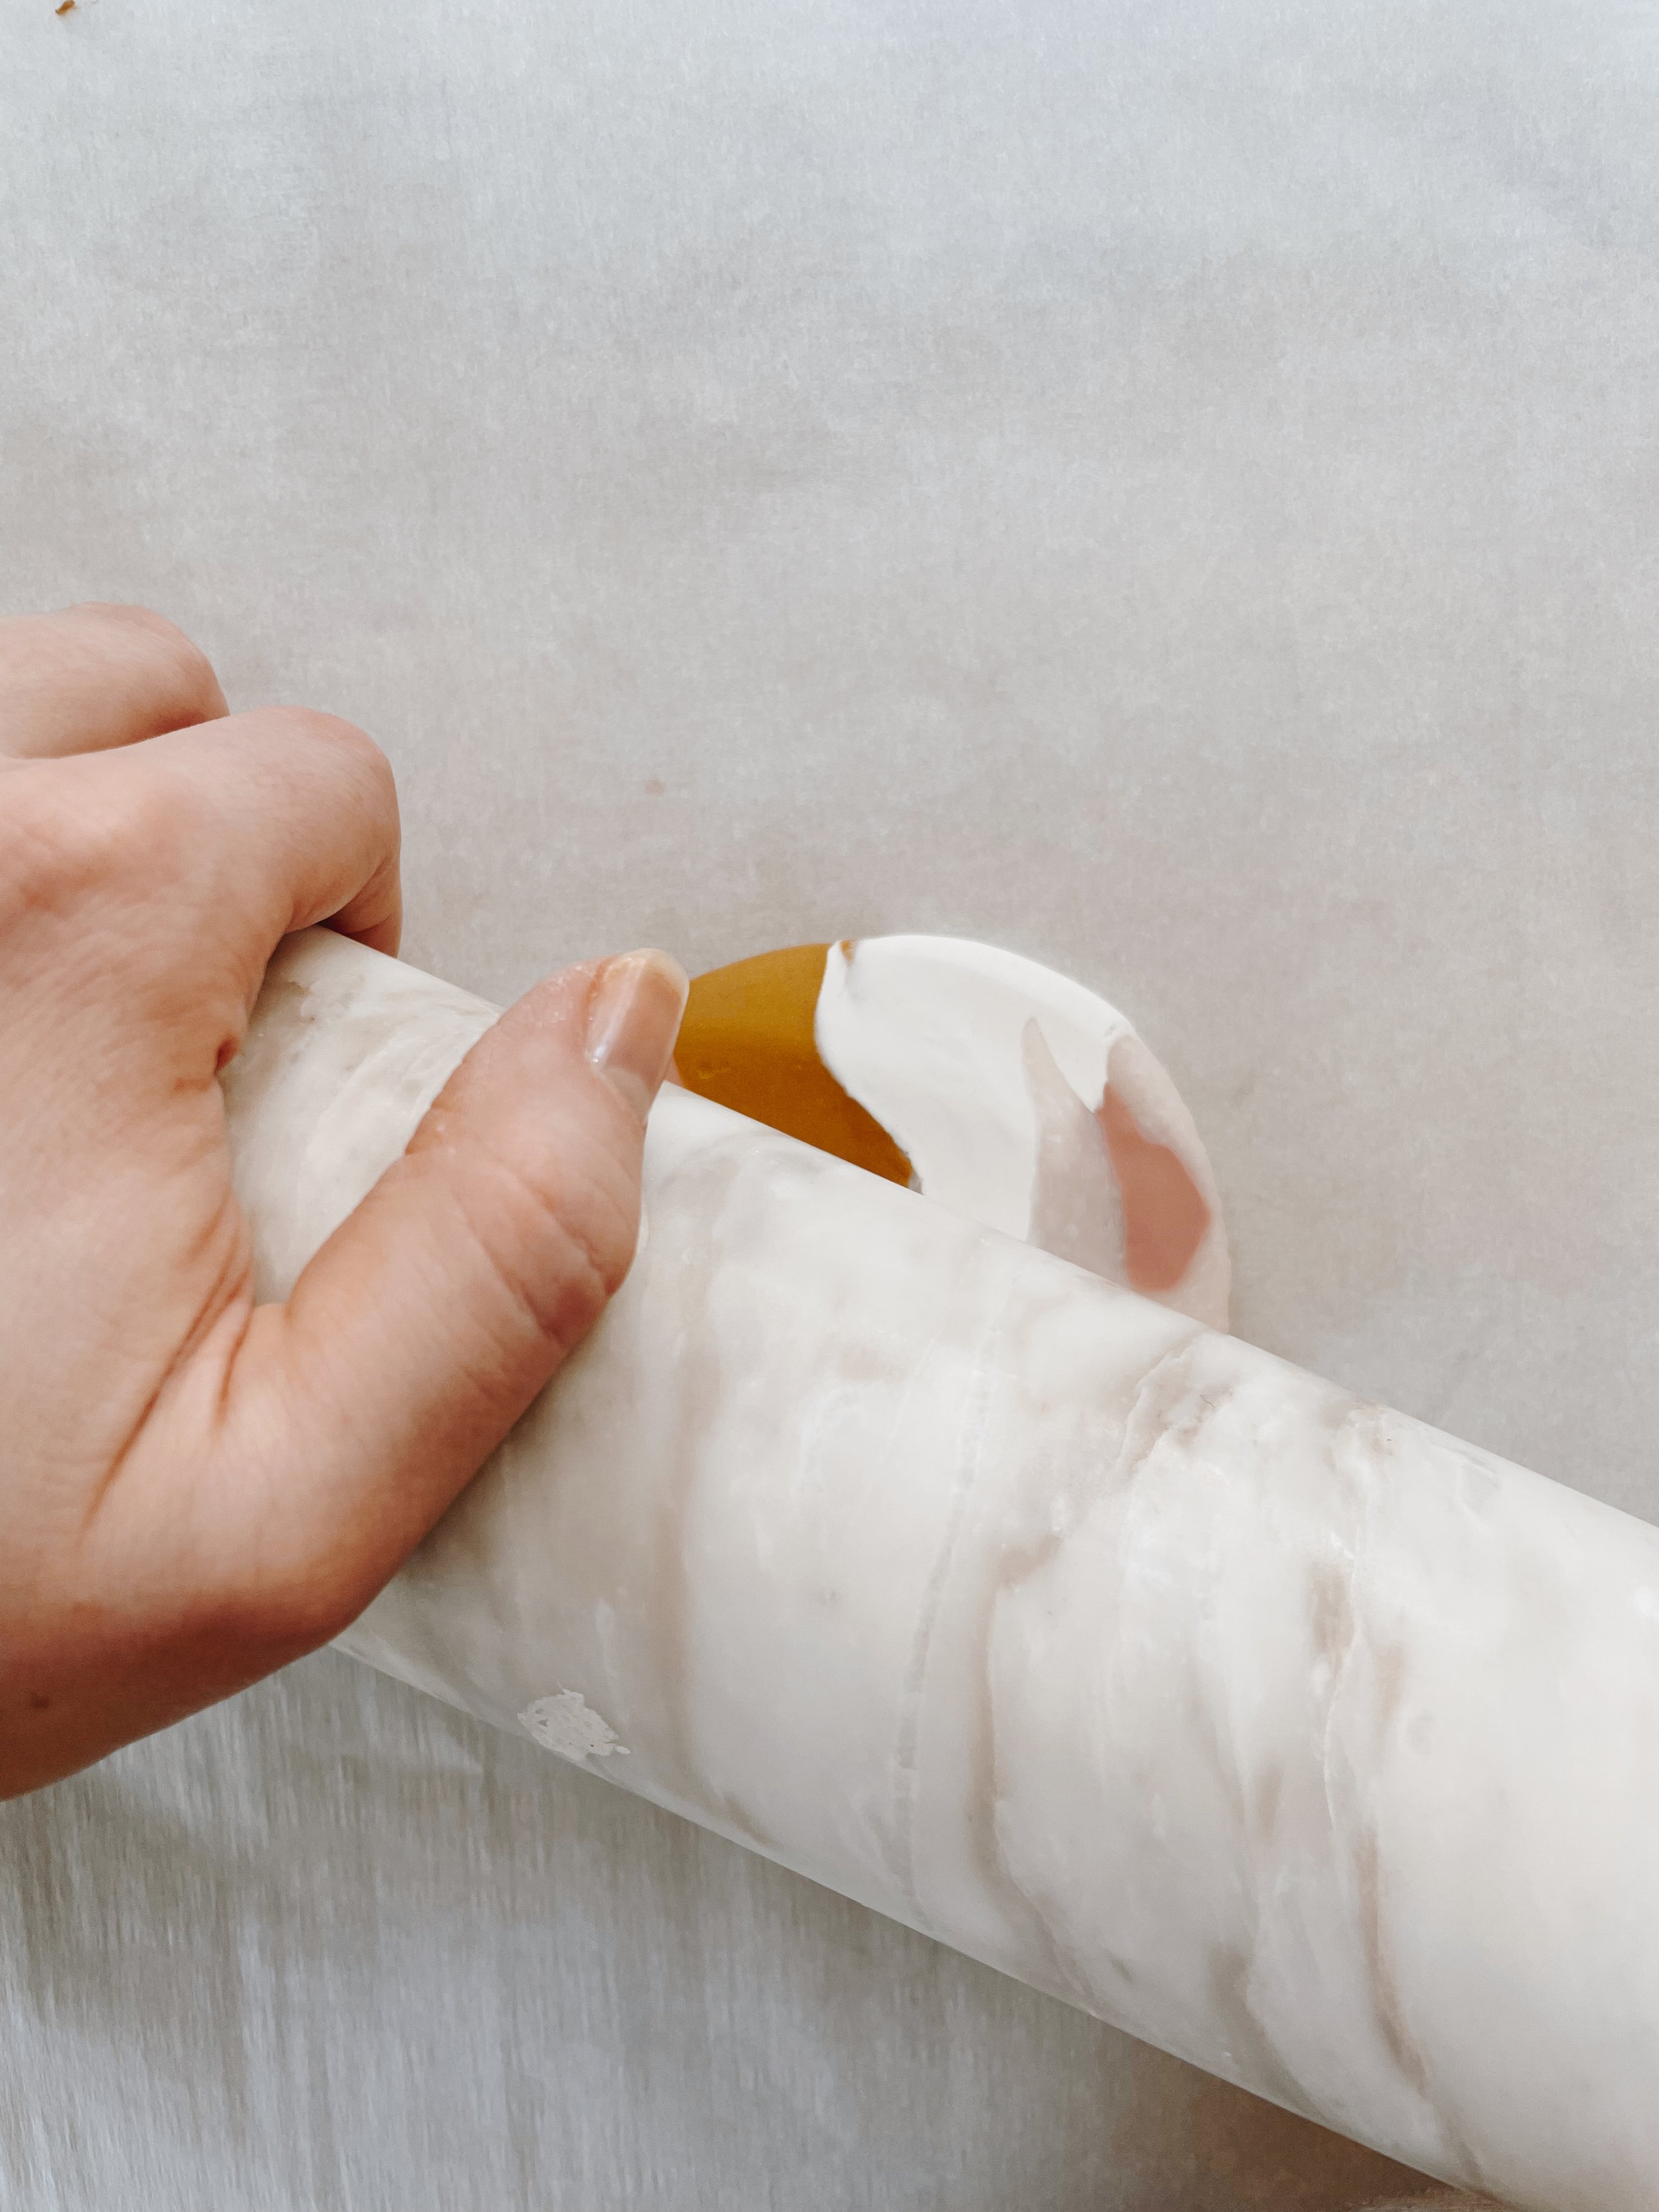
Step 4.) Flatten out the ball between two pieces of parchment paper by using a rolling pin or pressing down with a book.

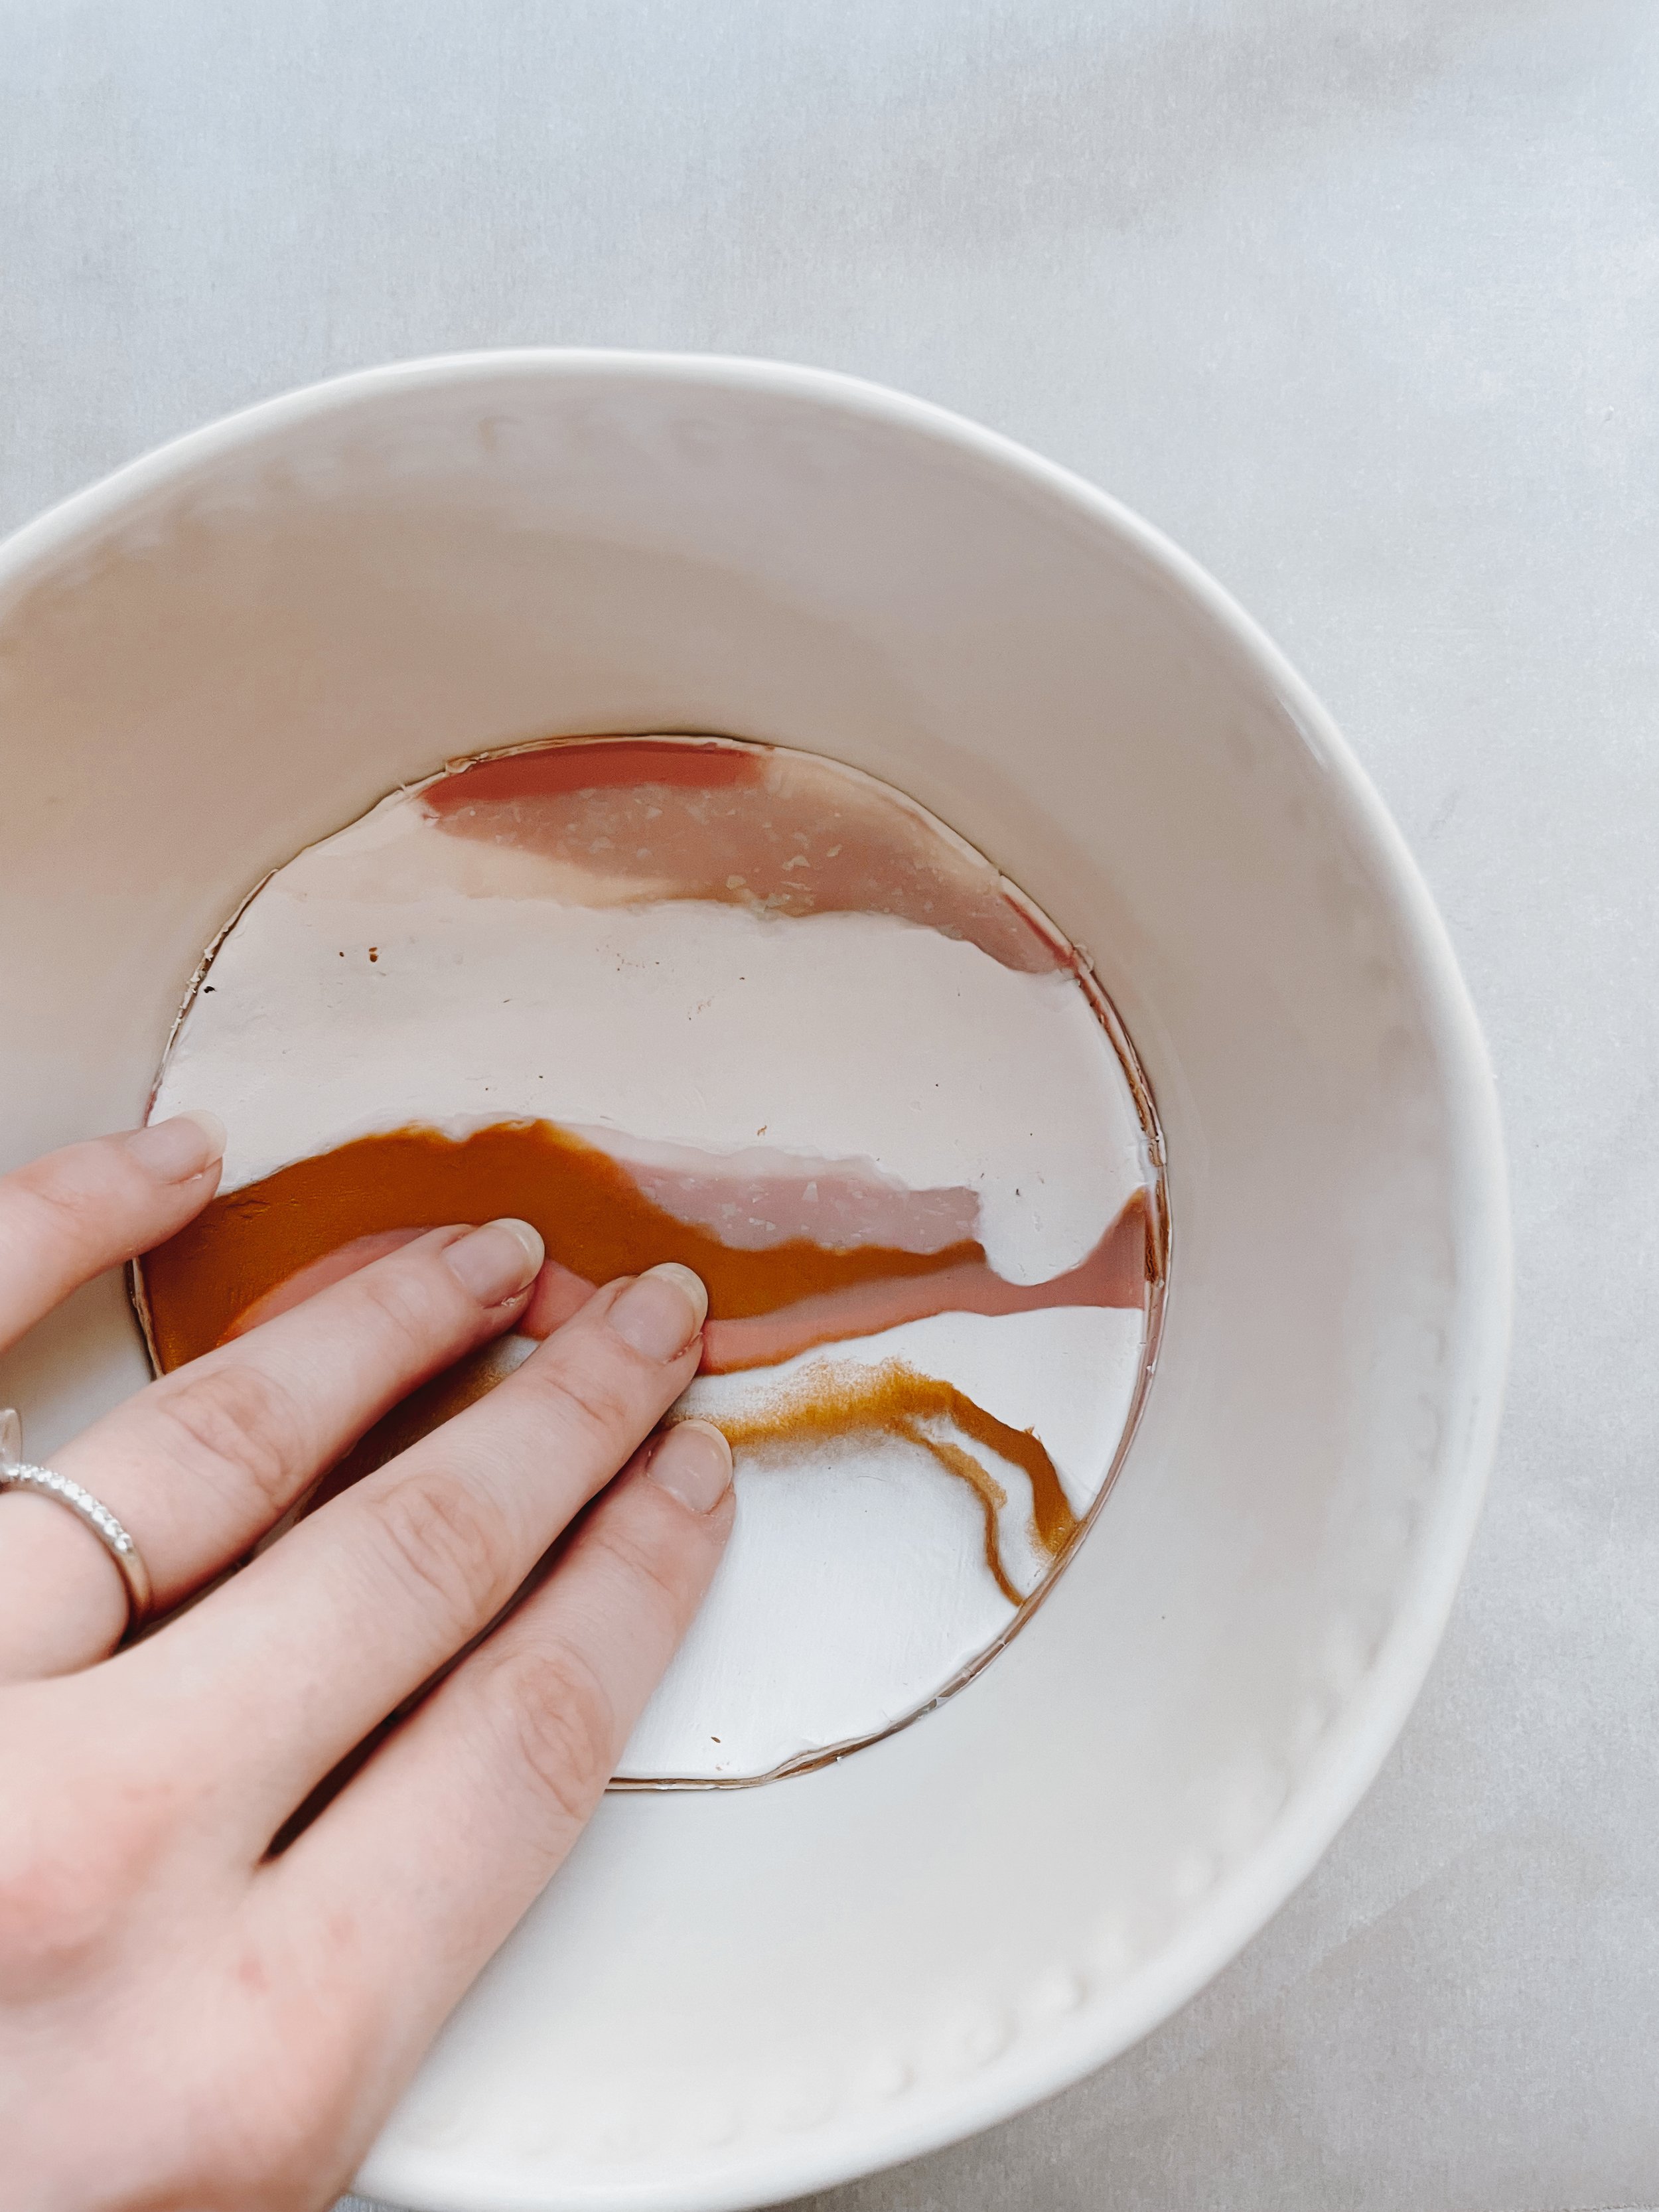
Step 5.) Use a large round cookie cutter or a bowl to cut the flattened clay into a circle, then place the circle of clay into an oven safe bowl to form it into the shape of the bowl.

Step 6.) Place the bowl on a baking sheet and bake at 275 for about 20 minutes OR according to the baking instructions on your clay package.

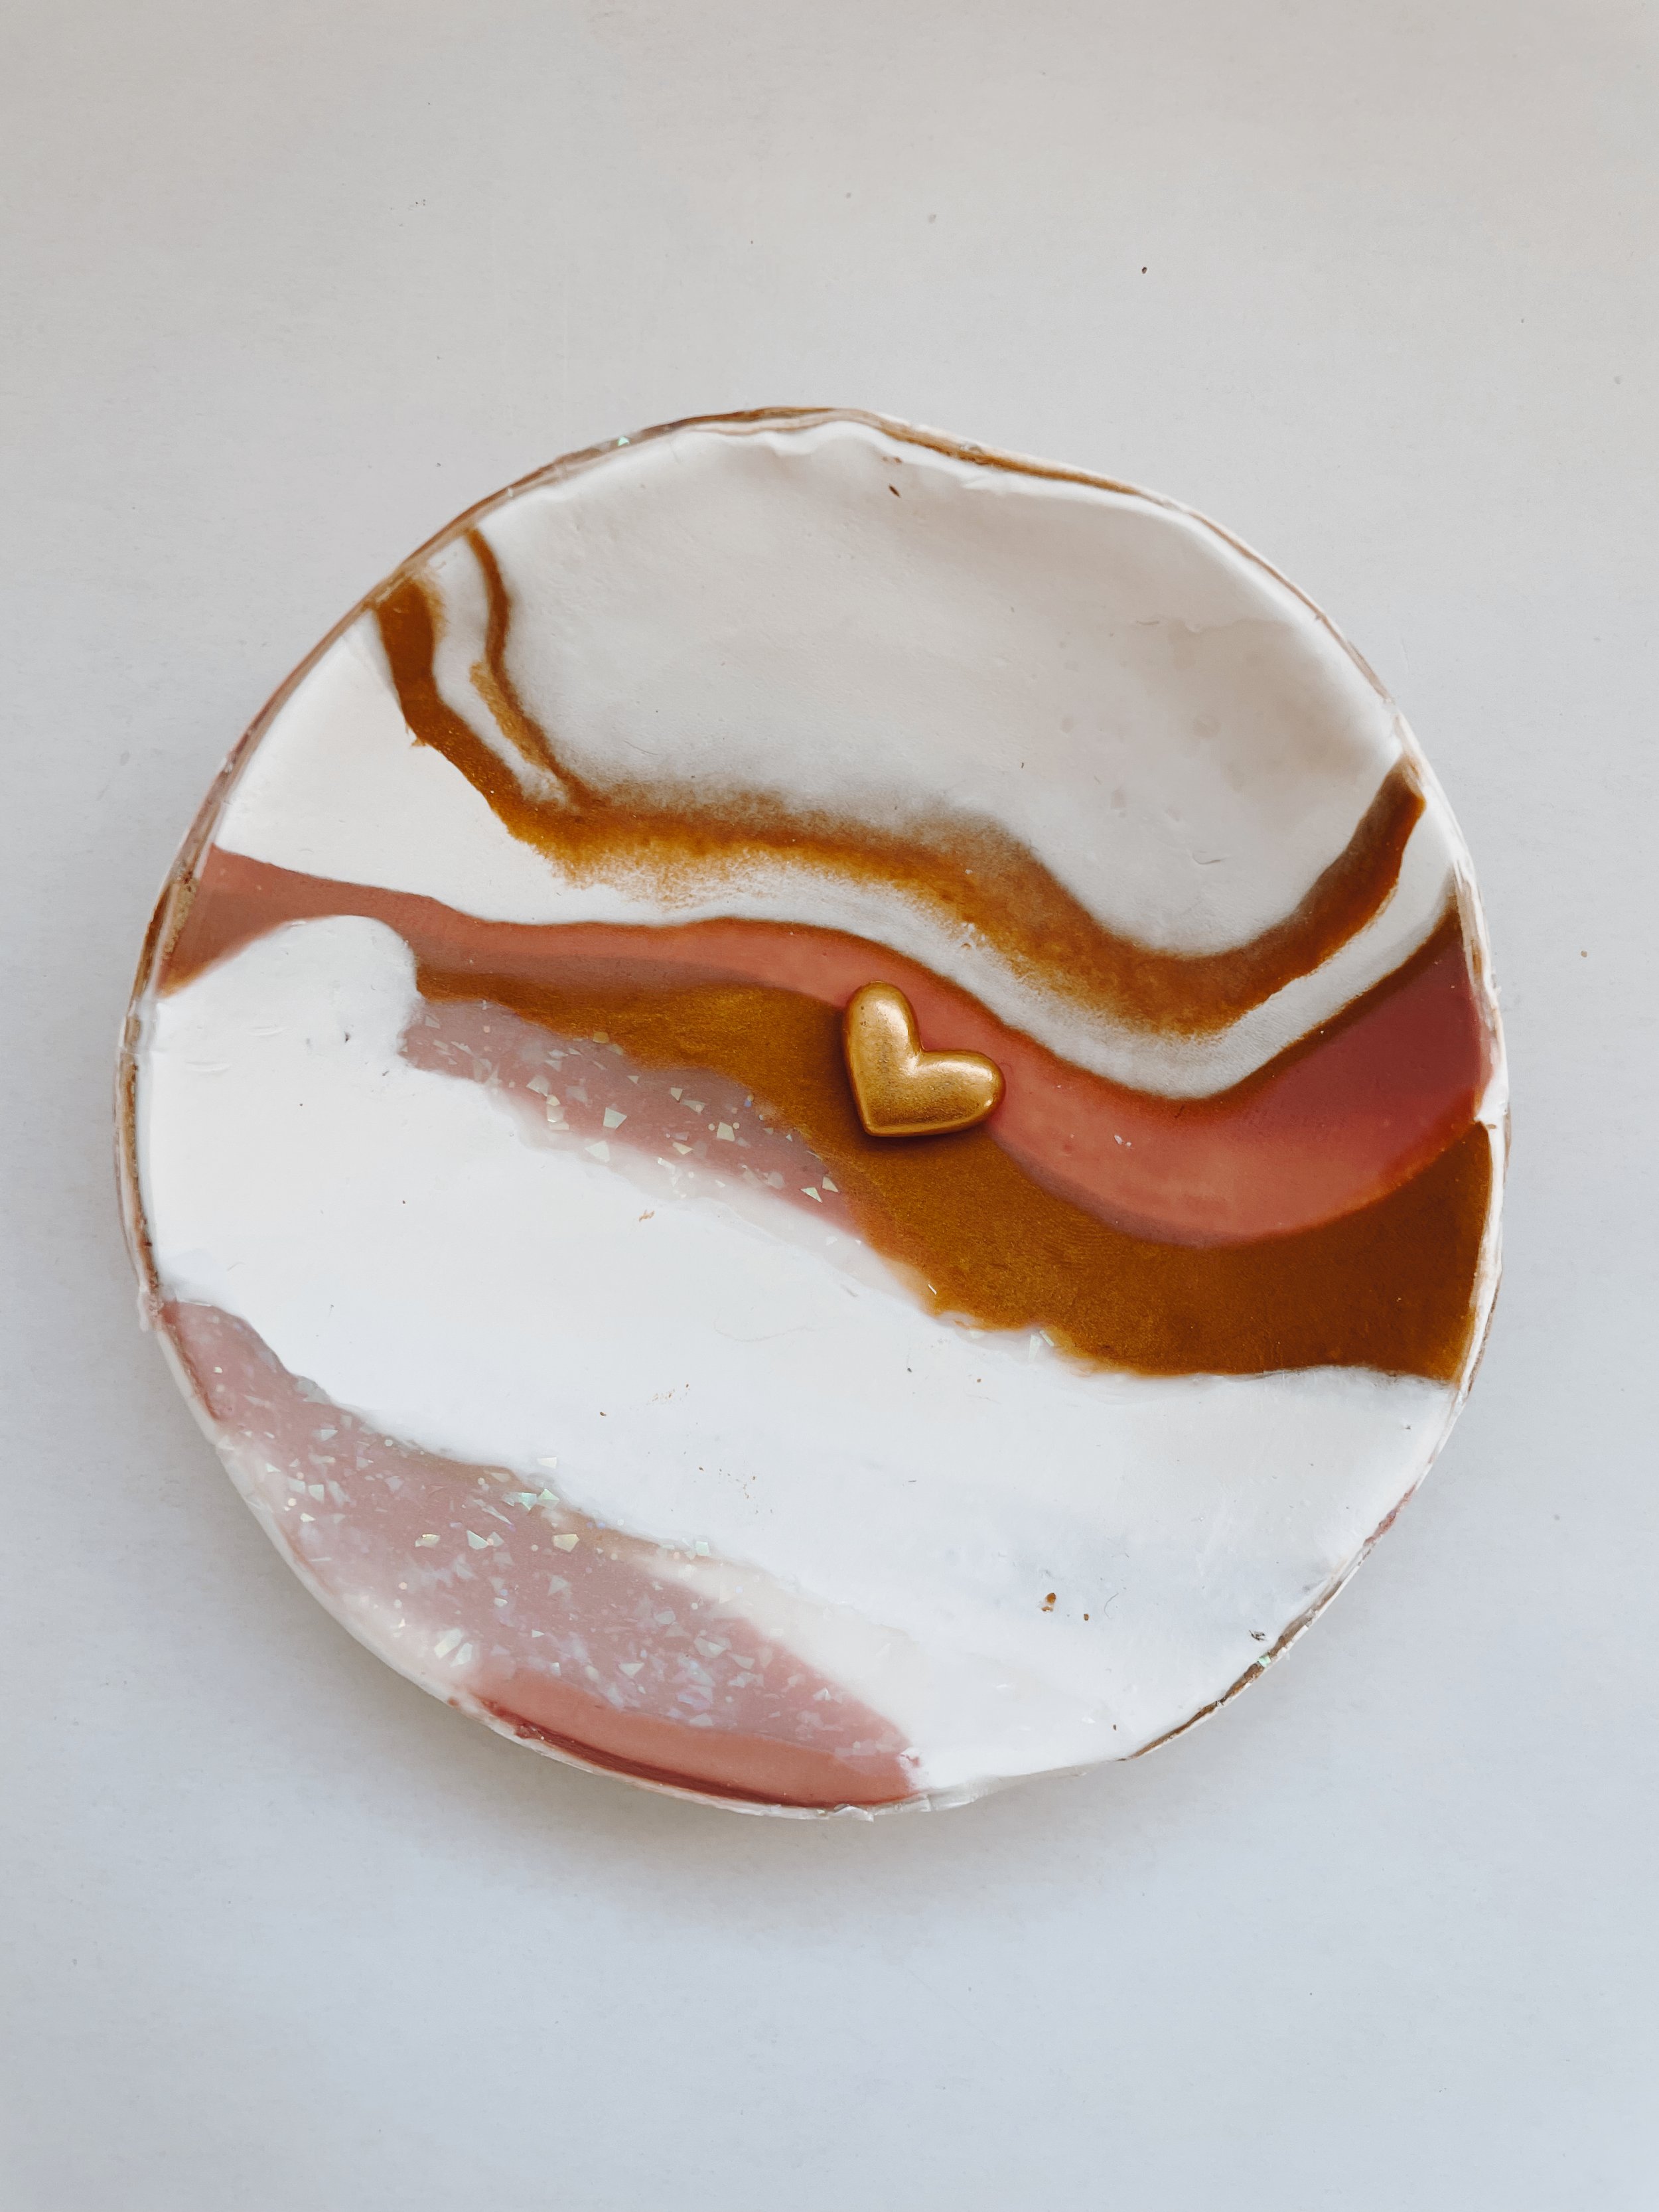
Step 7.) Take out of the oven and allow your marble dish to cool inside the bowl. Once cool, turn the bowl over and tap to free the clay from the inside of the bowl.

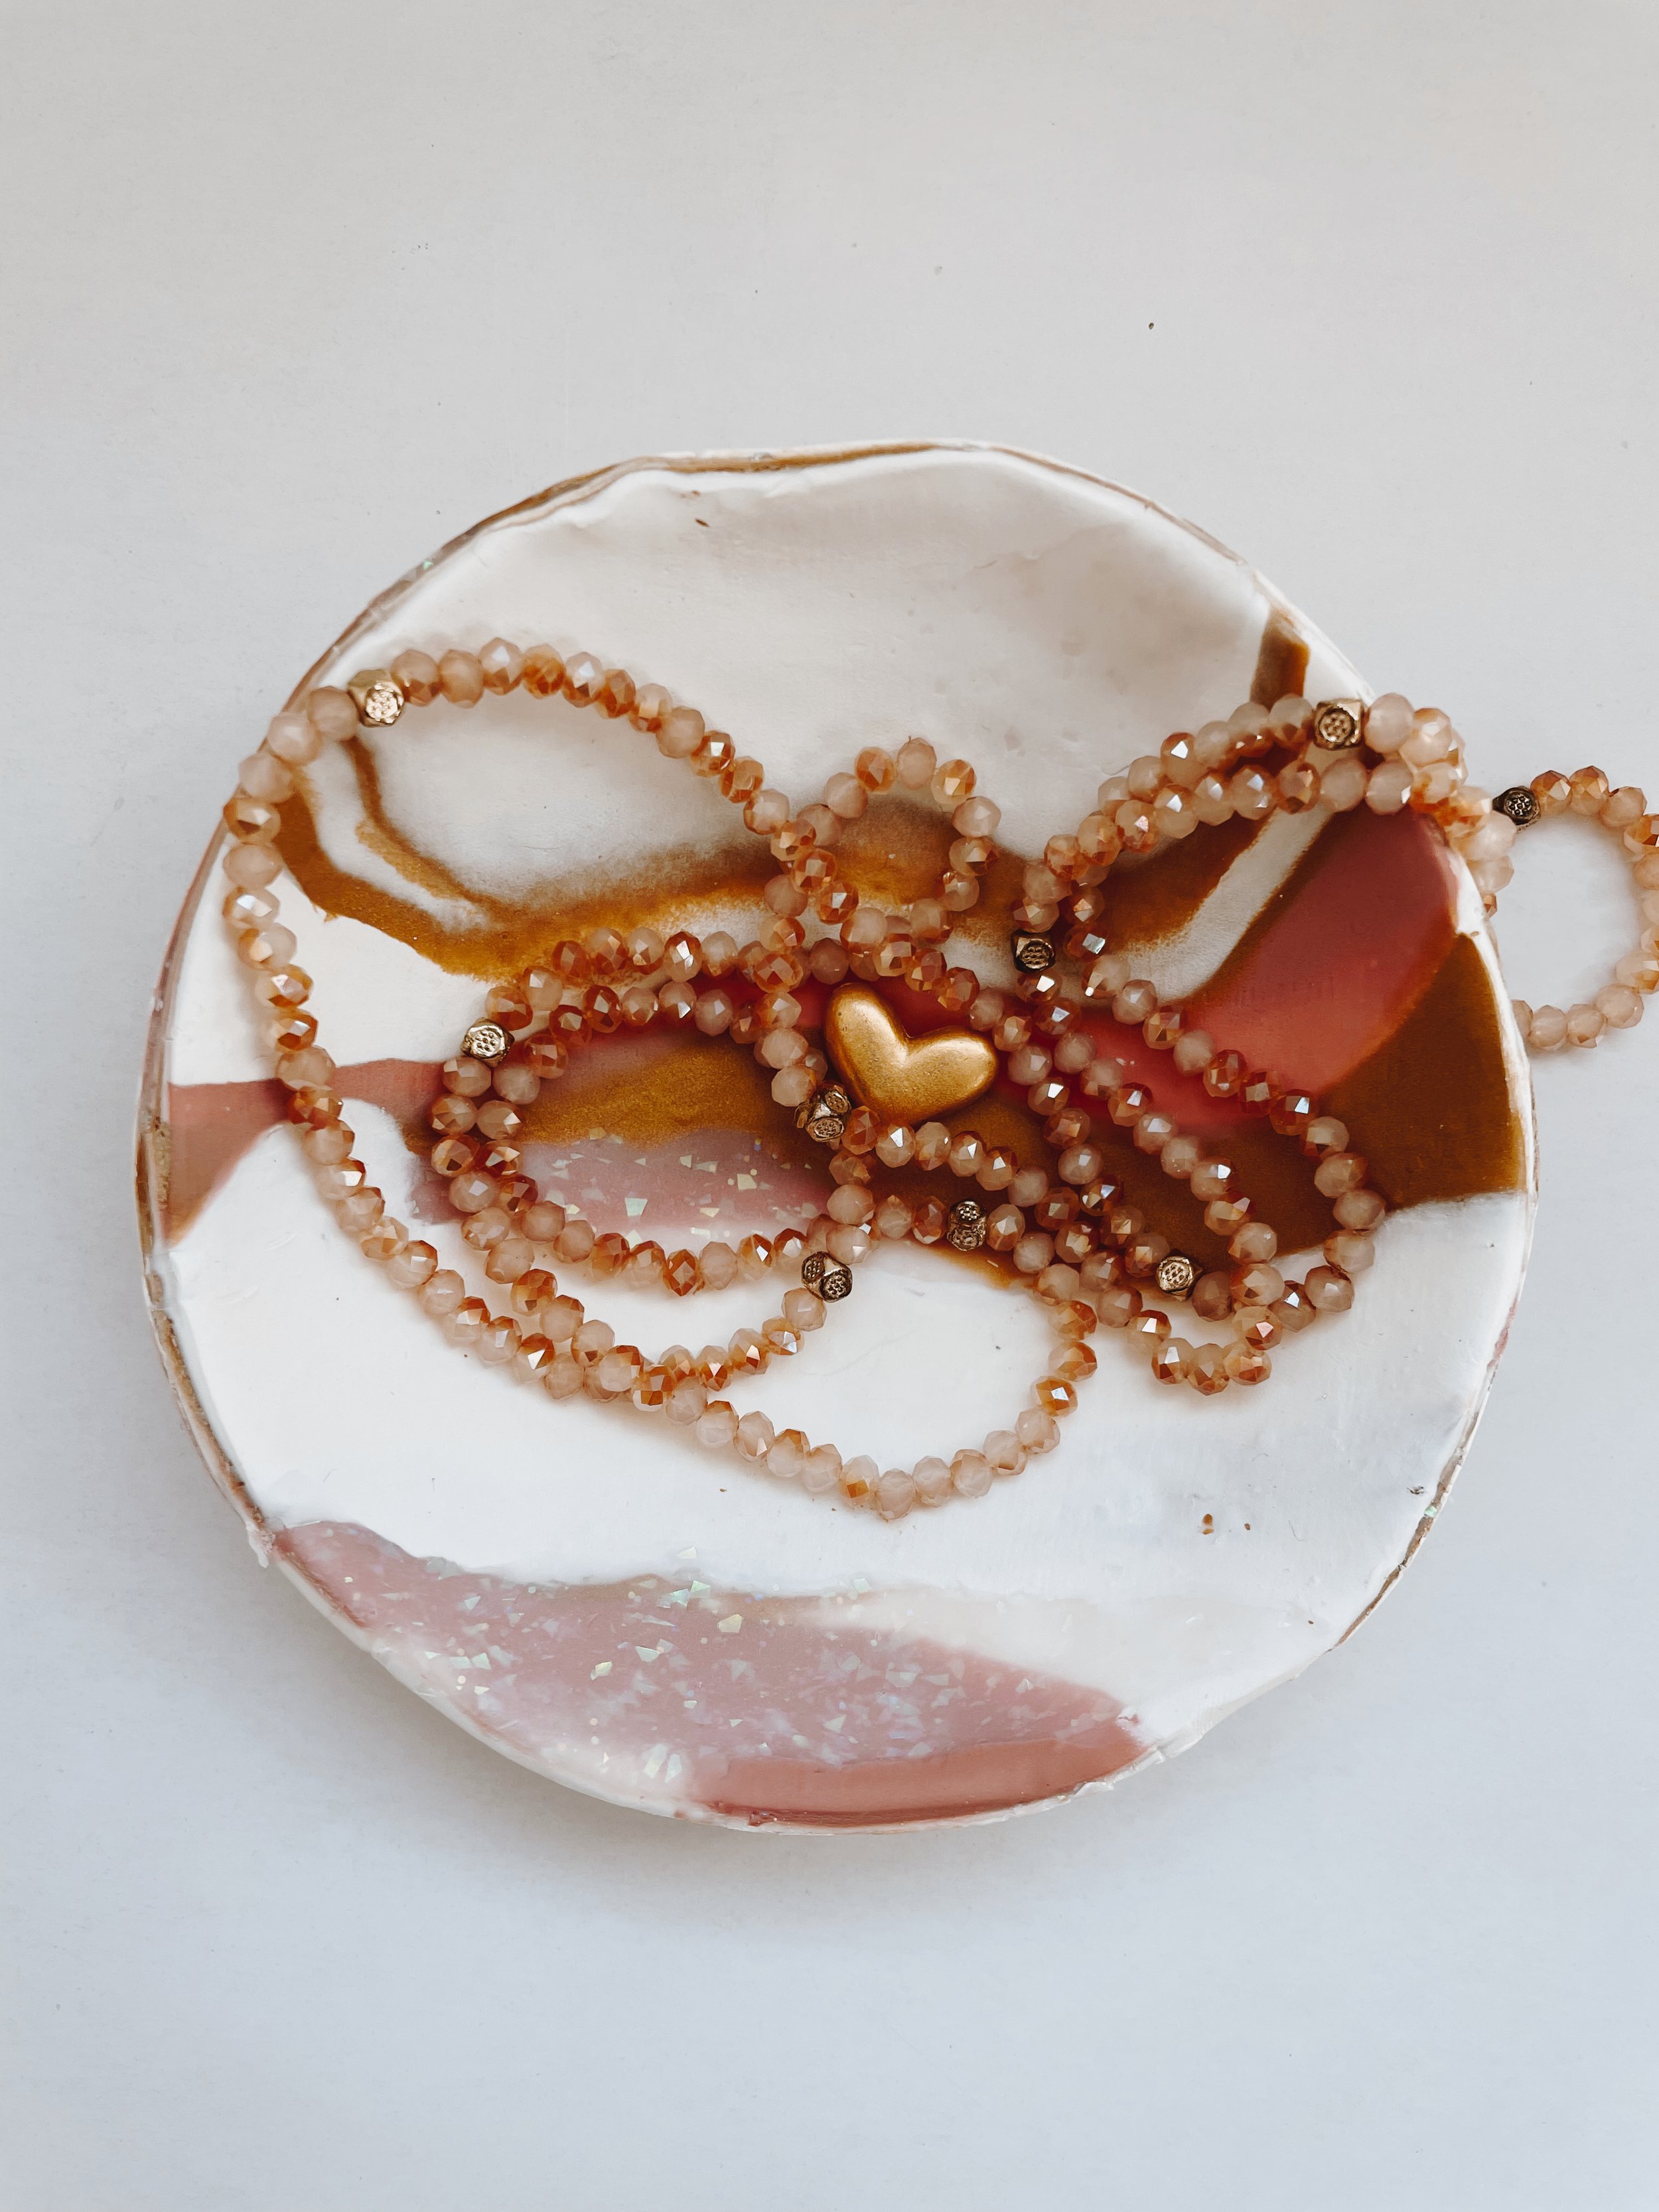
Step 8.) Enjoy your beautiful DIY marble clay dish!

CLAIRE’S PRO TIP: Use a nail file to smooth out the edges of your ring dish after you bake it.